...

플라스틱 사출 성형에 발광 분말을 추가하는 방법은 무엇입니까?

• ZetarMold Engineering Guide
• Plastic Injection Mold Manufacturing Since 2005
• Built by ZetarMold engineers for buyers comparing mold and molding solutions.

주요 내용
  • Luminous (phosphorescent) powder in injection mold ing creates glow-in-the-dark plastic products by absorbing light energy and re-emitting it over extended periods.
  • Strontium aluminate-based luminous powders offer the brightest and longest-lasting afterglow (8–12 hours), replacing older zinc sulfide formulations.
  • The optimal luminous powder loading ratio is typically 5–15% by weight of the base resin, balancing glow intensity against material flowability and mechanical properties.
  • Low processing temperatures and gentle screw speeds are essential to prevent thermal degradation of luminous particles during injection molding.
  • Translucent or light-colored base resins (natural, white, or light yellow) maximize luminous effect — dark or opaque colors block the glow.
  • Proper particle size selection (15–60 microns for injection molding) ensures both adequate glow performance and good surface finish quality.

What Is Luminous Powder and How Does It Work in Plastic Products?

Luminous powder is a phosphorescent pigment that absorbs light and slowly re-emits it as a visible glow for up to 12 hours. When mixed into injection molded plastic, it creates durable glow-in-the-dark products used in safety signage, consumer goods, and automotive components.

If you are comparing vendors or planning procurement, our injection molding supplier sourcing guide covers RFQ prep, qualification, and commercial risk checks.

At Zetar, we have worked with luminous powder formulations across multiple product categories and can share practical insights from our production experience. The science behind phosphorescence involves electrons in the luminous compound being excited to higher energy states by incoming photons. Unlike fluorescence (which stops immediately when the light source is removed), phosphorescent materials release this stored energy gradually, producing visible afterglow1 for minutes to hours.

The two main families of luminous powder used in plastics are:

Zinc sulfide (ZnS) based: The older generation of luminous pigments. They offer lower cost but shorter afterglow duration (typically 30–90 minutes) and lower brightness. ZnS-based powders are still used in low-cost applications where extended glow is not critical.

strontium aluminate2 (SrAl2O4) based: The current industry standard for high-performance luminous applications. These rare-earth activated pigments provide 10x brighter afterglow with 8-12 hour duration, showcasing superior performance for commercial glow-in-the-dark products.

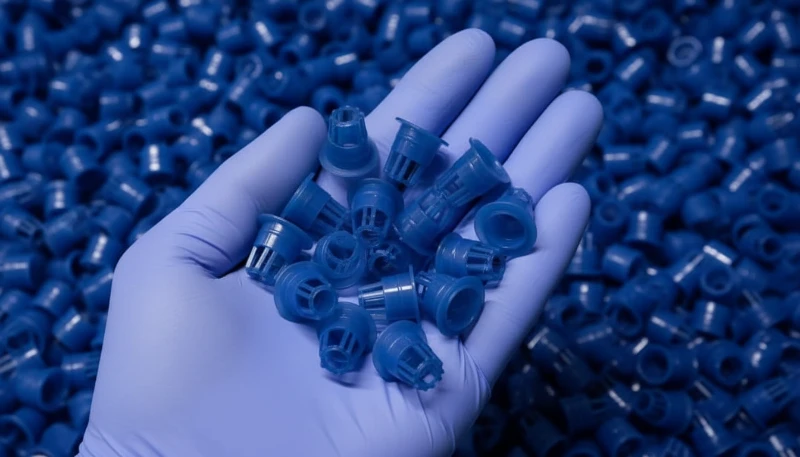
사출 성형을 보여주는 손에 든 파란색 플라스틱 부품
Luminous powder blended with resin.

Which Base Resins Are Compatible with Luminous Powder?

PP, PE, and TPE/TPU are the best resins for luminous powder because their low melt temperatures (170-230C) preserve phosphorescent particle integrity. Here is a detailed compatibility guide:

Here is a compatibility guide based on our production experience at Zetar:

Base Resin Compatibility Processing Temp Range Glow Performance 참고
PP(폴리프로필렌) 우수 190–230°C Very Good Low melt temp preserves luminous particles; good translucency in natural color
PE(폴리에틸렌) 우수 170–220°C Very Good Lowest processing temps; ideal for maximizing glow life
PS(폴리스티렌) Good 190–240°C Good Clear grades work well; high-impact PS is slightly less effective
ABS Good 210–250°C 보통 Higher processing temp may slightly reduce glow; natural ABS works best
PA(나일론) 공정 240–280°C 보통 High temps risk degradation; moisture sensitivity adds complexity
PC(폴리카보네이트) Poor 280–310°C 낮음 Very high processing temps damage luminous particles; not recommended
TPE/TPU Good 170–220°C Good Flexible glow products; low processing temps are favorable
실리콘 Good 150–200°C (LSR) Good Works well for soft-touch glow products; requires special dosing equipment

The general rule is clear: lower processing temperatures preserve luminous powder performance better. Resins that require melt temperatures above 260°C will cause noticeable degradation of strontium aluminate luminous particles, reducing both initial brightness and afterglow duration.

What Is the Correct Mixing Ratio and Preparation Process?

The optimal loading ratio is 8–12% by weight — this balances glow intensity with processability and surface quality. Too little powder gives weak glow; too much degrades mechanical properties.

Based on our extensive testing and production experience at Zetar, here are the recommended loading ratios:

Standard glow effect: 5–8% luminous powder by weight of base resin

Enhanced glow effect: 8–12% luminous powder by weight

““The optimal luminous powder concentration of 8–12% delivers the best balance between glow intensity, part quality, and equipment longevity.””True

Testing consistently shows that 8–12% loading provides strong glow performance while maintaining acceptable material flow, surface finish, and mechanical properties. Using a masterbatch approach at this concentration range ensures the most uniform luminous distribution throughout the molded part.

““Adding more luminous powder always makes the glow brighter — the more you add, the better the result.””False

Beyond 15% loading ratio, additional luminous powder provides diminishing returns in brightness while significantly degrading material flowability, mechanical strength, and surface finish quality. The particles also increase abrasive wear on injection molding equipment. The optimal balance between glow performance and part quality typically falls in the 8–12% range.

Maximum glow intensity: 12–15% luminous powder by weight (beyond this, diminishing returns and processing difficulties occur)

Mixing Process (Critical Steps):

Pre-dry the base resin: Follow standard drying recommendations for your specific resin to prevent moisture-related defects.

Pre-blend at room temperature: Mix the luminous powder with resin pellets in a tumble blender or ribbon blender for 10–15 minutes to achieve uniform distribution. Do not use high-speed mixers, as the mechanical impact can fracture luminous particles and reduce glow performance.

Add a coupling agent (optional but recommended): A small amount (0.5–1%) of silane coupling agent improves the bond between inorganic luminous particles and the polymer matrix, enhancing mechanical properties and surface finish.

Use a masterbatch approach for consistent results: For production volumes exceeding 1,000 parts, we recommend creating a luminous masterbatch at 30–50% concentration, then let-down blending with virgin resin to the target concentration. This provides more consistent luminous distribution than direct dry blending.

Important: Luminous powder particles are abrasive. At loading ratios above 10%, they accelerate wear on screws, barrels, check rings, and mold cavity surfaces. When preparing a pellet-based luminous compound, we recommend using bimetallic barrels and hardened screws for production runs with high luminous powder content.

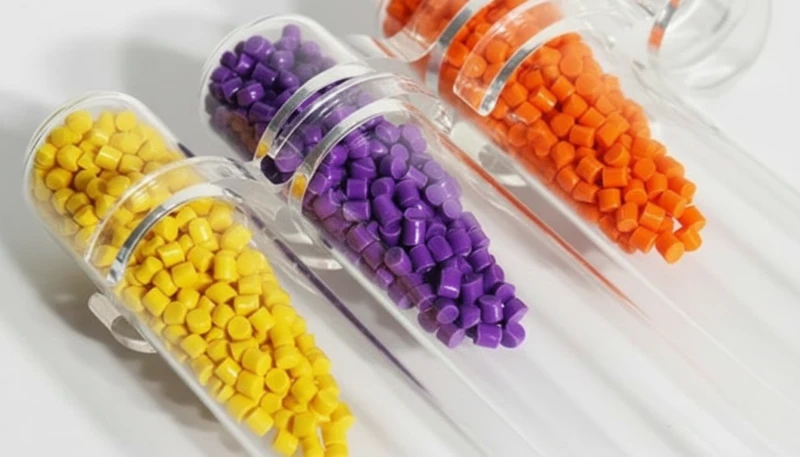
투명 튜브에 담긴 컬러 플라스틱 펠릿
Pellets prepared for luminous molding.

How Should You Adjust Injection Molding Parameters for Luminous Materials?

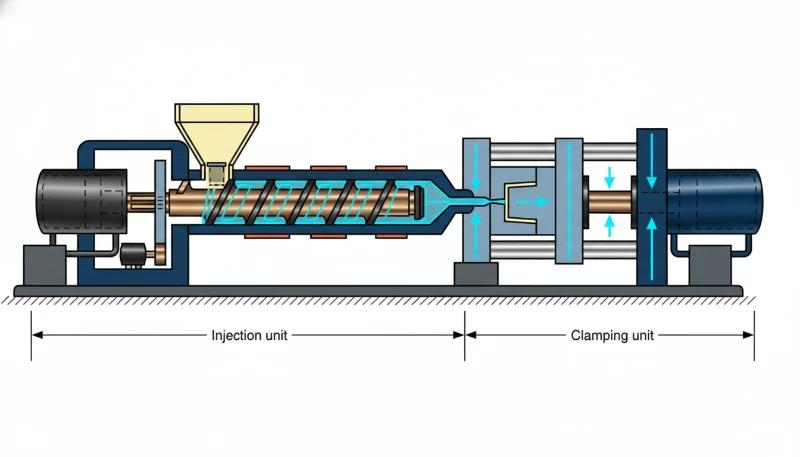
Lower melt temperatures, reduced screw speeds, and minimal back pressure are the three critical adjustments for luminous materials. These protect the phosphorescent particles from thermal and shear degradation during 사출 성형.

At Zetar, we have developed optimized process parameters through extensive trial work. Here are the key adjustments:

Melt Temperature: Use the lower end of the resin’s recommended processing range. For PP with luminous powder, we target 195–210°C rather than the typical 210–230°C for standard PP. Lower temperatures preserve luminous particle integrity and glow performance.

Screw Speed: Reduce screw rotation speed by 20–30% compared to standard processing. Lower RPM reduces shear heating and mechanical damage to luminous particles. Typical target: 30–60 RPM for most resins with luminous powder.

Back Pressure: Minimize back pressure to reduce shear on the luminous particles during plasticization. We typically run 3–5 bar back pressure for luminous materials, compared to 5–10 bar for standard processing.

Injection Speed: Use moderate injection speeds. Excessively fast injection creates high shear at the gate, which can fracture luminous particles and create visible streaks. Moderate speeds also reduce the risk of jetting and flow marks that are especially noticeable on glow-in-the-dark parts.

Mold Temperature: Standard mold temperatures for the base resin are generally appropriate. Slightly elevated mold temperatures (5–10°C above standard) can improve surface quality by allowing better replication of the luminous particle texture.

매개변수 Standard PP Processing PP + Luminous Powder Processing Why the Adjustment
용융 온도 210–230°C 195–210°C Prevent thermal degradation of luminous particles
나사 속도 60–100 RPM 30–60 RPM Reduce mechanical shear damage to particles
배압 5–10 bar 3–5 bar Minimize particle fracture during plasticization
사출 속도 빠른 보통 Prevent gate shear and flow streaking
유지 압력 60–80% of injection 50–70% of injection Avoid excessive packing stress on filled material
냉각 시간 표준 Standard + 5–10% Filled material may need slightly longer cooling

What Design Considerations Maximize Glow Performance in Molded Parts?

Translucent base resin with 2–4 mm wall thickness and smooth surface finish produces the brightest glow. Part design and 금형 설계 decisions directly affect luminous performance:

Wall Thickness: Thicker walls contain more luminous particles and absorb more excitation light, producing a brighter and longer-lasting glow. However, walls thicker than 4–5 mm provide diminishing returns because light cannot penetrate deep enough to excite particles in the center. The optimal wall thickness for luminous parts is typically 2–4 mm.

Surface Area: Larger exposed surface areas absorb more light and emit a brighter glow. Design features like ribs, texture, and contoured surfaces increase the effective light-absorbing area.

Color Selection: This is critically important. The base resin color must be translucent or light-colored (natural, white, light yellow, or light green) to allow light to pass through to the luminous particles. Dark colors (black, dark blue, dark red) absorb the emitted light and virtually eliminate the glow effect. If color is needed, use very pale shades at low concentrations.

““Translucent or light-colored base resins with 2–4 mm wall thickness and smooth surface finish produce the brightest and longest-lasting luminous injection molded products.””True

Translucent materials allow maximum light penetration to charge the luminous particles and maximum light emission to create visible glow. The 2–4 mm wall thickness range optimizes the balance between particle volume and light penetration depth. Smooth surfaces emit light more efficiently than textured ones.

““You can add luminous powder to any color of plastic and still get a visible glow-in-the-dark effect.””False

Dark-colored resins (black, dark blue, dark brown, etc.) absorb the light emitted by luminous particles, effectively blocking the glow effect. Only translucent, natural, or very light-colored base resins allow sufficient light transmission for the luminous particles to charge and emit their glow visibly.

Surface Finish: Smooth, glossy surfaces emit light more efficiently than rough or textured surfaces. For maximum glow effect, specify SPI A2 or A3 surface finish on the mold cavity. Textured surfaces scatter the emitted light, reducing perceived brightness.

Gate Location: Position gates to ensure uniform flow and avoid weld lines on visible glow surfaces. Weld lines appear as darker streaks on luminous parts because the luminous particles orient differently at the flow front meeting point.

Part Geometry Considerations:

Avoid very thin sections (< 1 mm) — they will glow noticeably less than surrounding thicker areas

Design uniform wall thickness to prevent uneven glow patterns

Consider that corners and edges will appear darker than flat surfaces due to light emission geometry

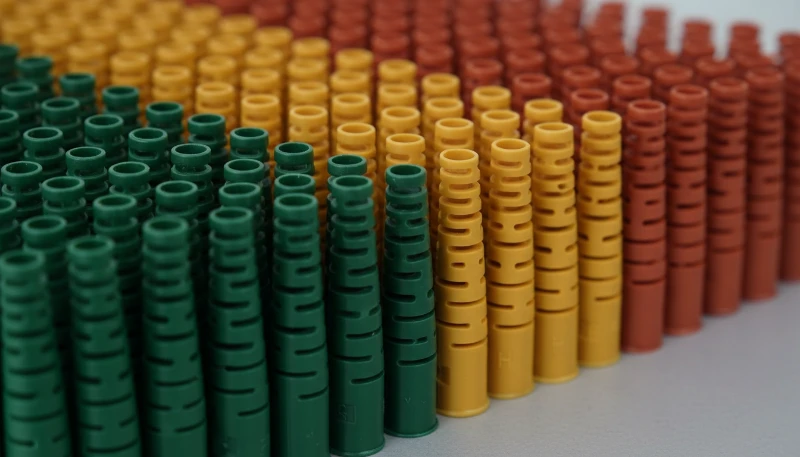
Colorful plastic injection molded pieces
Design factors for glow parts.

What Quality Control Tests Should You Perform on Luminous Molded Products?

The key QC tests are brightness measurement, afterglow verification, and dimensional inspection. At Zetar, we apply a comprehensive luminous testing protocol.

🏭 ZetarMold Factory Insight
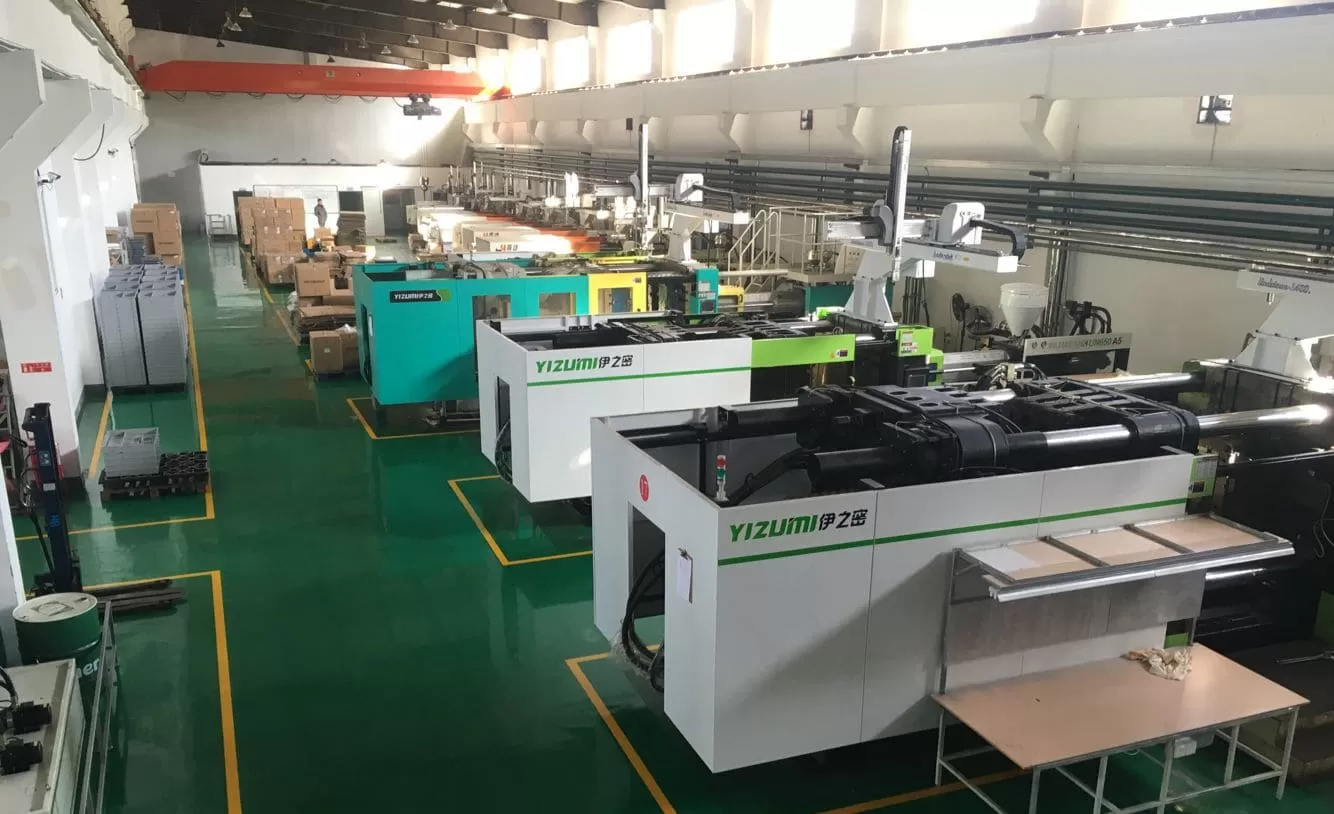
In our Shanghai factory, we run 47 injection molding machines from 90T to 1850T and have processed over 400 materials, including phosphorescent-luminous compounds for safety and consumer products.

Luminous Performance Tests:

Initial brightness measurement: Using a photometer or luminance meter, measure the initial afterglow brightness (in mcd/m²) at specific time intervals (2 min, 10 min, 30 min, 60 min) after standardized light exposure. Strontium aluminate products should measure > 150 mcd/m² at 10 minutes.

Afterglow duration test: Measure the time until brightness falls below the human eye perception threshold (approximately 0.32 mcd/m²). Premium strontium aluminate formulations should achieve > 8 hours.

Color consistency: Visual and instrumental verification that the glow color is uniform across the part and matches the approved reference sample.

Charge/discharge cycling: Test that repeated light exposure and dark cycles do not degrade glow performance over time.

Standard Part Quality Tests:

Dimensional inspection per drawing specifications

Visual inspection for surface defects (flow marks, sink marks, streaks)

Mechanical testing (tensile strength, impact resistance) — note that luminous filler typically reduces mechanical properties by 10–20% at standard loading ratios

Weight consistency check (to verify uniform luminous powder distribution)

Environmental and Safety Tests (application-dependent):

UV aging test for outdoor applications

RoHS/REACH compliance testing for European markets

EN 67510 or DIN 67510 testing for safety signage applications

Food contact safety testing if applicable (some luminous pigments contain trace heavy metals)

What Are the Most Common Applications for Luminous Injection Molded Products?

Safety signage, consumer toys, and automotive components are the three largest application segments for luminous injection molded products. Each has specific regulatory and performance requirements.

Safety and Emergency Equipment:

Exit signs and emergency pathway markers (must meet EN 67510 photoluminescent3 standards)

Fire extinguisher location markers

Stairway nosing strips and handrail markers

Emergency equipment identification tags

소비자 제품:

Novelty items and toys (glow stars, figurines, phone cases)

Watch components and clock faces

사출 성형에 발광 분말을 첨가하는 방법 | 가이드

Light switch covers and wall plates

Industrial and Architectural:

Pipe and valve identification markers

Safety zone boundary indicators

Architectural feature lighting elements

Cable identification sleeves

자동차 및 운송:

Dashboard and control indicator markings

Door handle and lock identification

Safety signage within vehicles and aircraft

Bicycle and personal mobility device components

At Zetar, the majority of our luminous product inquiries come from safety equipment manufacturers and consumer product companies. Each application has specific requirements for glow duration, brightness standards, environmental resistance, and regulatory compliance that influence the material formulation and process parameters.

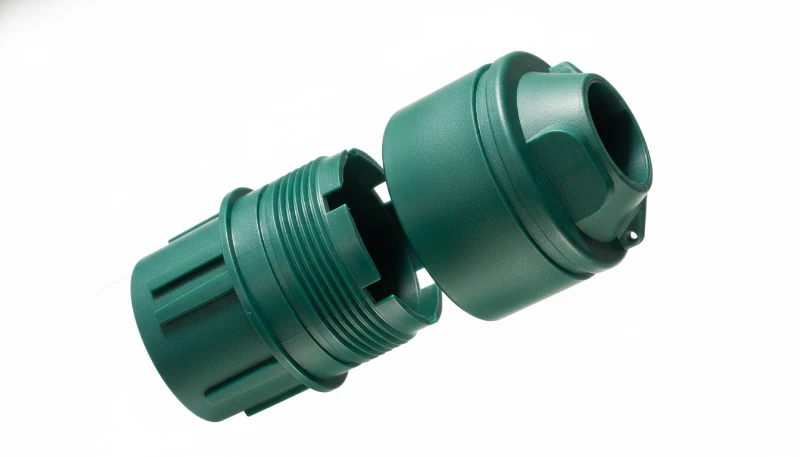
Green plastic injection molded parts
플라스틱 보관함의 응용 분야.

자주 묻는 질문(FAQ)

Is luminous powder safe for use in consumer products and toys?

Strontium aluminate-based luminous powders are generally considered non-toxic and non-radioactive, making them safe for consumer products. However, some formulations may contain trace amounts of europium or other activators that require verification against specific safety standards. For toys, compliance with EN 71 (EU), ASTM F963 (US), and RoHS requirements should be verified. At Zetar, we always source luminous powders with complete safety data sheets and compliance documentation.

How long does the glow effect last in luminous injection molded products?

With premium strontium aluminate-based luminous powder at 8–12% loading, the glow effect typically lasts 8–12 hours after a 15–30 minute exposure to bright light. The brightest glow occurs in the first 30–60 minutes, then gradually diminishes. Older zinc sulfide formulations last only 30–90 minutes. The glow capability does not diminish over the product’s lifetime — it will continue to charge and glow for 15–20+ years.

Can you achieve different glow colors with luminous powder?

The most common and brightest glow color is yellow-green, which is the natural emission color of strontium aluminate activated with europium. Blue, aqua, and violet glow colors are available but are generally 30–60% dimmer and shorter in duration than yellow-green. Red and orange glow powders exist but offer significantly shorter afterglow. For the brightest results, we recommend yellow-green luminous powder in most applications.

Does luminous powder affect the recyclability of injection molded parts?

Luminous powder acts as an inorganic filler in the plastic matrix and remains in the recycled material if the parts are reground and reprocessed. The luminous particles will still glow in recycled material, though uniformity may decrease with each reprocessing cycle. For applications where recyclability is important, the luminous content should be considered in the end-of-life material stream assessment.

What particle size of luminous powder works best for injection molding?

For injection molding, luminous powder particle sizes of 15–60 microns provide the best balance between glow performance and surface finish quality. Larger particles (60–100+ microns) produce brighter glow but create rough surface textures and can clog small gates. Smaller particles (< 15 microns) give smoother surfaces but reduced glow intensity. At Zetar, we typically recommend 25–45 micron median particle size for most injection molding applications as the optimal compromise.

요약

Adding luminous powder to plastic injection molding is a well-established process that creates valuable glow-in-the-dark products for safety, consumer, industrial, and automotive applications. Success requires careful attention to several interconnected factors: selecting the right luminous powder type (strontium aluminate for premium performance), choosing compatible base resins with low processing temperatures, optimizing the loading ratio (8–12% for best results), adjusting injection molding parameters to protect luminous particle integrity, and designing parts that maximize glow performance through proper wall thickness, color selection, and surface finish.

At Zetar, our experience with luminous injection molding spans multiple product categories and material formulations. We provide complete support from material selection and DFM review through process optimization and quality verification, ensuring your luminous products achieve the desired glow performance while meeting all structural and regulatory requirements.

Ready to develop your glow-in-the-dark injection molded product? Contact our engineering team for a free consultation and luminous molding feasibility assessment. See our Injection Molding Complete Guide for a comprehensive overview.


  1. afterglow: 알루미네이트 스트론튬은 가장 밝고 가장 오래 지속되는 잔광을 제공하는 희토류 활성 인광성 화합물입니다.

  2. strontium aluminate: 광발광은 재료가 빛 에너지를 흡수하고 광원이 제거되었을 때 가시광선으로 재방출하는 과정입니다.

  3. photoluminescent: 잔광은 여기가 중단된 후 인광 재료에 의한 가시광선의 지속적인 방출을 의미하며, 밝기가 제곱미터당 0.32 mcd 이하로 떨어질 때까지 측정됩니다.

최신 게시물
Facebook
트위터
LinkedIn
Pinterest
Mike Tang 사진
마이크 탕

Hi, I'm the author of this post, and I have been in this field for more than 20 years. and I have been responsible for handling on-site production issues, product design optimization, mold design and project preliminary price evaluation. If you want to custom plastic mold and plastic molding related products, feel free to ask me any questions.

나와 연결하기 →

빠른 견적 요청하기

다음을 통해 도면 및 세부 요구 사항을 보내세요. 

Emial:[email protected]

또는 아래 문의 양식을 작성하세요:

빠른 견적 요청하기

다음을 통해 도면 및 세부 요구 사항을 보내세요. 

Emial:[email protected]

또는 아래 문의 양식을 작성하세요:

빠른 견적 요청하기

다음을 통해 도면 및 세부 요구 사항을 보내세요. 

Emial:[email protected]

또는 아래 문의 양식을 작성하세요:

빠른 견적 요청하기

다음을 통해 도면 및 세부 요구 사항을 보내세요. 

Emial:[email protected]

또는 아래 문의 양식을 작성하세요:

빠른 견적 요청하기

다음을 통해 도면 및 세부 요구 사항을 보내세요. 

Emial:[email protected]

또는 아래 문의 양식을 작성하세요:

브랜드에 대한 빠른 견적 요청하기

다음을 통해 도면 및 세부 요구 사항을 보내세요. 

Emial:[email protected]

또는 아래 문의 양식을 작성하세요:

댓글 작성하기

이 도움말에 대한 자세한 내용을 보려면 "[email protected]"으로 이메일 주소를 입력하세요.

빠른 견적 요청하기

다음을 통해 도면 및 세부 요구 사항을 보내세요. 

Emial:[email protected]

또는 아래 문의 양식을 작성하세요:

빠른 견적 요청하기

다음을 통해 도면 및 세부 요구 사항을 보내세요. 

Emial:[email protected]

또는 아래 문의 양식을 작성하세요: