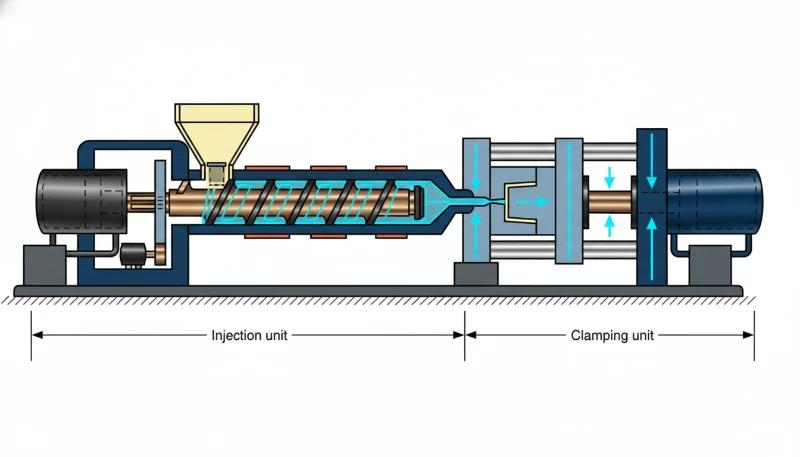
- Lichtgevend (fosforescerend) poeder in spuitgietmateriaal creëert kunststofproducten die oplichten in het donker door lichtenergie te absorberen en deze gedurende langere tijd opnieuw uit te stralen.
- Lichtgevende poeders op basis van strontiumaluminaat bieden de helderste en langstdurende nagloeiing van 8–12 uur en vervangen oudere zinksulfideformules.
- De optimale dosering lichtgevend poeder bedraagt doorgaans 5–15 gewichtsprocent van de basishars, als balans tussen gloei-intensiteit, vloeibaarheid van het materiaal en mechanische eigenschappen.
- Lage verwerkingstemperaturen en rustige schroefsnelheden zijn essentieel om thermische degradatie van lichtgevende deeltjes tijdens het spuitgieten te voorkomen.
- Doorschijnende of lichtgekleurde basisharsen (naturel, wit of lichtgeel) maximaliseren het lichteffect — donkere of ondoorzichtige kleuren blokkeren de gloed.
- De juiste keuze van de deeltjesgrootte (15–60 microns voor spuitgieten) garandeert zowel voldoende lichtgevende prestaties als een goede oppervlaktekwaliteit.
Wat is lichtgevend poeder en hoe werkt het in kunststofproducten?
Lichtgevend poeder is een fosforescerend pigment dat licht absorbeert en dit tot 12 uur lang langzaam als zichtbare gloed afgeeft. Gemengd in spuitgietkunststof levert het duurzame glow-in-the-dark-producten op voor veiligheidsmarkeringen, consumentengoederen en automotive componenten.
Als u leveranciers vergelijkt of inkoop plant, behandelt onze gids voor het selecteren van spuitgietleveranciers de voorbereiding van offerteaanvragen, kwalificatie en controles op commerciële risico’s.
Bij Zetar hebben we met formuleringen van lichtgevend poeder in meerdere productcategorieën gewerkt en kunnen we praktische inzichten uit onze productie-ervaring delen. De wetenschap achter fosforescentie draait om elektronen in de lichtgevende verbinding die door invallende fotonen naar hogere energietoestanden worden gebracht. Anders dan fluorescentie, die direct stopt wanneer de lichtbron wordt verwijderd, geven fosforescerende materialen deze opgeslagen energie geleidelijk af en produceren ze minuten- tot urenlang zichtbare nagloei1.
De twee belangrijkste families lichtgevend poeder voor kunststoffen zijn:
Op basis van zinksulfide (ZnS): de oudere generatie lichtgevende pigmenten. Ze zijn goedkoper, maar hebben een kortere nagloeiduur (doorgaans 30–90 minuten) en lagere helderheid. Poeders op ZnS-basis worden nog gebruikt in goedkope toepassingen waarbij langdurig nagloeien niet essentieel is.
Op strontiumaluminaat2 (SrAl2O4) gebaseerd: de huidige industrienorm voor hoogwaardige lichtgevende toepassingen. Deze met zeldzame aardmetalen geactiveerde pigmenten bieden een 10x helderdere nagloei met een duur van 8-12 uur en leveren superieure prestaties voor commerciële glow-in-the-dark-producten.
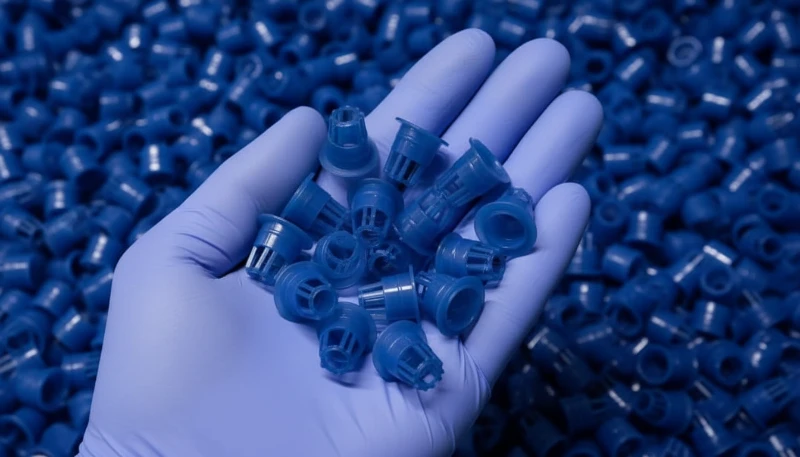
Welke basisharsen zijn compatibel met lichtgevend poeder?
PP, PE en TPE/TPU zijn de beste harsen voor lichtgevend poeder omdat hun lage smelttemperaturen (170-230C) de integriteit van fosforescerende deeltjes behouden. Hier volgt een gedetailleerde compatibiliteitsgids:
Hier volgt een compatibiliteitsgids op basis van onze productie-ervaring bij Zetar:
| Basishars | Compatibiliteit | Verwerkingstemperatuurbereik | Gloeiprestaties | Opmerkingen |
|---|---|---|---|---|
| PP (polypropyleen) | Uitstekend | 190–230°C | Zeer goed | Lage smelttemperatuur behoudt lichtgevende deeltjes; goede doorschijnendheid in natuurlijke kleur |
| PE (polyethyleen) | Uitstekend | 170–220°C | Zeer goed | Laagste verwerkingstemperaturen; ideaal om de lichtduur te maximaliseren |
| PS (polystyreen) | Goed | 190–240°C | Goed | Transparante kwaliteiten werken goed; slagvast PS is iets minder effectief |
| ABS | Goed | 210–250°C | Matig | Een hogere verwerkingstemperatuur kan de gloed iets verminderen; naturel ABS werkt het best |
| PA (nylon) | Eerlijk | 240–280°C | Matig | Hoge temperaturen geven risico op degradatie; vochtgevoeligheid vergroot de complexiteit |
| PC (polycarbonaat) | Slecht | 280–310°C | Laag | Zeer hoge verwerkingstemperaturen beschadigen lichtgevende deeltjes; niet aanbevolen |
| TPE/TPU | Goed | 170–220°C | Goed | Flexibele lichtgevende producten; lage verwerkingstemperaturen zijn gunstig |
| Siliconen | Goed | 150–200°C (LSR) | Goed | Werkt goed voor zachte, lichtgevende producten; vereist speciale doseerapparatuur |
De algemene regel is duidelijk: lagere verwerkingstemperaturen behouden de prestaties van lichtgevend poeder beter. Harsen die smelttemperaturen boven 260 °C vereisen, veroorzaken merkbare degradatie van lichtgevende strontiumaluminaatdeeltjes, waardoor zowel de beginhelderheid als de nagloeiduur afneemt.
Wat is de juiste mengverhouding en het juiste voorbereidingsproces?
De optimale vulverhouding is 8–12% op gewichtsbasis — dit brengt lichtintensiteit, verwerkbaarheid en oppervlaktekwaliteit in balans. Te weinig poeder geeft een zwakke gloed; te veel verslechtert de mechanische eigenschappen.
Op basis van onze uitgebreide test- en productie-ervaring bij Zetar zijn dit de aanbevolen vulverhoudingen:
Standaard gloei-effect: 5–8% lichtgevend poeder op gewicht van de basishars
Versterkt gloei-effect: 8–12% lichtgevend poeder op gewichtsbasis
"“De optimale concentratie lichtgevend poeder van 8–12% biedt de beste balans tussen lichtintensiteit, productkwaliteit en levensduur van de apparatuur.”"True
Tests tonen consequent aan dat een gehalte van 8–12% sterke lichtgevende prestaties biedt met behoud van aanvaardbare materiaalstroming, oppervlakteafwerking en mechanische eigenschappen. Een masterbatchaanpak binnen dit concentratiebereik waarborgt de gelijkmatigste lichtverdeling door het gehele spuitgegoten onderdeel.
"“Meer lichtgevend poeder toevoegen maakt de gloed altijd helderder — hoe meer u toevoegt, hoe beter het resultaat.”"False
Boven een vulgraad van 15% levert extra lichtgevend poeder steeds minder helderheidswinst op, terwijl de vloeibaarheid, mechanische sterkte en oppervlaktekwaliteit van het materiaal aanzienlijk verslechteren. De deeltjes verhogen ook de abrasieve slijtage van spuitgietapparatuur. De optimale balans tussen lichteffect en onderdeelkwaliteit ligt doorgaans in het bereik van 8–12%.
Maximale lichtintensiteit: 12–15% lichtgevend poeder op gewichtsbasis (daarboven neemt het rendement af en ontstaan verwerkingsproblemen)
Mengproces (kritieke stappen):
Droog de basishars vooraf: volg de standaard droogaanbevelingen voor uw specifieke hars om vochtgerelateerde defecten te voorkomen.
Voorvermengen bij kamertemperatuur: meng het lichtgevende poeder 10–15 minuten met harsgranulaat in een tuimel- of lintmenger voor een gelijkmatige verdeling. Gebruik geen hogesnelheidsmengers; mechanische belasting kan de lichtgevende deeltjes breken en de lichtopbrengst verminderen.
Voeg een koppelingsmiddel toe (optioneel maar aanbevolen): een kleine hoeveelheid (0.5–1%) silaankoppelingsmiddel verbetert de binding tussen anorganische lichtgevende deeltjes en de polymeermatrix, wat de mechanische eigenschappen en oppervlakteafwerking verbetert.
Gebruik een masterbatchbenadering voor consistente resultaten: voor productievolumes van meer dan 1.000 onderdelen adviseren we een lichtgevende masterbatch met een concentratie van 30–50% te maken en die vervolgens met nieuwe hars tot de doelconcentratie te verdunnen. Dit geeft een gelijkmatigere verdeling van het lichtgevende materiaal dan rechtstreeks droog mengen.
Belangrijk: de deeltjes van lichtgevend poeder zijn abrasief. Bij een dosering van meer dan 10% versnellen ze de slijtage van schroeven, cilinders, terugstroomringen en caviteitsoppervlakken. Bij de bereiding van een lichtgevend compound op granulaatbasis adviseren we bimetaalcilinders en geharde schroeven voor productieseries met een hoog gehalte aan lichtgevend poeder.
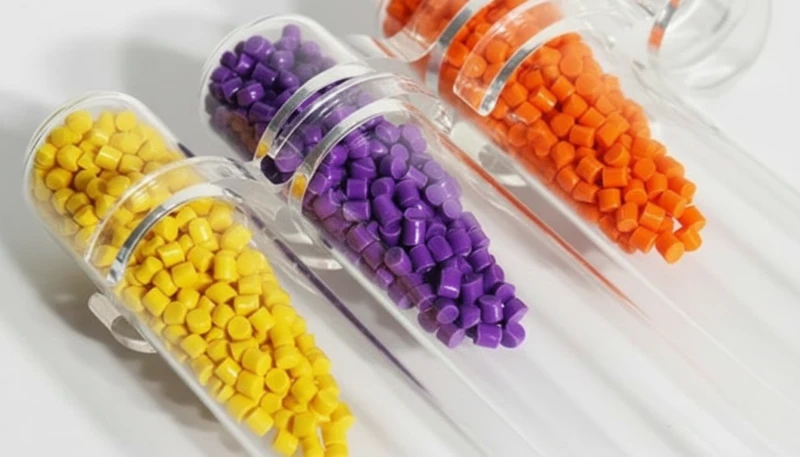
Hoe moeten de spuitgietparameters voor lichtgevende materialen worden aangepast?
Lagere smelttemperaturen, lagere schroefsnelheden en minimale tegendruk zijn de drie cruciale aanpassingen voor lichtgevende materialen. Ze beschermen de fosforescerende deeltjes tijdens het spuitgieten tegen thermische degradatie en afbraak door afschuiving.
Bij Zetar hebben we door uitgebreide proefnemingen geoptimaliseerde procesparameters ontwikkeld. Dit zijn de belangrijkste aanpassingen:
Smelttemperatuur: gebruik de onderkant van het aanbevolen verwerkingsbereik van de hars. Voor PP met lichtgevend poeder mikken we op 195–210°C in plaats van de gebruikelijke 210–230°C voor standaard-PP. Lagere temperaturen behouden de integriteit van de lichtgevende deeltjes en de nagloeiprestaties.
Schroefsnelheid: verlaag de schroefrotatiesnelheid met 20–30% ten opzichte van standaardverwerking. Een lager RPM vermindert afschuifwarmte en mechanische schade aan lichtgevende deeltjes. Typische doelwaarde: 30–60 RPM voor de meeste harsen met lichtgevend poeder.
Tegendruk: minimaliseer de tegendruk om afschuiving van lichtgevende deeltjes tijdens plastificeren te beperken. Voor lichtgevende materialen gebruiken we doorgaans 3–5 bar tegendruk, tegenover 5–10 bar bij standaardverwerking.
Injectiesnelheid: Gebruik gematigde injectiesnelheden. Een te hoge injectiesnelheid veroorzaakt sterke afschuiving bij het aanspuitpunt, waardoor lichtgevende deeltjes kunnen breken en zichtbare strepen kunnen ontstaan. Gematigde snelheden beperken ook het risico op straalvorming en vloeimarkeringen, die vooral op lichtgevende onderdelen goed zichtbaar zijn.
Matrijstemperatuur: standaardmatrijstemperaturen voor de basishars zijn doorgaans geschikt. Een iets hogere matrijstemperatuur (5–10°C boven standaard) kan de oppervlaktekwaliteit verbeteren doordat de textuur van de lichtgevende deeltjes beter wordt gereproduceerd.
| Parameterwaarde | Standaardverwerking van PP | Verwerking van PP + lichtgevend poeder | Waarom de aanpassing |
|---|---|---|---|
| Smelttemperatuur | 210–230°C | 195–210°C | Voorkom thermische degradatie van lichtgevende deeltjes |
| Schroefsnelheid | 60–100 RPM | 30–60 RPM | Mechanische afschuifschade aan deeltjes verminderen |
| Tegendruk | 5–10 bar | 3–5 bar | Minimaliseer breuk van deeltjes tijdens het plastificeren |
| Injectiesnelheid | Snel | Matig | Voorkom afschuiving bij het aanspuitpunt en vloeistrepen |
| Houddruk | 60–80% van de injectiedruk | 50–70% van de injectie | Vermijd overmatige nadrukspanning in gevuld materiaal |
| Koeltijd | Standaard | Standaard + 5–10% | Gevuld materiaal heeft mogelijk een iets langere koeltijd nodig |
Welke ontwerpoverwegingen maximaliseren de lichtgevende prestaties van gegoten onderdelen?
Transparante basishars met een wanddikte van 2–4 mm en een gladde oppervlakteafwerking produceert de helderste gloed. Beslissingen over het onderdeel- en matrijsontwerp beïnvloeden de lichtprestaties rechtstreeks:
Wanddikte: dikkere wanden bevatten meer lichtgevende deeltjes en absorberen meer excitatielicht, wat een helderdere en langer aanhoudende gloed oplevert. Bij wanden dikker dan 4–5 mm neemt de meeropbrengst echter af, omdat licht niet diep genoeg doordringt om de deeltjes in het midden te activeren. De optimale wanddikte voor lichtgevende onderdelen is doorgaans 2–4 mm.
Oppervlakte: Grotere blootgestelde oppervlakken absorberen meer licht en geven een helderdere gloed af. Ontwerpkenmerken zoals ribben, textuur en gevormde oppervlakken vergroten het effectieve lichtabsorberende oppervlak.
Kleurkeuze: Dit is cruciaal. De basishars moet doorschijnend of lichtgekleurd zijn (naturel, wit, lichtgeel of lichtgroen), zodat licht de lichtgevende deeltjes bereikt. Donkere kleuren (zwart, donkerblauw, donkerrood) absorberen het uitgestraalde licht en nemen het gloei-effect vrijwel weg. Gebruik zo nodig zeer bleke tinten in lage concentraties.
"“Doorschijnende of lichtgekleurde basisharsen met een wanddikte van 2–4 mm en een gladde oppervlakteafwerking leveren de helderste en langst lichtgevende spuitgietproducten op.”"True
Doorschijnende materialen laten maximaal licht door om de lichtgevende deeltjes op te laden en maximaliseren de lichtemissie voor een zichtbare gloed. Een wanddikte van 2–4 mm optimaliseert de balans tussen deeltjesvolume en indringdiepte van het licht. Gladde oppervlakken stralen efficiënter licht uit dan getextureerde oppervlakken.
"“U kunt lichtgevend poeder aan elke kunststofkleur toevoegen en toch een zichtbaar glow-in-the-darkeffect krijgen.”"False
Donkerkleurige harsen, zoals zwart, donkerblauw en donkerbruin, absorberen het licht dat door lichtgevende deeltjes wordt uitgezonden en blokkeren zo effectief het gloei-effect. Alleen doorschijnende, ongekleurde of zeer lichtgekleurde basisharsen laten voldoende licht door om de lichtgevende deeltjes op te laden en hun gloed zichtbaar uit te stralen.
Oppervlakteafwerking: gladde, glanzende oppervlakken stralen licht efficiënter uit dan ruwe of getextureerde oppervlakken. Specificeer voor maximale lichtopbrengst SPI A2- of A3-oppervlakteafwerking op de matrijscaviteit. Getextureerde oppervlakken verstrooien het uitgestraalde licht en verminderen de waargenomen helderheid.
Poortlocatie: Plaats poorten zo dat een gelijkmatige stroming ontstaat en vloeilijnen op zichtbare lichtgevende oppervlakken worden voorkomen. Vloeilijnen verschijnen als donkere strepen op lichtgevende onderdelen, omdat de lichtgevende deeltjes bij het samenkomen van de vloeifronten verschillend worden georiënteerd.
Overwegingen voor de geometrie van het onderdeel:
Vermijd zeer dunne secties (< 1 mm) — deze gloeien merkbaar minder dan de omliggende dikkere zones
Ontwerp een uniforme wanddikte om ongelijkmatige gloeipatronen te voorkomen
Houd er rekening mee dat hoeken en randen door de geometrie van de lichtemissie donkerder lijken dan vlakke oppervlakken
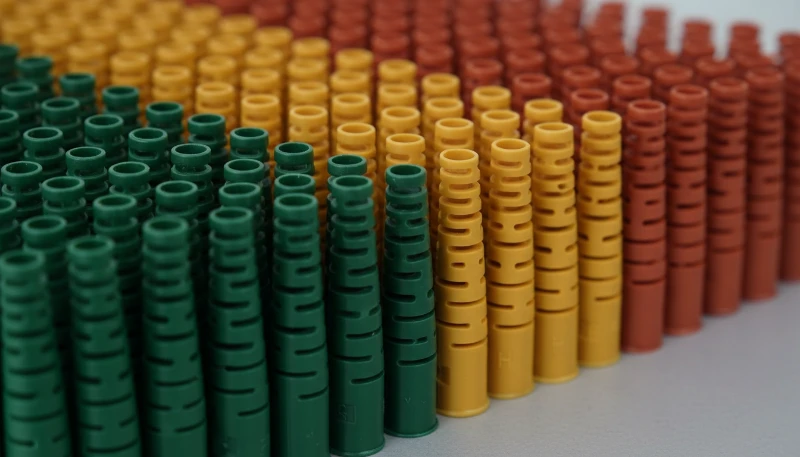
Welke kwaliteitscontroletests moet u uitvoeren op lichtgevende vormproducten?
De belangrijkste QC-tests zijn helderheidsmeting, controle van de nagloeiing en maatinspectie. Bij Zetar passen we een uitgebreid testprotocol voor lichtopbrengst toe.
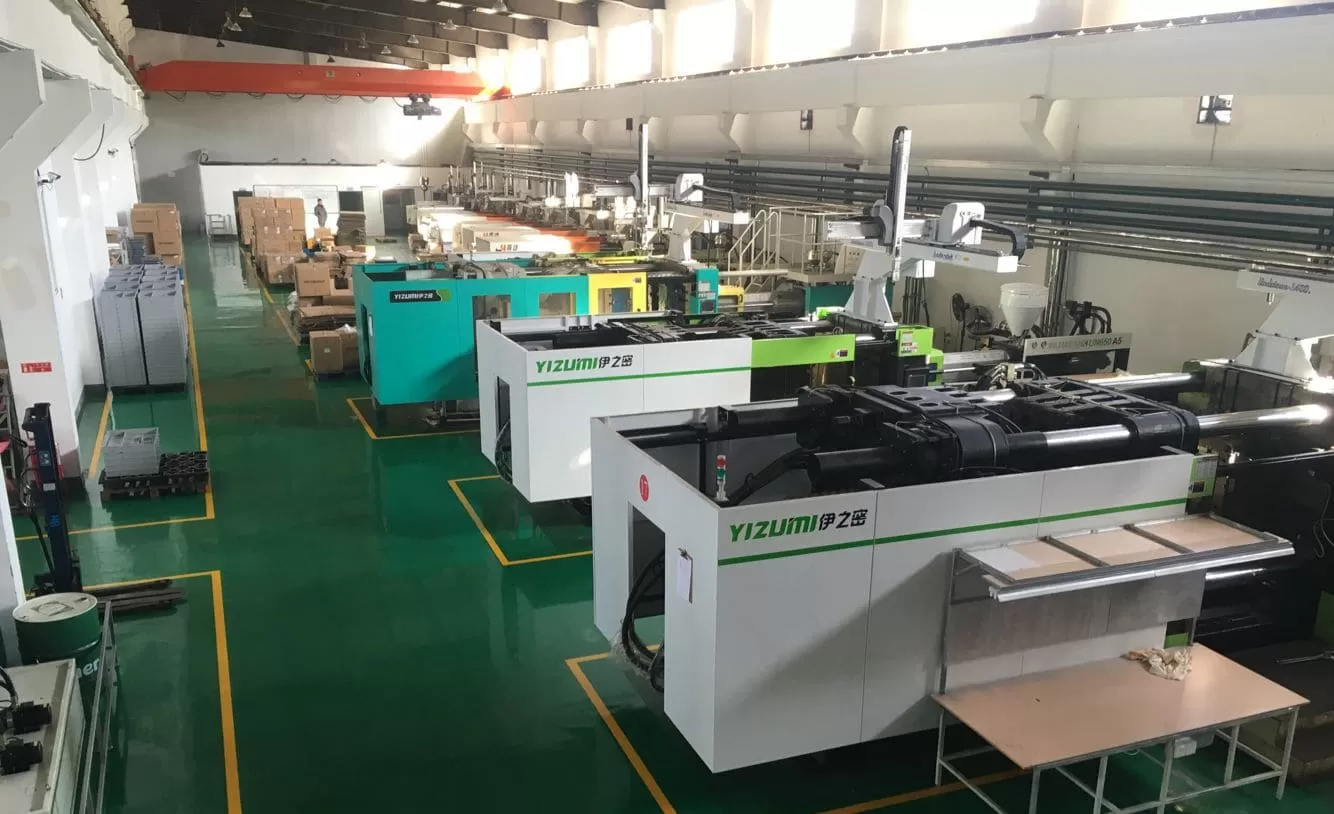
In onze fabriek in Shanghai draaien 47 spuitgietmachines van 90T tot 1850T en hebben we meer dan 400 materialen verwerkt, waaronder fosforescerende lichtgevende compounds voor veiligheids- en consumentenproducten.
Lichtprestatieproeven:
Meting van de beginhelderheid: meet met een fotometer of luminantiemeter de beginhelderheid van de nagloed (in mcd/m²) op vaste tijdstippen (2 min, 10 min, 30 min, 60 min) na gestandaardiseerde belichting. Strontiumaluminaatproducten moeten na 10 minuten > 150 mcd/m² meten.
Test van de nagloeiduur: meet de tijd totdat de helderheid onder de waarnemingsdrempel van het menselijk oog daalt (ongeveer 0,32 mcd/m²). Premiumformuleringen met strontiumaluminaat moeten > 8 uur halen.
Kleurconsistentie: visuele en instrumentele controle dat de lichtgevende kleur over het hele onderdeel gelijkmatig is en overeenkomt met het goedgekeurde referentiemonster.
Laad-/ontlaadcycli: test of herhaalde blootstelling aan licht en donkere cycli de lichtgevende prestaties na verloop van tijd niet aantasten.
Standaard kwaliteitstests voor onderdelen:
Maatinspectie volgens de tekeningsspecificaties
Visuele inspectie op oppervlaktedefecten (vloeisporen, inval, strepen)
Mechanische beproeving (treksterkte, slagvastheid) — houd er rekening mee dat lichtgevende vulstof de mechanische eigenschappen bij standaard doseringen doorgaans met 10–20% vermindert
Controle op gewichtsconsistentie (om uniforme verdeling van lichtgevend poeder te verifiëren)
Milieu- en veiligheidstests (afhankelijk van de toepassing):
UV-verouderingstest voor buitentoepassingen
RoHS-/REACH-conformiteitstests voor Europese markten
EN 67510- of DIN 67510-tests voor toepassingen met veiligheidsaanduidingen
Testen op veiligheid bij voedselcontact indien van toepassing (sommige lichtgevende pigmenten bevatten sporen van zware metalen)
Wat zijn de meest voorkomende toepassingen van lichtgevende spuitgietproducten?
Veiligheidssignalering, consumentenspeelgoed en auto-onderdelen zijn de drie grootste toepassingssegmenten voor lichtgevende spuitgietproducten. Elk segment heeft specifieke wettelijke en prestatie-eisen.
Veiligheids- en nooduitrusting:
Uitgangsborden en markeringen voor noodroutes (moeten voldoen aan de EN 67510-normen voor fotoluminescentie3)
Locatiemarkeringen voor brandblussers
Antislipstrips voor trappen en markeringen voor leuningen
Identificatielabels voor nooduitrusting
Consumentenproducten:
Noviteiten en speelgoed (lichtgevende sterren, figuren, telefoonhoesjes)
Hoe Luminiscerend Poeder Toevoegen in Spuitgieten | Gids
Kunstaas en sportuitrusting
Afdekplaten voor lichtschakelaars en wandcontactdozen
Industrieel en architectonisch:
Identificatiemarkeringen voor buizen en kleppen
Grensmarkeringen van de veiligheidszone
Architecturale accentverlichting
Kabelidentificatiehulzen
Automobiel en Transport:
Markeringen voor dashboards en bedieningsindicatoren
Identificatie van deurhendel en slot
Veiligheidsmarkeringen in voertuigen en vliegtuigen
Componenten voor fietsen en persoonlijke mobiliteitsmiddelen
Bij Zetar komt het merendeel van onze aanvragen voor lichtgevende producten van fabrikanten van veiligheidsuitrusting en consumentenproducten. Elke toepassing stelt specifieke eisen aan de nagloeitijd, helderheidsnormen, omgevingsbestendigheid en naleving van regelgeving. Deze eisen beïnvloeden de materiaalsamenstelling en procesparameters.
Veelgestelde vragen (FAQ)
Is lichtgevend poeder veilig voor gebruik in consumentenproducten en speelgoed?
Lichtgevende poeders op basis van strontiumaluminaat worden over het algemeen als niet-giftig en niet-radioactief beschouwd en zijn daardoor veilig voor consumentenproducten. Sommige formuleringen kunnen echter sporen van europium of andere activatoren bevatten die aan specifieke veiligheidsnormen moeten worden getoetst. Voor speelgoed moet naleving van EN 71 (EU), ASTM F963 (US) en RoHS-vereisten worden geverifieerd. Bij Zetar betrekken we uitsluitend lichtgevende poeders met volledige veiligheidsinformatiebladen en conformiteitsdocumentatie.
Hoelang houdt het lichteffect aan bij lichtgevende spuitgegoten producten?
Met hoogwaardig lichtgevend poeder op basis van strontiumaluminaat bij een toevoeging van 8–12% houdt het gloei-effect doorgaans 8–12 uur aan na 15–30 minuten blootstelling aan fel licht. De gloed is het helderst gedurende de eerste 30–60 minuten en neemt daarna geleidelijk af. Oudere zinksulfideformuleringen gloeien slechts 30–90 minuten. Het vermogen om te gloeien neemt gedurende de levensduur van het product niet af — het blijft zich 15–20+ jaar opladen en licht geven.
Kunt u met lichtgevend poeder verschillende gloeikleuren bereiken?
De meest voorkomende en helderste lichtgevende kleur is geelgroen, de natuurlijke emissiekleur van met europium geactiveerd strontiumaluminaat. Blauwe, aquakleurige en violette lichtgevende kleuren zijn verkrijgbaar, maar zijn doorgaans 30–60% minder helder en hebben een kortere duur dan geelgroen. Rode en oranje lichtgevende poeders bestaan ook, maar bieden een aanzienlijk kortere nagloei. Voor de helderste resultaten adviseren we in de meeste toepassingen geelgroen lichtgevend poeder.
Heeft lichtgevend poeder invloed op de recyclebaarheid van spuitgegoten onderdelen?
Lichtgevend poeder werkt als anorganische vulstof in de kunststofmatrix en blijft in het gerecyclede materiaal aanwezig als onderdelen worden vermalen en opnieuw verwerkt. De lichtgevende deeltjes blijven in gerecycled materiaal oplichten, hoewel de gelijkmatigheid bij elke herverwerkingscyclus kan afnemen. Voor toepassingen waarbij recyclebaarheid belangrijk is, moet het lichtgevende gehalte worden meegenomen in de beoordeling van de materiaalstroom aan het einde van de levensduur.
Welke deeltjesgrootte van lichtgevend poeder werkt het best bij spuitgieten?
Voor spuitgieten bieden lichtgevende poederdeeltjes van 15–60 microns de beste balans tussen lichtprestatie en oppervlaktekwaliteit. Grotere deeltjes (60–100+ microns) lichten sterker op, maar veroorzaken ruwe oppervlakken en kunnen kleine aanspuitingen verstoppen. Kleinere deeltjes (< 15 microns) geven gladdere oppervlakken maar een lagere lichtintensiteit. Bij Zetar adviseren we voor de meeste spuitgiettoepassingen doorgaans een mediane deeltjesgrootte van 25–45 micron als optimaal compromis.
Samenvatting
Het toevoegen van lichtgevend poeder bij kunststofspuitgieten is een beproefd proces voor waardevolle glow-in-the-darkproducten in veiligheids-, consumenten-, industriële en automobieltoepassingen. Succes vereist zorgvuldige aandacht voor meerdere samenhangende factoren: het juiste type lichtgevend poeder kiezen (strontiumaluminaat voor topprestaties), compatibele basisharsen met lage verwerkingstemperaturen selecteren, de vulgraad optimaliseren (8–12% voor het beste resultaat), spuitgietparameters aanpassen om de integriteit van de lichtgevende deeltjes te beschermen en onderdelen ontwerpen die de lichtopbrengst maximaliseren door de juiste wanddikte, kleurkeuze en oppervlakteafwerking.
Bij Zetar omvat onze ervaring met lichtgevend spuitgieten meerdere productcategorieën en materiaalformuleringen. We bieden volledige ondersteuning, van materiaalselectie en DFM-beoordeling tot procesoptimalisatie en kwaliteitsverificatie, zodat uw lichtgevende producten de gewenste lichtprestaties bereiken en tegelijk aan alle structurele en wettelijke eisen voldoen.
Klaar om uw glow-in-the-dark spuitgietproduct te ontwikkelen? Neem contact op met ons engineeringteam voor een gratis adviesgesprek en haalbaarheidsbeoordeling voor spuitgieten met lichtgevende materialen. Bekijk onze Complete gids voor spuitgieten voor een uitgebreid overzicht.
nagloei: Strontiumaluminaat is een met zeldzame aardmetalen geactiveerde fosforescerende verbinding die de helderste en langstdurende nagloei biedt. ↩
strontiumaluminaat: Fotoluminescentie is een proces waarbij materialen lichtenergie absorberen en deze opnieuw als zichtbaar licht uitzenden nadat de bron is verwijderd. ↩
fotoluminescent: Nagloei is de voortdurende emissie van zichtbaar licht door een fosforescerend materiaal nadat de excitatie stopt, gemeten totdat de helderheid onder 0.32 mcd per vierkante meter daalt. ↩