

When you source injection molded parts from a new supplier, the sample approval process is the critical gate between tooling investment and mass production. T0, T1, and T2 aren’t just internal jargon — they represent progressively stricter validation milestones that protect both you and your supplier from expensive production failures. Skip a stage, and you risk dimensional drift, cosmetic rejects, or full-batch scrap. This guide walks through each phase of the injection molding supplier sample approval process, explains what gets checked and why, and shows you how to reach production signoff with confidence.
- T0, T1, and T2 are progressive validation gates — each one adds stricter checks before production.
- T0 validates tool design and basic form; T1 confirms dimensional accuracy under near-production conditions.
- T2 proves production capability (Cpk) at full cycle speed before signoff.
- PPAP is the formal production signoff that locks parameters and transfers responsibility.
- A supplier with a structured sample process reduces your risk of costly production delays.
What Is the Injection Molding Sample Approval Process?
The sample approval process is a structured validation sequence that confirms a supplier can produce parts to spec before mass production.
The process typically follows the PPAP1 framework defined by AIAG, though many industries adapt it. You validate progressively: each stage confirms the mold, material, process, and documentation are aligned.
At its core, the process answers three questions: Can the mold produce the right shape? (T0) Can the supplier hold tolerances consistently? (T1) Can production run at full speed without quality drift? (T2) If all three are yes, you grant signoff.
A part that looks fine in T0 might reveal dimensional instability at T1. A process that works at T1 might not hold up at production speed in T2. This is why progressive validation matters.
The process also creates a documentation trail — dimensional reports, material certificates, and inspection records — that protects both parties. Understanding this workflow is essential when sourcing Spritzgießen parts.
What Happens During the T0 Initial Sample Phase?
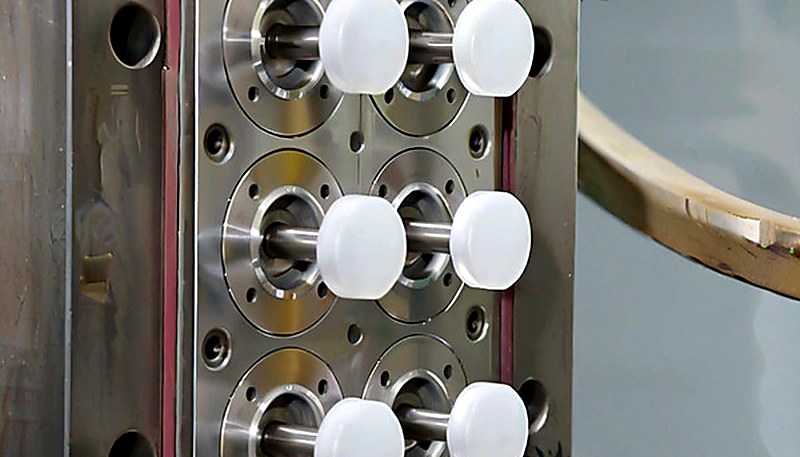
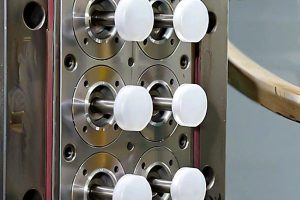
T0 is your first look at parts from a new mold. The goal here is straightforward: confirm that the tool produces the right shape, fills completely, and ejects without damage. You’re not validating production capability yet — you’re checking whether the mold design works at all. During T0, the supplier runs a small number of shots (typically 5–20 parts) at whatever parameters get the best visual result. Process parameters are not locked — the technician is free to adjust injection speed, pressure, hold time, and temperature to achieve a complete fill with no short shots or obvious defects.
What gets checked at T0:
- Visuelle Inspektion: flash, sink marks, flow lines, burn marks, weld lines, short shots
- Basic dimensions: critical dimensions measured with calipers or a quick CMM check
- Material flow: does the part fill completely? Are there air traps or flow imbalances?
- Ejection quality: does the part release cleanly, or does it stick, warp, or get marked by ejector pins?
T0 is essentially a design verification step. If the mold cannot produce an acceptable part even with optimized parameters, the tool needs modification — a steel change, a gate relocation, or a cooling channel adjustment. This is normal and expected. Most new molds require at least one round of T0 modifications before moving on.
From our experience, roughly 60–70% of new molds pass T0 on the first round with minor notes. The remaining 30–40% need some level of tooling revision before the next sampling stage. One critical point: T0 parts are not representative of production quality. They should never be used for functional testing, customer approvals, or end-use applications. They exist to validate the mold design, nothing more.
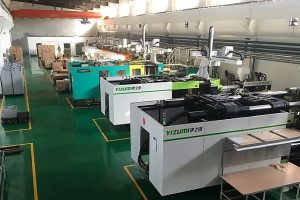
In our Shanghai factory, we run 47 injection molding machines with 20+ years of tooling and sampling experience. This means our engineering team has seen virtually every T0 issue — from gate freeze-off to uneven cooling — and can usually predict and prevent problems before the first shot.
How Does T1 Sampling Validate Your Parts?
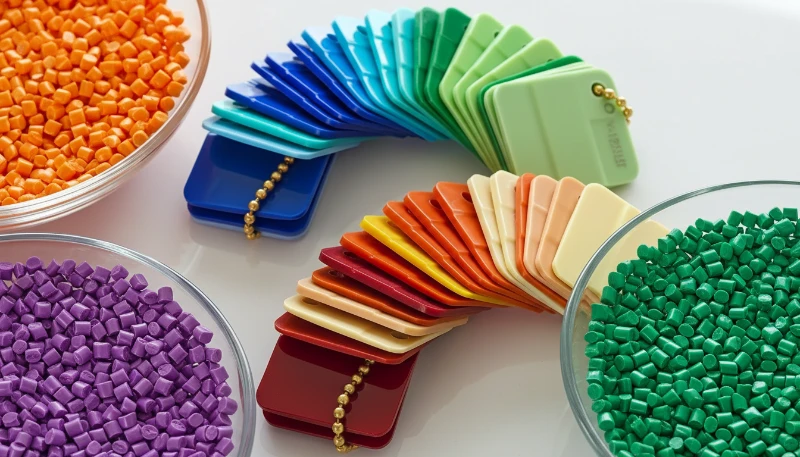
T1 is where things get serious. Unlike T0, where the technician can tweak parameters freely, T1 sampling locks down the process conditions and produces parts under documented, repeatable settings. The purpose is to prove that the mold and process can consistently meet your dimensional and cosmetic requirements. At this stage, the supplier runs a larger sample lot — typically 30 to 300 parts, depending on part size and industry requirements. All process parameters are recorded: melt temperature, mold temperature, injection speed, packing pressure, hold time, cooling time, and cycle time. Here’s what gets validated at T1:
- Full dimensional report: Every critical dimension measured via CMM, compared against the drawing tolerances.
This usually means 10–30 sample parts measured across the production run to check consistency.
- Material certification: Verification that the resin lot matches the specified grade. The supplier provides mill certificates or material test reports.
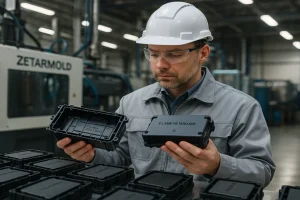
- Cosmetic evaluation: Surface finish, color matching (if applicable), gate vestige appearance, and any visual defects rated against an agreed standard.
- Funktionsprüfung (if required): Assembly fit, snap-fit engagement, thread quality, or any other functional checks specified in the control plan.
- Prozessdokumentation: The complete set of molding parameters is locked and documented as the “approved process settings.” Any future deviation from these settings requires re-approval. T1 is also where you identify tolerance stack-up issues.
A single dimension might be in spec, but when you assemble multiple T1 parts together, cumulative variation can cause fit problems. Catching this before T2 saves significant time and cost. If T1 reveals problems — dimensional drift across the run, inconsistent fill, or cosmetic variation — the supplier may need to adjust the process or modify the tool. This triggers another T1 round. In our practice, most projects pass T1 within one to two rounds, assuming T0 was completed properly.
What Does T2 Production Trial Confirm?
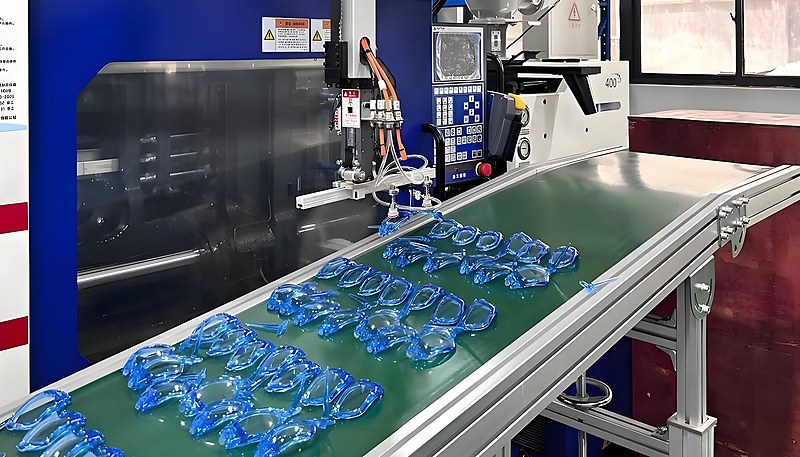
T2 is the final validation gate before production signoff. Where T1 proved your parts can be made to spec under controlled conditions, T2 proves they can be made consistently at production speed, on production equipment, with production operators, over a meaningful run length. The T2 production trial typically involves running 300 to 1,000+ parts (or a defined shift’s worth of production) at the full target cycle time. This is not a slow, careful process — it is a dress rehearsal for mass production.
Key T2 validation activities include:
- Process capability study (Cpk2): Statistical analysis of critical dimensions across the production run.
A Cpk of 1.33 or higher is the typical automotive standard — it means the process is capable, centered, and stable.
- Cycle time verification: Confirming that the target cycle time is achievable without quality degradation.
If quality drops when running at speed, the cycle time must be adjusted or the tool redesigned.
- Packaging and handling validation: Parts are packed in the production packaging and checked for damage, contamination, or deformation during handling and shipping simulation.
- Complete quality documentation package: The full PPAP-style documentation, including dimensional results, material certs, process flow diagrams, control plans, FMEA references, and appearance approval reports (if applicable).
Initial Process Study: A formal study of variation — within-piece, piece-to-piece, and over-time — to ensure the process is stable.
T2 is also where the supplier demonstrates their quality system in action. Incoming material checks, in-process inspections, SPC charting, final inspection — the whole workflow should be visible and documented.
If you’re working with a qualified Spritzgussform supplier, T2 should be a confirmation, not a discovery phase. Problems found at T2 usually indicate that T1 was rushed or incomplete.
When Is Production Signoff Granted?
Production signoff, formally known as PPAP, is the milestone where the buyer accepts the supplier’s process and authorizes mass production. It is a documented transfer of responsibility backed by data, not just a handshake.
The PPAP framework defines five levels of submission, ranging from Level 1 (warrant only) to Level 5 (full submission with part samples and complete documentation). Most injection molding projects fall into Level 3 or Level 4, which require:
Most injection molding projects fall into Level 3 or Level 4, which require:
– Part Submission Warrant (PSW) signed by both parties
– Design records and engineering change documents
– Process Flow Diagram
– Process FMEA
– Control Plan
– Measurement System Analysis (MSA) studies
– Dimensional results from the T2 run
– Material performance test results
– Initial process study (Cpk data)
– Appearance Approval Report (AAR) if applicable
– Sample production parts
– Master sample (retained as a reference)
– Checking aids (go/no-go gauges, fixtures, etc.)
When all of these are complete and approved, the buyer signs the Part Submission Warrant, and the supplier is authorized to begin production shipments.
From this point forward, any change to the process — material, parameters, equipment, or tooling — typically requires a new PPAP submission or at minimum a customer notification. Production signoff also defines the commercial relationship going forward. It establishes the quality baseline against which all future shipments are measured. If a supplier ships parts that deviate from the PPAP-approved standard, the buyer has clear grounds for rejection. The whole T0–T2 journey to signoff typically takes 4–12 weeks, depending on part complexity, the number of sampling rounds needed, and the buyer’s internal approval process. For simple parts with loose tolerances, it can be faster. For tight-tolerance or safety-critical parts (medical, automotive), expect the full timeline.
What Are the Most Common Sample Approval Failures?
The most common sample approval failures fall into five predictable categories. Knowing what goes wrong helps you prevent it.
1. Dimensional drift across the run
This is the most common T1 failure. The first parts look great, but dimensions shift as the mold heats up or the process settles. Root cause: insufficient cooling time, uneven mold temperature, or material batch variation. Fix: Run a longer stabilization period before pulling T1 samples, and verify mold temperature uniformity with thermal imaging.
Root cause: The aesthetic window is narrower than expected. Fix: Include cosmetic inspection criteria early, with agreed limit samples.
3. Warpage and dimensional instability
Parts measure correctly fresh out of the mold but warp hours or days later as internal stresses relax. Root cause: Uneven cooling, high packing pressure, or material shrinkage characteristics. Fix: Add post-mold cooling fixtures, reduce packing pressure, or switch to a more stable material grade.
4. Material mismatch or substitution
The T0 and T1 samples use the specified material, but somewhere between T1 and production, a substitute arrives. Root cause: Supply chain issues, cost reduction, or miscommunication. Fix: Require material certificates with every delivery and match them to the PPAP-approved grade.
5.
Inadequate documentation
The parts are good, but the paperwork is incomplete — missing dimensional reports, unsigned control plans, or incomplete process records. This is a documentation failure, not a quality failure, but it blocks PPAP approval just the same. Fix: Use a PPAP checklist and confirm documentation completeness before each submission.
How to Evaluate a Supplier’s Sample Approval Workflow?
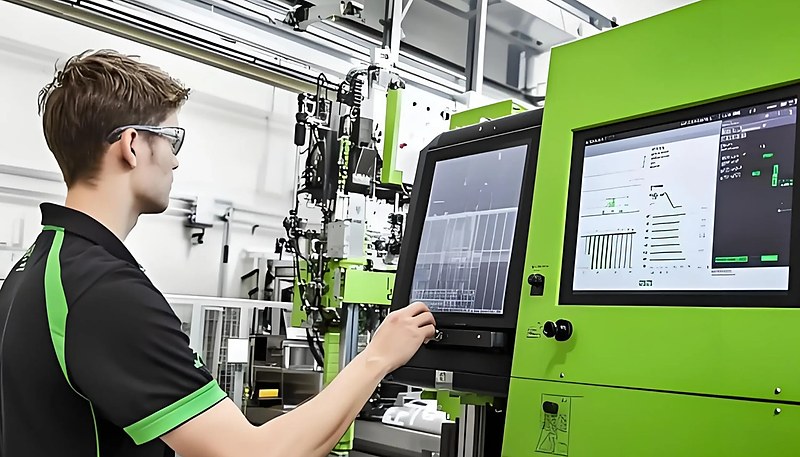
You evaluate a supplier’s workflow by examining their documentation, measurement capability, engineering depth, and communication transparency. A mature supplier makes all of these verifiable before you commit.
Ask for their sampling procedure document
A supplier with a mature quality system will have a written sampling procedure. It should define T0, T1, T2 criteria, the number of samples required at each stage, the documentation deliverables, and the escalation process when samples fail. If they can’t produce this document, that’s a warning sign.
Do they have optical comparators or vision systems for small features? A supplier that outsources all measurement work loses control over timing and data quality.
Review their PPAP track record
Ask how many PPAP submissions they have completed, for what industries, and what their first-pass approval rate is. A supplier with a 90%+ first-pass PPAP rate for automotive or medical customers has a fundamentally different capability than one that has only done informal approvals.
Evaluate their engineering support
Sample approval is not just a quality function — it requires engineering judgment. Does the supplier have engineers who can diagnose tooling issues, recommend process changes, and communicate technical findings clearly?
In our experience working with over 400 materials across hundreds of projects, the suppliers who communicate proactively during T1 — flagging potential dimensional trends before they become failures — are the ones who consistently deliver smooth PPAP approvals. We have seen projects derail because a supplier waited until the formal report to mention a recurring surface blemish, wasting weeks of re-sampling time.
Key Supplier Evaluation Checklist
A team of 8 or more experienced engineers is a strong signal of capability.
Confirm their material management process
How does the supplier ensure material traceability from T0 through production? Do they maintain material lot records? Can they verify incoming resin against specifications before molding?
Assess communication and responsiveness
During sampling, issues arise. The question is how quickly and transparently the supplier communicates them. Do they proactively flag problems, or do they wait for you to discover dimensional reports that don’t match? A supplier who hides bad news during T1 will create bigger problems at T2. If you’re evaluating potential partners, our injection molding supplier sourcing guide covers the full evaluation framework — from capability assessment to contract terms.
Our in-house mold manufacturing facility supports the full T0–T2 journey under one roof. Combined with our 6-step quality workflow (IQC → sample checking → process inspection → packaging/assembly inspection → FQC → OQC) and ISO 90013 / ISO 13485 / ISO 14001 / ISO 45001 certified systems, we maintain documentation consistency from first shot to PPAP signoff.
“PPAP Level 3 requires a full documentation package including dimensional results, process flow diagrams, and material certifications.”Wahr
True. PPAP Level 3 is the most common submission level for injection molding projects, requiring comprehensive documentation and sample parts to prove production readiness.
“T0 samples can be used for functional testing and customer approvals.”Falsch
False. T0 samples only validate mold design. Process parameters are not locked, and parts are not representative of production quality.
Understanding these common pitfalls is essential, but recognizing them is only half the battle. The real question is whether your supplier has the systems in place to prevent these issues before they reach your inspection desk. In our 20+ years of running sample approvals, we have found that suppliers who invest in robust process documentation and real-time monitoring catch dimensional drift during T1 — not after the customer rejects the shipment. This proactive approach separates reliable partners from those who treat sampling as a checkbox exercise.
“Once production signoff is granted, any change to the molding process or material typically requires customer notification or re-approval.”Wahr
True. PPAP defines the approved process baseline. Any deviation — material grade, machine parameters, tooling modification — requires formal notification and potentially a new submission to maintain quality assurance.
“A Cpk value of 1.0 is sufficient for automotive PPAP approval.”Falsch
False. Automotive industry standard requires Cpk ≥ 1.33 for critical dimensions. A Cpk of 1.0 means the process barely fits within tolerance — any shift causes out-of-spec parts.
Häufig gestellte Fragen
Häufig gestellte Fragen
How long does the full T0 to production signoff process take?
The complete sample approval process typically takes 4 to 12 weeks, depending on part complexity, the number of sampling rounds needed, and the speed of the buyer internal approval process. Simple parts with loose tolerances can be approved in as little as 3 to 4 weeks if the first T1 round passes cleanly. Tight-tolerance or safety-critical components for automotive or medical applications may take 10 to 12 weeks or longer, especially if multiple T1 rounds are required. Planning for two T1 rounds is a realistic baseline for most new tooling projects with a competent supplier.
What is the minimum Cpk required for injection molding PPAP approval?
The automotive industry standard requires a Cpk of 1.33 or higher for critical dimensions, which means the process is well-centered within tolerance limits with minimal risk of producing out-of-spec parts. Some medical and aerospace applications may require Cpk of 1.67 or even 2.0 for safety-critical features, reflecting the higher consequences of part failure in those sectors. For non-critical dimensions, a Cpk of 1.0 may be acceptable, but this should be explicitly agreed upon in the control plan before sampling begins. Always verify the specific Cpk requirements with your customer quality team.
Can you skip T0 and go directly to T1 sampling?
Technically yes, but it is strongly not recommended. T0 exists to verify that the mold design produces an acceptable part before investing time and money in detailed dimensional validation. Skipping T0 means you might discover fundamental tooling problems during T1, which wastes the cost of a full dimensional report and delays your entire project timeline. The only realistic exception is when you are working with a proven mold design that has already been run successfully with only minor modifications, such as a simple gate size change.
How many sample parts are required at each sampling stage?
T0 typically requires 5 to 20 shots — just enough to evaluate visual quality, basic form, and confirm the mold fills completely. T1 requires 30 to 300 parts for detailed dimensional analysis, cosmetic evaluation, and any functional testing specified in the control plan. T2 requires 300 to 1,000 or more parts to demonstrate sustained production capability and generate statistically valid process capability (Cpk) data. The exact sample quantities at each stage should be defined in the control plan before sampling begins, and they vary based on part size and industry requirements.
What happens if T1 samples fail dimensional requirements?
If T1 samples fail, the supplier must diagnose the root cause — which could be a tooling issue requiring steel modification, a process parameter problem, or a material batch variation. Common remedies include mold steel changes, process parameter adjustments, or switching to a more consistent material grade. After the corrective action is implemented, a new T1 round is run with fresh samples. Most injection molding projects require one to two T1 rounds to achieve approval. The cost of re-sampling should be clearly addressed in the initial supplier agreement to avoid disputes.
Is PPAP mandatory for all injection molding projects?
PPAP is mandatory in automotive manufacturing per IATF 16949 requirements and is also commonly required in medical device manufacturing under FDA quality system expectations. For other industries like consumer products, electronics, or general industrial equipment, PPAP is not always formally required but is widely considered best practice for any project where part consistency and dimensional accuracy matter. Even without a formal PPAP requirement, following the structured T0 to T2 sampling process provides documented evidence that protects both the buyer and the supplier from quality disputes.
Who pays for sample approval failures and re-sampling?
This depends entirely on the commercial terms negotiated in the initial supplier agreement. Common approaches include the supplier absorbing all sampling costs within the overall tooling price, the buyer paying separately per sampling round, or a shared cost model where the first round is included and subsequent rounds are charged based on root cause responsibility. The key is to clarify payment responsibility for re-sampling before the project starts. Ambiguity here is one of the most common sources of supplier-buyer disputes during the sample approval process, so document it clearly upfront.
-
PPAP: AIAG PPAP Manual refers to production Part Approval Process (PPAP) Reference Manual, 4th Edition, Automotive Industry Action Group ↩
-
Cpk: Cpk Standard refers to statistical Process Control (SPC) Reference Manual, 2nd Edition, Automotive Industry Action Group ↩
-
ISO 9001: ISO 9001 refers to 2015 Quality Management Systems Requirements, International Organization for Standardization ↩



 EN
EN  ES
ES  FR
FR  DE
DE  PT
PT  AR
AR  RU
RU  JA
JA  KO
KO  IT
IT  NL
NL  TR
TR  PL
PL 