 İçeriğe geç

1. Havacılık ve uzay:
Lightweight components improve fuel efficiency, while low-cost jigs, fixtures, and on-demand tooling enable swift design iterations during the development process.
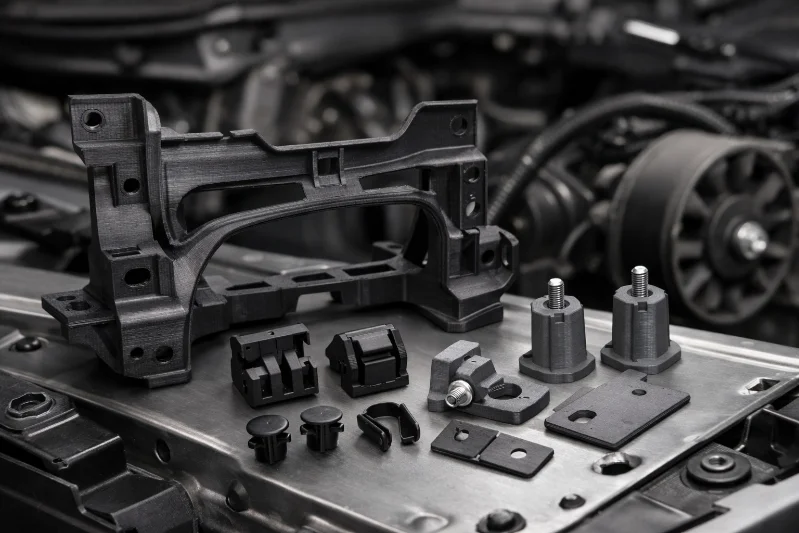
2. Otomotiv:
Functional prototypes, such as brackets, fixtures, dashboards, and spare parts, help reduce development timelines and facilitate custom or low-volume precision manufacturing.
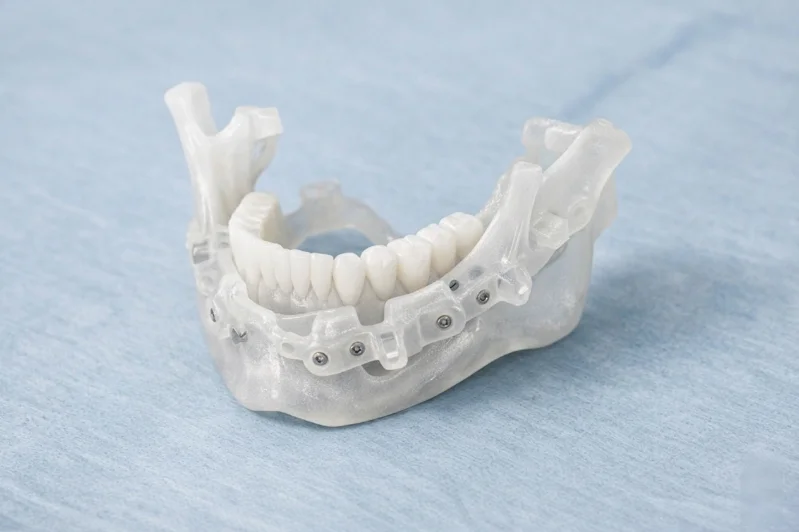
3. Healthcare:
Anatomical models aid surgical planning, prosthetics tailored to patients offer better usability, and specialized surgical tools ensure durability during sterilization procedures.
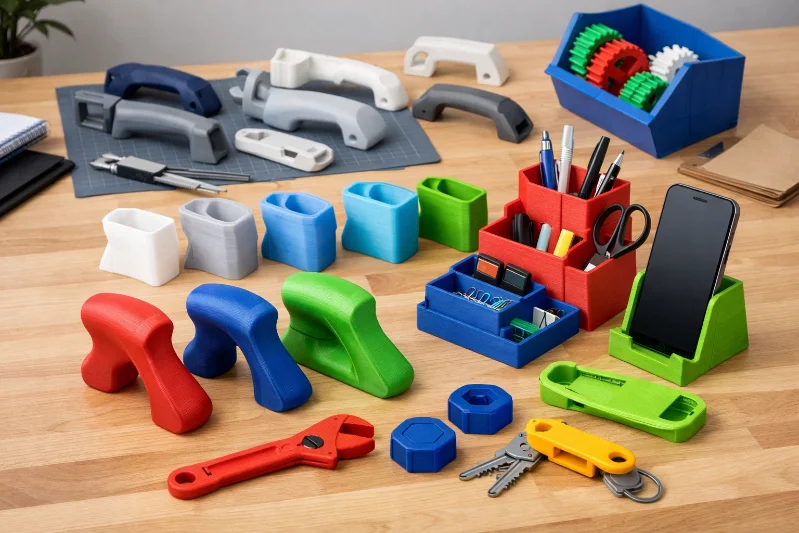
4. Consumer Goods:
Designers leverage FDM for ergonomic products, packaging prototypes, and affordable iterations of toys, gadgets, and home solutions to validate functionality before production.
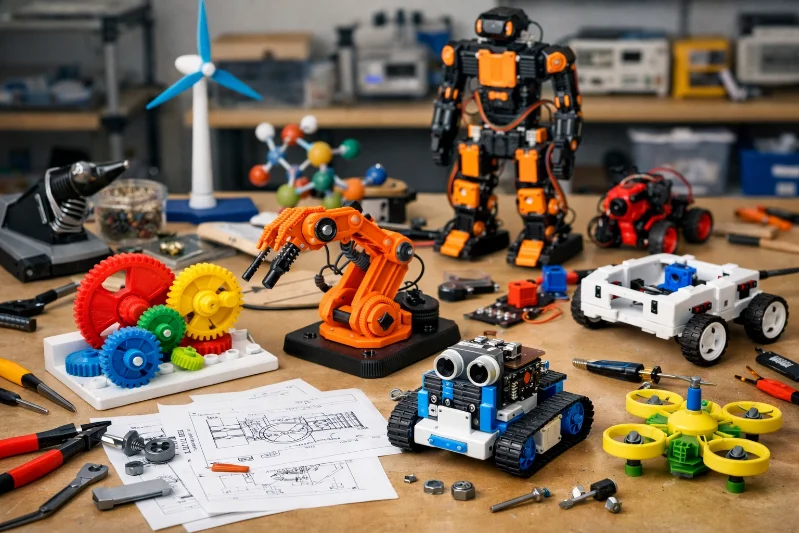
5. Education and Research:
FDM provides cost-effective tools for teaching engineering and STEM concepts and enables universities to prototype innovative designs for academic research projects.
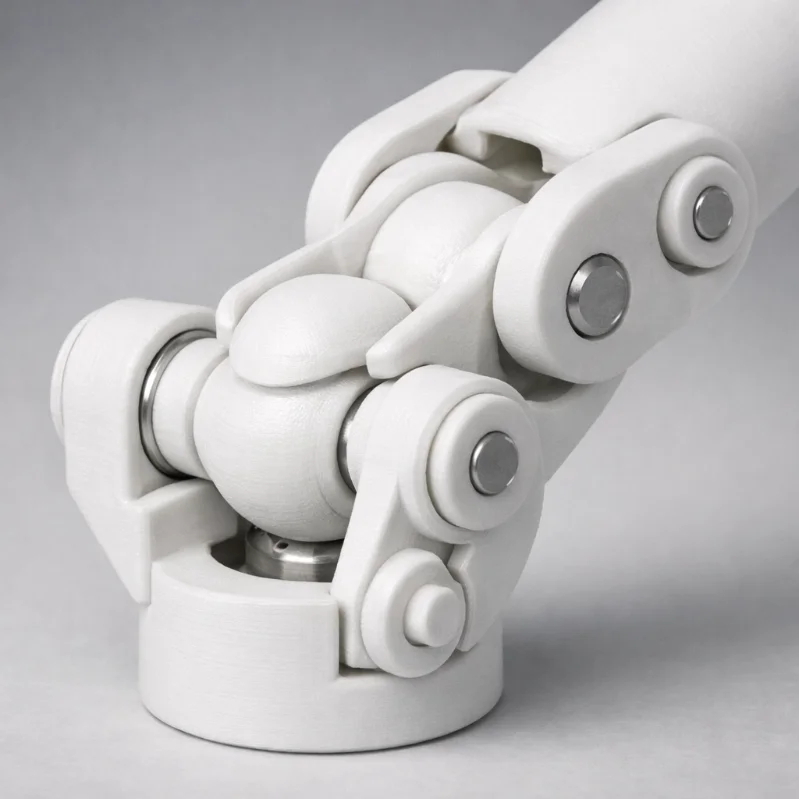
6. Industrial:
FDM supports the creation of custom assembly tools such as jigs, fixtures, robotic end-effectors, and tooling parts for streamlining workflows and optimizing processes.
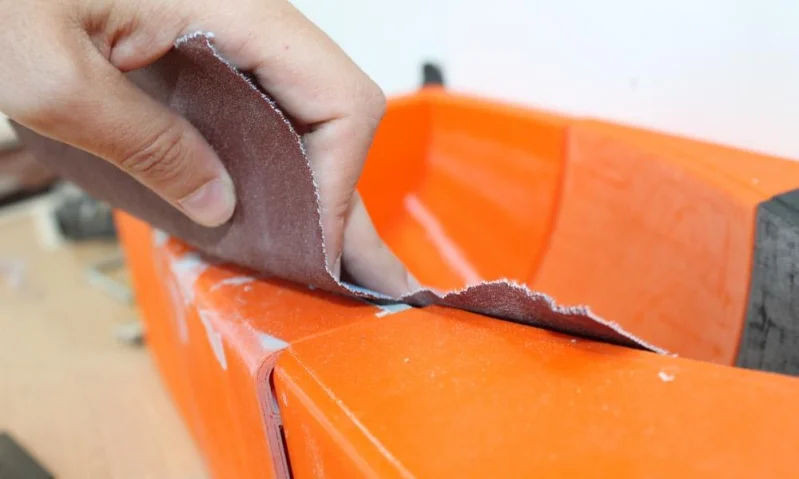
1. Sanding:
Sanding is a manual process that removes visible layer lines and imperfections. Start with coarse-grit sandpaper to smooth out rough surfaces, then gradually move to finer grits for a polished and uniform finish. It is especially useful for flat areas and curved surfaces, serving as a foundation for further steps like painting or coating.
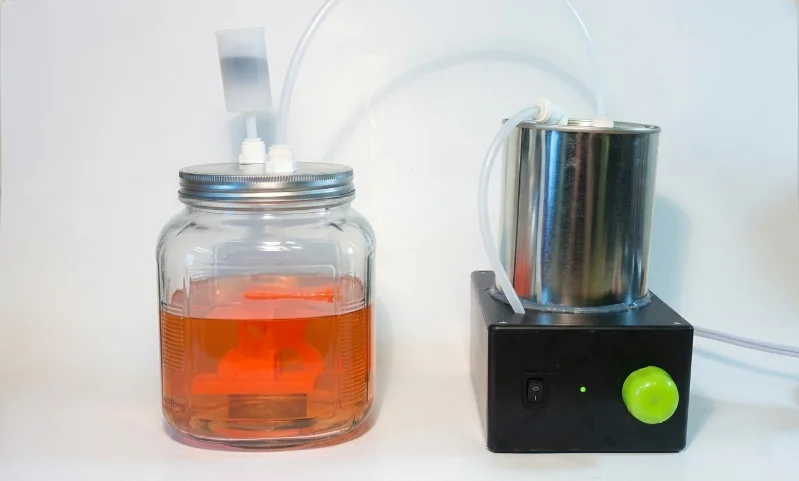
2. Kimyasal Düzeltme:
ABS gibi malzemeler için, aseton buharı ile kimyasal düzeltme, pürüzsüz, parlak bir görünüm elde etmek için popüler bir metottur. Buhar, dış yüzeyi hafifçe eriterek, yoğun manuel çaba gerektirmeden katman hatlarını ortadan kaldırır. Bu metot, hassas detayları fazla düzeltmekten veya bozmaktan korumak için hassas bir kullanım gerektirir.

3. Boyama:
Zımparalama ile hazırlıktan sonra, parçalar eşit boya uygulamasını sağlamak ve küçük kusurları doldurmak için bir astar katmanı ile astarlanabilir. Daha sonra, profesyonel bir estetik için canlı renkler, desenler veya hatta gerçekçi dokular elde etmek amacıyla spreyler ve fırça tabanlı seçenekler dahil çeşitli boyalar uygulanabilir.
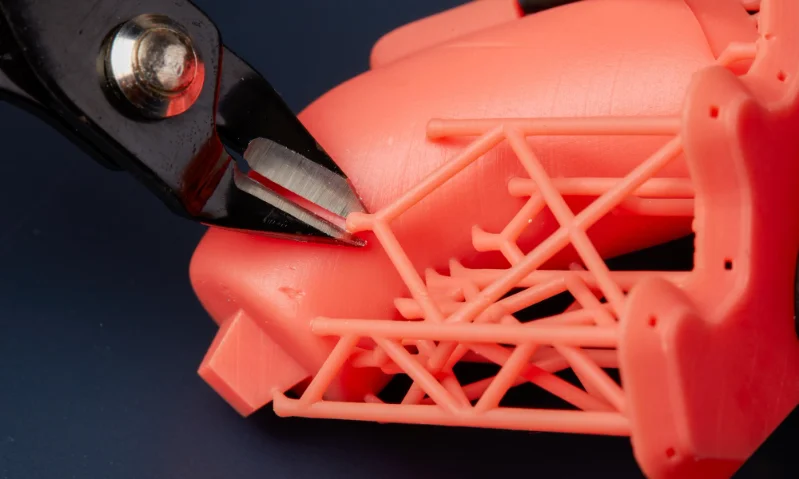
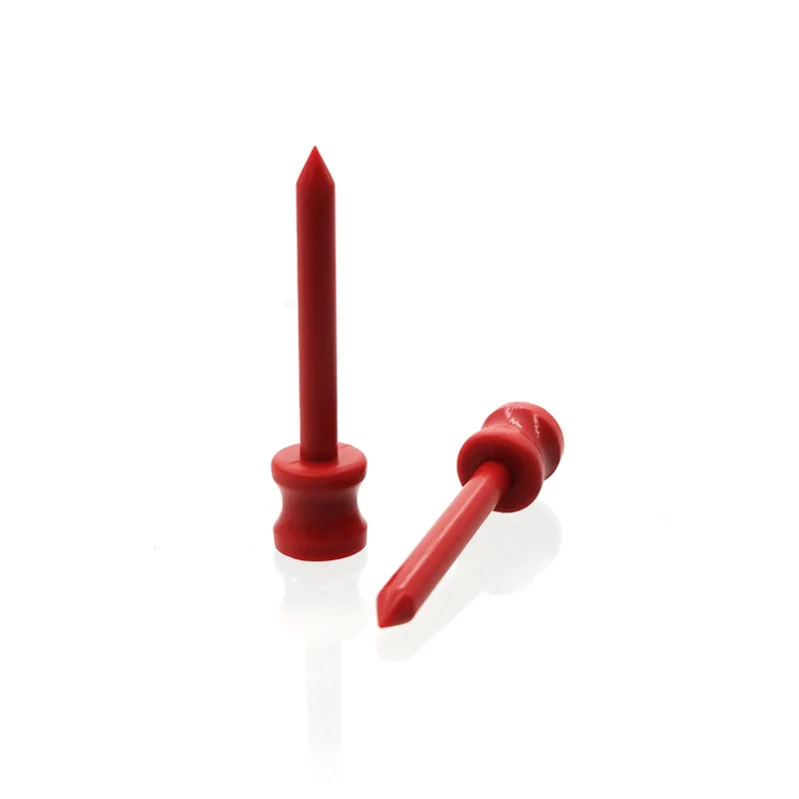
4. Desteğin Çıkarılması:
Baskı sonrasında, destekler, bitmiş parçaya zarar vermeden dikkatlice kaldırılmalıdır. Tasarım optimizasyonu gereksiz destekleri minimize ederek kaldırma işlemini basitleştirebilir. Kaldırma sonrasında, bağlantı noktalarında kalan izleri düzeltmek için hassas zımparalama veya sıyırma gereklidir.
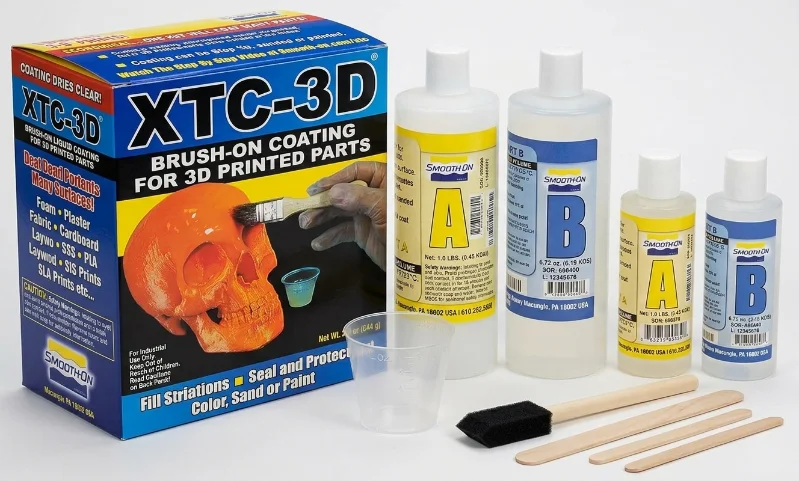
5. Dolgu ve Sızdırmazlık:
Baskılardaki kusurlar, boşluklar veya istenmeyen pürüzler, macun gibi dolgu malzemeleri ile giderilebilir. Dayanımı artırmak veya parçaları su geçirmez hale getirmek için, epoksi reçine veya benzer kaplamalar ile sızdırmazlık sağlanması genellikle uygulanır, uzun vadeli dayanıklılık ve çevresel faktörlerden koruma sağlar.
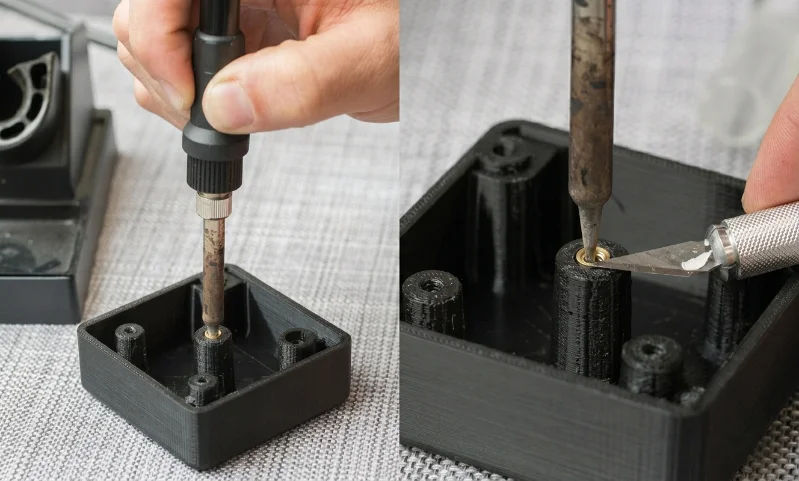
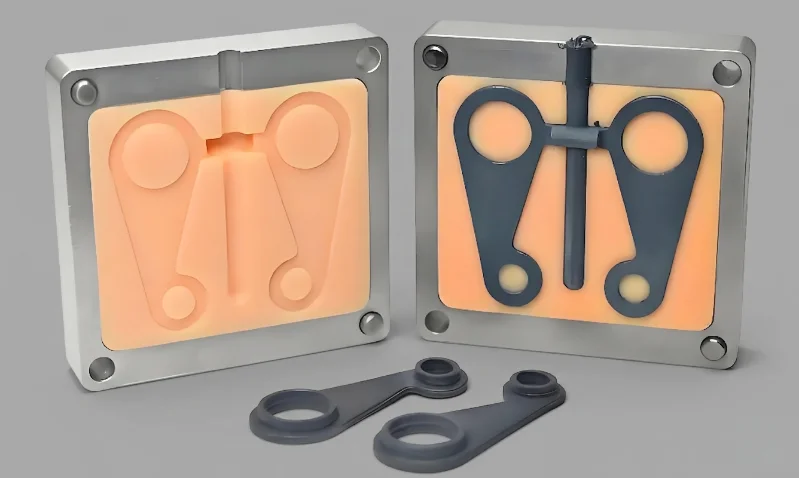
6. Montaj ve Bitirme
Fonksiyonel kullanım veya çok parçalı montaj için tasarlanan baskılarda, toleransları iyileştirmek ve istenen uyumu elde etmek için delme, diş açma veya tapa açma gibi ek adımlar gereklidir. Bu teknik, montajlı bileşenler için hassasiyet ve yapısal güvenilirlik sağlar.
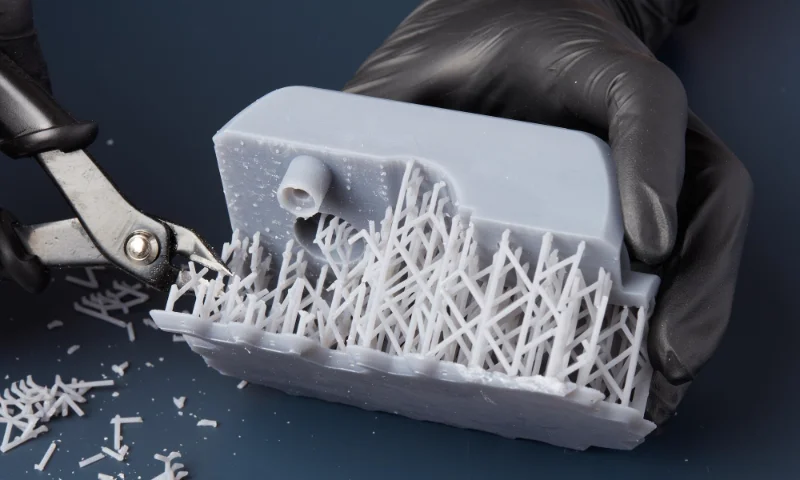
Ağaç Benzeri Destek Yapıları
Dallı destekler, yeterli desteği sağlarken teması en aza indirir
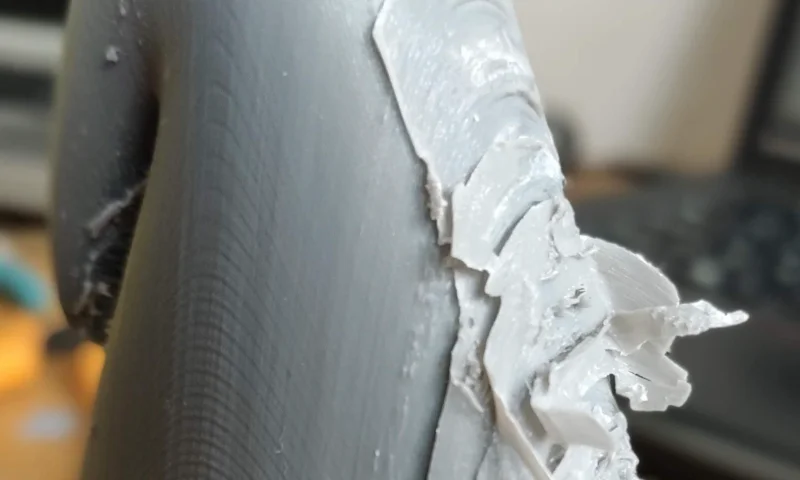
Destek Kaldırma Teknikleri
Uygun araçlar ve teknikler, parçalara zarar vermeden temiz bir şekilde çıkarmayı sağlar
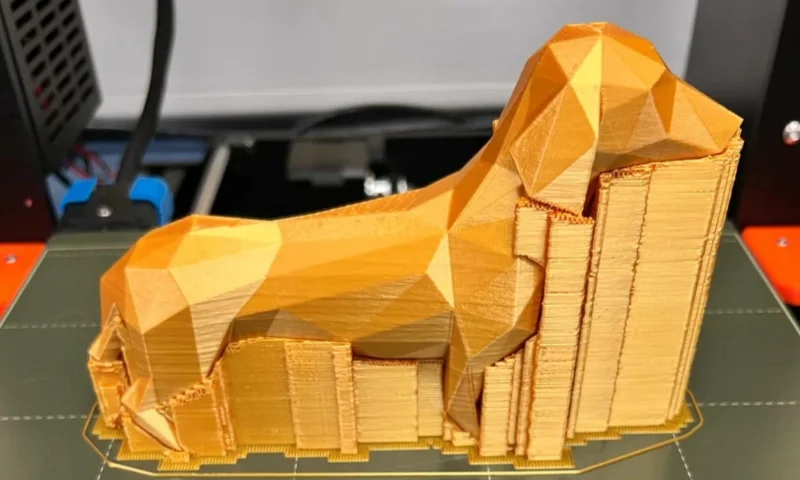
Destek Deseni Karşılaştırması
Farklı desenler değişen stabilite ve malzeme verimliliği sunar

Çözülebilen Destek Malzemeleri
PVA ve BVOH destekler suda çözünerek pürüzsüz yüzeyler sağlar

Injection Molding Supplier Sample Evaluation: How to Review T1 and T2 Parts
When you commission a new injection mold, the first physical proof that your design works arrives as T1 samples. These first-shot parts, followed by T2 iterations, are the most critical

Injection Molding Supplier Quality Control Process Buyers Should Verify
Choosing an injection molding supplier without understanding their quality control process is like buying a car without test-driving it. You might get lucky—or you might end up with a production

Injection Molding Supplier Project Management: How Buyers Keep Tooling and Production on Track
Managing an injection molding project with an overseas supplier is not just about placing a purchase order and waiting for parts to arrive. Between your initial tooling investment and first

