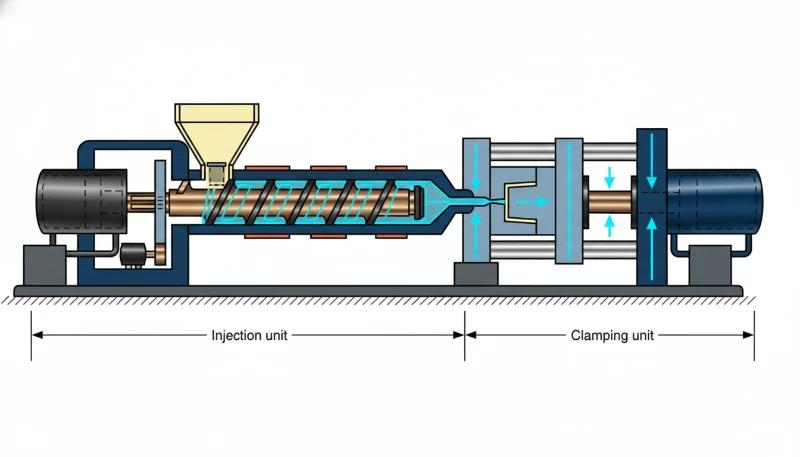
Когда вы заказываете новую пресс-форму, первым физическим подтверждением работоспособности вашей конструкции становятся образцы T1. Эти детали, полученные при первом испытании пресс-формы, а затем их итерации T2, служат наиболее важной контрольной точкой перед серийным производством. На ZetarMold выявление отклонений размеров или дефектов поверхности на этапе T1 позволяло сэкономить недели повторной работы и тысячи долларов на исправлении оснастки. Процесс оценки охватывает три основных направления: проверку размеров по вашим чертежам, контроль качества поверхности и проверку соответствия материала. Каждое направление выявляет свои типы дефектов, которые не обнаруживаются в рамках других направлений. Это руководство описывает системный подход, с помощью которого вы сможете уверенно проверять образцы литья под давлением1 и утверждать оснастку до запуска производства.
- Образцы T1 — это первые отливки из новой пресс-формы; образцы T2 изготавливают после корректировки пресс-формы.
- Прежде чем оценивать внешний вид, сравните детали T1 с 2D-чертежами и обозначениями GD&T.
- Проверка размеров, контроль поверхности и испытания материала образуют три основных направления оценки.
- Запрашивайте образцы T2 только тогда, когда отклонения превышают допуски или дефекты поверхности требуют доработки оснастки.
- Документируйте каждый результат измерениями и официальным отчётом об оценке.
Понимание полного процесса оценки образцов помогает увидеть значение каждой контрольной точки. Процесс начинается, когда изготовитель пресс-формы завершает её производство и выполняет первые пробные отливки на машине для изготовления образцов. Эти первые отливки, иногда называемые T0 или пилотными, позволяют изготовителю пресс-формы проверить базовые операции заполнения, выдержки под давлением и извлечения. Только после подтверждения механической работоспособности оснастки изготовитель пресс-формы производит официальные образцы T1 для отправки вам. Ваша оценка должна быть сосредоточена на соответствии деталей T1 проектным требованиям, а не на базовой работоспособности пресс-формы. Это разграничение предотвращает разногласия по поводу того, какая сторона отвечает за устранение конкретных проблем.
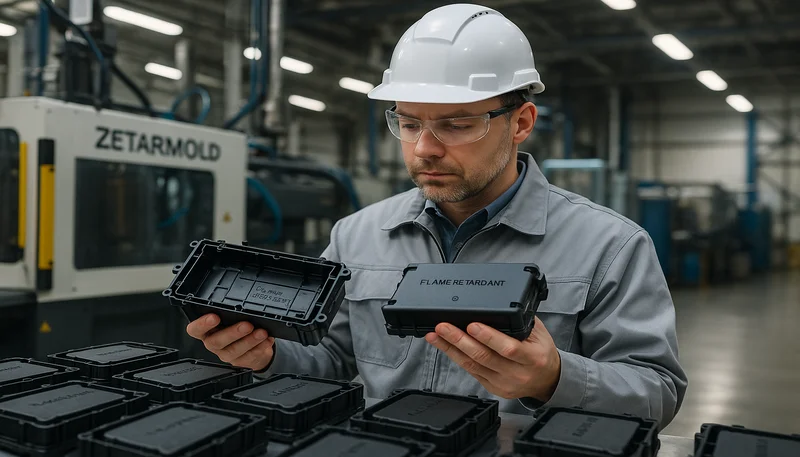
Что представляют собой образцы T1 и T2 в литье под давлением?
Образцы T1 (Испытание 1) — это первые пластиковые детали, изготовленные в новой пресс-форме. Они представляют собой первую попытку изготовителя пресс-формы воплотить вашу 3D-модель CAD в физической детали. Образцы T2 (Испытание 2) изготавливают после доработки пресс-формы с учётом результатов оценки T1. Доработки могут включать снятие или наращивание стали для устранения отклонений размеров, полировку поверхности для исправления внешних дефектов или изменение системы впусков и литниковых каналов для устранения проблем с заполнением. Для некоторых проектов требуются итерации T3 или T4, однако грамотно организованная проверка T1 в сочетании с точной корректировкой оснастки должна устранить большинство проблем к этапу T2. На ZetarMold около 40 процентов проектов получают одобрение на этапе T1, а для 60 процентов требуется этап T2.
Более широкий обзор основ процесса, поведения материалов и производственных решений представлен в нашем полном руководстве по литью под давлением.
Почему оценка образцов важна перед серийным производством?
Пропуск или поспешное проведение оценки образцов — самый быстрый путь к получению дефектных деталей в производстве. Этап образцов — это последняя возможность убедиться, что пресс-форма изготавливает детали в соответствии с вашим конструкторским замыслом, прежде чем вкладываться в планирование производства, закупку сырья и логистику. Незамеченное отклонение толщины стенки на 0.15 mm в образце T1 может привести к разрушению конструкции при эксплуатации. Тщательная оценка выявляет такие проблемы, пока для исправления достаточно простой выборки стали, а не полного изготовления пресс-формы заново. Помимо точности размеров, этап образцов позволяет проверить расположение впуска, положение линий спая и характер течения материала, которые непосредственно влияют на эксплуатационные характеристики детали.
Как подготовиться к проверке образцов T1?
Основные этапы подготовки заключаются в сборе 2D-чертежей, данных о материале, эталонов поверхности и контрольного оборудования до получения T1. Заранее определите требования к допускам. Общие допуски по ISO 2768-mK являются распространённой отправной точкой, но для критических размеров могут потребоваться более узкие диапазоны. Запросите не менее 10–15 образцов T1 для измерений и разрушающих испытаний.
ТАБЛИЦА:{“headers”:[“Элемент подготовки”,”Подробности”,”Приоритет”],”rows”:[[“2D-чертежи с GD&T”,”Все критические размеры, базы и обозначения допусков”,”Обязательно”],[“Технический паспорт материала”,”Подтверждение марки, цвета и добавок”,”Обязательно”],[“Эталон качества поверхности”,”Утверждённый эталон внешнего вида или целевые значения Ra/Rz”,”Обязательно”],[“Контрольное оборудование”,”Штангенциркули, микрометры, CMM, профилометр”,”Обязательно”],[“Количество образцов”,”Не менее 10–15 деталей”,”Рекомендуется”]]}
Какие размеры и допуски необходимо проверить?
В первую очередь необходимо проверить отверстия, расположение монтажных отверстий, защёлки и уплотнительные поверхности. Эти элементы непосредственно влияют на сборку и прочность конструкции. Используйте отчёт CMM поставщика как исходную основу, но самостоятельно проверьте 5–10 наиболее критических размеров с помощью калиброванного оборудования.
После определения критических размеров занесите все результаты измерений в структурированный формат. Большинство поставщиков прилагают к поставке T1 отчёт о контроле CMM. Сопоставьте этот отчёт с собственными измерениями наиболее критических элементов. Любое расхождение между данными поставщика и результатами независимой проверки требует немедленного обсуждения. На ZetarMold мы рекомендуем покупателям сравнивать наши данные CMM с собственными измерениями, чтобы убедиться в качестве оснастки до этапа T2.
Для общих размеров можно применять общие допуски ISO 27682 класса mK (плюс-минус 0.1 mm для размеров менее 6 mm, плюс-минус 0.2 mm для размеров от 6 до 30 mm, плюс-минус 0.4 mm для размеров от 30 до 120 mm), однако на чертеже следует явно указывать более строгие допуски. Особое внимание уделяйте равномерности толщины стенки. Отклонения свыше 10 процентов часто указывают на неравномерное давление выдержки или проблемы с впуском, которые усугубляются в серийном производстве.
Оценку качества поверхности часто проводят поспешно или считают второстепенной по сравнению с проверкой размеров. Однако для потребительских товаров качество поверхности может быть столь же важным, как и точность размеров. Деталь с идеальными размерами, но видимыми утяжинами или линиями спая на лицевой поверхности, всё равно будет отклонена вашим конечным заказчиком. Оценивайте поверхность столь же тщательно, как выполняете измерения размеров.
ТАБЛИЦА:{“headers”:[“Тип элемента”,”Типичный допуск”,”Примечания”],”rows”:[[“Диаметр отверстия”,”плюс-минус 0.05 mm”,”Критично для посадки с натягом или центрирования”],[“Межосевое расстояние монтажных отверстий”,”плюс-минус 0.10 mm”,”Влияет на совмещение при сборке”],[“Общая длина”,”плюс-минус 0.20 mm”,”Общий допуск”],[“Толщина стенки”,”плюс-минус 0.10 mm”,”Отклонение должно оставаться в пределах 10 процентов от номинального значения”],[“Плоскостность”,”0.05–0.10 mm”,”Критично для уплотнительных поверхностей”],[“Зацепление защёлки”,”плюс-минус 0.05 mm”,”Превышение допуска создаёт риск разрушения”]]}
При регистрации результатов измерений допусков указывайте, измерялся ли каждый размер при комнатной температуре и стандартной влажности. Размеры пластиковых деталей могут изменяться на 0.1–0.3 процента в зависимости от условий окружающей среды. Это особенно характерно для гигроскопичных материалов, таких как нейлон или поликарбонат, которые поглощают влагу из окружающего воздуха. Всегда выполняйте измерения при одинаковых условиях окружающей среды и записывайте температуру и влажность.
Как оценить качество поверхности и внешний вид?
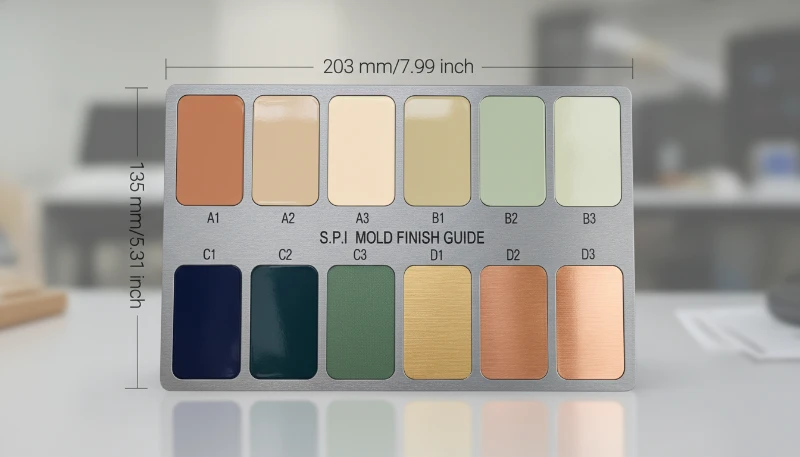
Правильный метод заключается в оценке при освещении с цветовой температурой дневного света с расстояния 30–40 cm. Проверьте все поверхности на наличие утяжин, линий спая, следов течения и ореолов у впуска. Сравните их с эталоном внешнего вида или значениями Ra/Rz. Для полированных декоративных поверхностей должно быть достигнуто значение Ra от 0.4 до 0.8 um, а для текстурированных — от Ra 1.6 до 3.2 um.
Документируйте каждый дефект с помощью макрофотографий высокого разрешения, включающих масштабный эталон. Классифицируйте каждый результат как критический (видимый на обращённой к заказчику лицевой поверхности), значительный (влияет на функцию или герметизацию) или незначительный (внешний дефект на невидимой поверхности). Такая классификация помогает поставщику определить приоритеты корректировки пресс-формы для T2. Особое внимание уделяйте утяжинам напротив участков с толстыми стенками и пересечений рёбер, поскольку это наиболее распространённые проблемы качества поверхности, выявляемые при оценке T1 на нашем предприятии.
Дефекты поверхности образцов T1 часто указывают на скрытые проблемы конструкции пресс-формы, которые необходимо устранить до начала производства. Линия спая на видимой поверхности обычно означает, что два фронта потока встречаются в нежелательном месте. Проектировщику пресс-формы может потребоваться изменить положение впуска, увеличить количество впусков или добавить направляющий элемент для перенаправления фронта потока. Аналогично, устойчивые утяжины напротив толстых участков указывают на недостаточное давление выдержки или недостаточное время охлаждения. Эти дефекты поверхности являются не просто косметическими проблемами; они указывают на потенциальную недостаточную прочность готовой детали.
Какие испытания материалов следует провести на образцах, изготовленных литьём под давлением?
Для каждой партии T1 обязательны испытания на показатель текучести расплава3 (MFI), растяжение и соответствие цвета. MFI подтверждает соответствие материала и выявляет загрязнения. Для конструкционных полимеров, таких как PC, POM или PA66, сравните предел прочности при растяжении и удлинение с данными технического паспорта. Для проверки соответствия цвета требуется спектрофотометр, измеряющий Delta E менее 1.0.
Помимо стандартных испытаний, перечисленных в таблице ниже, учитывайте требования вашей области применения. Детали, подвергающиеся воздействию ультрафиолета, следует подвергать ускоренным климатическим испытаниям. Для компонентов, применяемых в электротехнике, может потребоваться проверка электрической прочности. Для деталей, воспринимающих механические нагрузки, полезны испытания на ползучесть, особенно при использовании полукристаллических материалов, таких как POM или PA66. Адаптируйте план испытаний к условиям конечного применения, а не только к техническому паспорту материала.
Дополнительные аспекты испытаний
Для деталей, предназначенных для контакта с пищевыми продуктами или медицинского применения, запросите подтверждение соответствия образцов требованиям FDA или USP Class VI. Если при эксплуатации детали будут подвергаться механическим нагрузкам, рассмотрите возможность проведения испытания на падение или удар. Для полной прослеживаемости всегда документируйте все результаты испытаний материалов вместе с данными о размерах в отчёте об оценке T1. Эти дополнительные испытания увеличивают затраты, но дают критически важную уверенность в том, что формованные детали будут безопасно работать в предполагаемых условиях на протяжении всего жизненного цикла изделия.
ТАБЛИЦА:{“headers”:[“Вид испытания”,”Оборудование”,”Критерий приёмки”,”Когда требуется”],”rows”:[[“Показатель текучести расплава”,”Прибор для определения MFI”,”В пределах 10 процентов от данных технического паспорта”,”Каждый проект”],[“Предел прочности при растяжении”,”Универсальная испытательная машина”,”Не ниже минимума из технического паспорта”,”Конструкционные полимеры”],[“Соответствие цвета Delta E”,”Спектрофотометр”,”Delta E менее 1.0″,”Цветные детали”],[“Шероховатость поверхности”,”Профилометр”,”Отклонение Ra от целевого значения не более 0.2 um”,”Декоративные лицевые поверхности”],[“Размеры CMM”,”CMM или высотомер”,”Все размеры в пределах допуска”,”Каждый проект”]]}
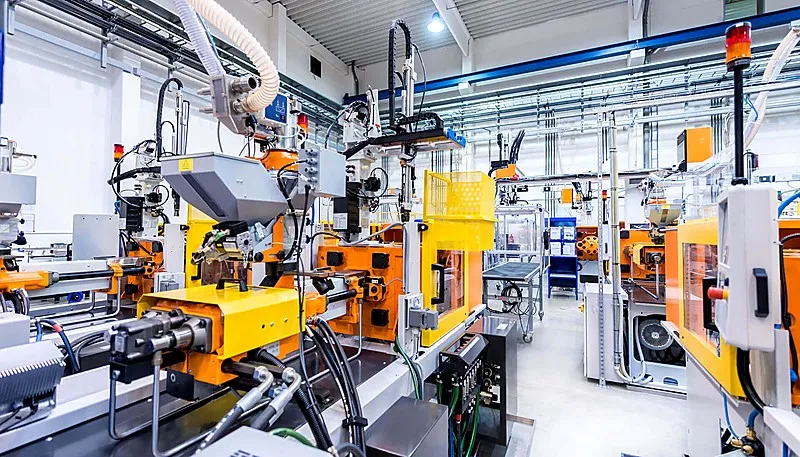
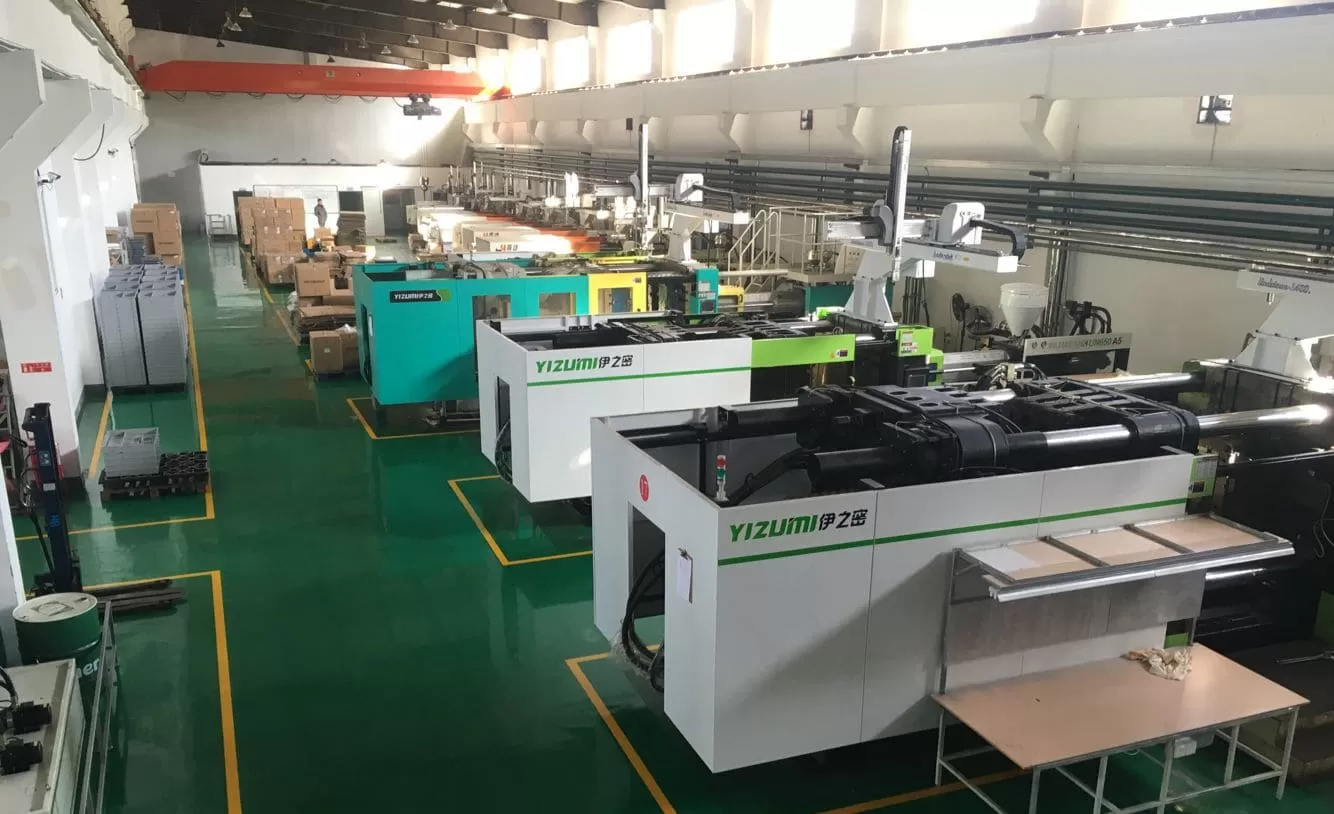
На нашем заводе в Шанхае установлено 47 машин для литья под давлением усилием от 90T до 1850T, и мы имеем опыт переработки более 400 пластиковых материалов. Такой парк оборудования позволяет изготавливать образцы T1 на той же машине, на которой будут выпускаться серийные детали, устраняя вариативность. При оценке собственных поставщиков всегда спрашивайте, будут ли образцы T1 изготовлены на серийной машине.
Когда следует запросить образцы T2 после проверки T1?
Образцы T2 требуются, когда критические размеры выходят за пределы допуска или дефекты поверхности требуют доработки пресс-формы. Не каждое отклонение требует изготовления T2. Незначительные замечания на невидимых поверхностях часто можно устранить только корректировкой процесса.
«Образцы T1 всегда изготавливаются в условиях полного серийного цикла».Верно
Неверно. Образцы T1 обычно изготавливают на машине для изготовления образцов в соответствующих условиях. Время цикла, давление выдержки и охлаждение могут отличаться от серийных настроек. Уточните у поставщика, изготавливался ли T1 на серийной машине.
«Если размеры T1 соответствуют требованиям, можно пропустить испытания материала и утвердить пресс-форму».Неверно
Неверно. Одна лишь точность размеров не подтверждает, что был использован правильный материал и что полимер не был повреждён при переработке. Испытание MFI и проверка механических свойств остаются обязательными даже при соответствии размеров.
Хорошо документированный отчёт также служит юридическим подтверждением на случай споров о выполнении поставщиком согласованных требований. Сохраняйте копии всех данных CMM, фотографий и переписки. Многие профессиональные отделы закупок используют стандартизированный шаблон оценки T1, в котором каждому размеру и дефекту поверхности присваивается статус соответствия, условного соответствия или несоответствия. Такая система оценки устраняет неоднозначность и создаёт понятную схему принятия решения о продолжении или остановке работ, которой обе стороны могут пользоваться на протяжении всего жизненного цикла проекта.
Как документировать замечания и общаться с поставщиком?
Лучший подход — подготовить официальный отчёт об оценке T1. Включите сводную таблицу размеров, классифицированные фотографии дефектов с отметками их расположения, результаты испытаний материала и решение по каждому выявленному несоответствию. Используйте стандартный шаблон. Поставщики, получающие структурированные отчёты, быстрее выполняют корректировки для T2, поскольку требования сформулированы однозначно.
«Официальный отчёт об оценке T1 с классифицированными фотографиями сокращает срок изготовления T2».Верно
Верно. Структурированные замечания дают изготовителю пресс-формы чёткие указания по доработке стали. Поставщики, получающие стандартизированные отчёты, выполняют корректировки на 30–50 процентов быстрее.
«Достаточно оценить образцы визуально и утвердить их по внешнему виду».Неверно
Неверно. Визуальный контроль — лишь одно из трёх основных направлений оценки. Измерение размеров и испытания материала одинаково важны. Пропуск любого направления создаёт риск утверждения деталей, которые откажут при эксплуатации.
Какие типичные ошибки допускают покупатели при оценке образцов?
Самая распространённая ошибка — оценивать только внешний вид, не проверяя размеры. Деталь может выглядеть идеально, но оказаться неработоспособной из-за отклонений критических размеров. Другая ошибка — утверждать T1 по одной детали вместо измерения статистической выборки. Для литья под давлением характерна естественная вариативность, поэтому одна соответствующая требованиям деталь не гарантирует соответствия следующей партии. Покупатели также часто не указывают, что T1 следует изготавливать на серийной машине, из-за чего после запуска производства возникают расхождения.
Ещё одна распространённая ошибка — не определить критерии приёмки до этапа T1. Без заранее согласованных допусков и стандартов качества поверхности оценка становится субъективной и ведёт к разногласиям. Заключите с поставщиком официальное соглашение о качестве, в котором указаны допуски размеров по типам элементов, допустимые диапазоны качества поверхности и требуемые результаты испытаний материалов. Это соглашение должно быть частью вашего первоначального заказа на поставку. Покупатели, заранее определяющие чёткие критерии приёмки, сталкиваются с меньшим количеством споров и быстрее проходят циклы утверждения.
Часто задаваемые вопросы об оценке образцов литья под давлением
Часто задаваемые вопросы
В чём разница между образцами T1 и T2 при литье под давлением?
Образцы T1 (Испытание 1) — это первые детали, изготовленные в новой пресс-форме, тогда как образцы T2 (Испытание 2) производят после доработки пресс-формы с учётом замечаний по T1. T1 позволяет проверить исходную конструкцию пресс-формы и характер течения материала; T2 подтверждает, что внесённые корректировки устранили выявленные проблемы. На ZetarMold большинство грамотно организованных проектов получают одобрение на этапе T2, при этом около 40 процентов проходят этап T1, если конструкция пресс-формы оптимизирована с самого начала. Понимание этого двухэтапного процесса помогает установить реалистичные сроки проекта и избежать поспешного утверждения.
Сколько образцов T1 следует запросить у поставщика?
Для тщательной оценки запросите не менее 10–15 образцов T1. Вам потребуется достаточно деталей, чтобы измерить размеры нескольких образцов, провести испытания материалов, такие как проверка MFI и испытание на растяжение, а также сохранить эталонные образцы для будущего сравнения. Для крупных или дорогих деталей может быть достаточно пяти–восьми образцов, если план испытаний упрощён. Достаточное количество образцов позволяет оценить стабильность процесса, поскольку измерение лишь одной или двух деталей не выявляет естественную вариативность процесса литья.
Какое контрольное оборудование необходимо для оценки образцов?
Для базовой оценки необходимы цифровые штангенциркули, микрометры и профилометр как абсолютный минимум оборудования для любой проверки образцов. Для сложной геометрии с жёсткими допусками необходима CMM, чтобы точно проверить обозначения GD&T для всех критических элементов. Спектрофотометр проверяет цвет по утверждённому эталону, а прибор MFI подтверждает соответствие материала. Если у вас нет собственного оборудования, сторонние контрольные лаборатории предлагают комплексные услуги по оценке образцов с использованием сертифицированного измерительного оборудования. Заложите в бюджет примерно 500–2000 USD на полную стороннюю оценку T1.
Можно ли утвердить образцы T1 без T2, если размеры находятся в пределах допуска?
Да, T1 можно утвердить без этапа T2, если все критические размеры соответствуют требованиям, качество поверхности удовлетворяет требованиям, а испытания материала подтверждают, что во всех предоставленных образцах последовательно использовалась правильная марка полимера. На ZetarMold около 40 процентов хорошо спланированных проектов получают одобрение T1 при первой же подаче образцов. Ключевыми факторами успеха являются тщательная проверка конструкции пресс-формы до её изготовления, надлежащим образом высушенное и кондиционированное сырьё, а также оптимизированные параметры процесса, установленные и проверенные до изготовления первого образца.
Каких допусков следует ожидать для образцов T1, изготовленных литьём под давлением?
Для деталей, изготовленных литьём под давлением, типичны общие допуски по ISO 2768-mK: плюс-минус 0.1 mm для размеров менее 6 mm, плюс-минус 0.2 mm для размеров от 6 до 30 mm и плюс-минус 0.4 mm для размеров от 30 до 120 mm. Для критических функциональных элементов, таких как отверстия, защёлки или уплотнительные поверхности, часто требуются более строгие допуски плюс-минус 0.05 mm, которые следует явно указывать на чертежах. Всегда согласовывайте стандарты допусков с поставщиком до начала изготовления пресс-формы, чтобы избежать споров.
Как определить, требует ли дефект поверхности доработки пресс-формы?
Дефект поверхности требует доработки пресс-формы, если он находится на обращённой к заказчику лицевой поверхности, влияет на уплотнительную или функциональную поверхность либо превышает согласованные требования к шероховатости поверхности в вашем соглашении о качестве. Незначительные утяжины на невидимых пересечениях рёбер или небольшие следы толкателей на тыльных поверхностях обычно можно устранить путём корректировки процесса, например повышения давления выдержки или увеличения времени охлаждения. Для устранения дефектов на критических поверхностях изготовителю пресс-формы потребуется отполировать, повторно текстурировать или доработать сталь, чтобы получить требуемое качество поверхности до изготовления образцов T2.
-
литьё под давлением: литьё под давлением — это производственный процесс, при котором расплавленный пластик впрыскивается в полость пресс-формы для изготовления деталей. ↩
-
ISO 2768: ISO 2768 — это международный стандарт, устанавливающий общие допуски линейных и угловых размеров. ↩
-
Показатель текучести расплава: показатель текучести расплава характеризует лёгкость течения расплава термопласта и выражается в граммах за 10 минут через стандартную фильеру. ↩