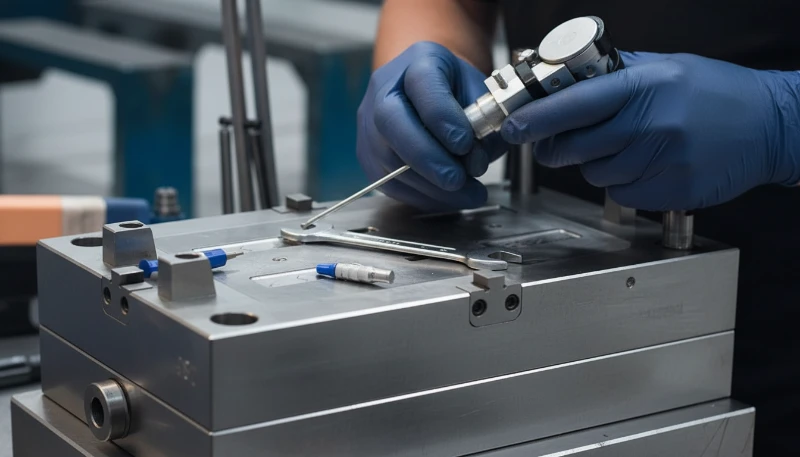
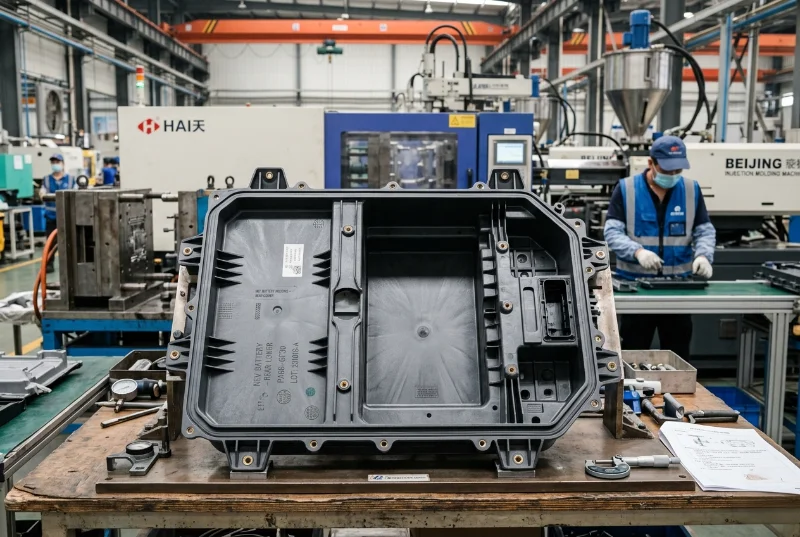
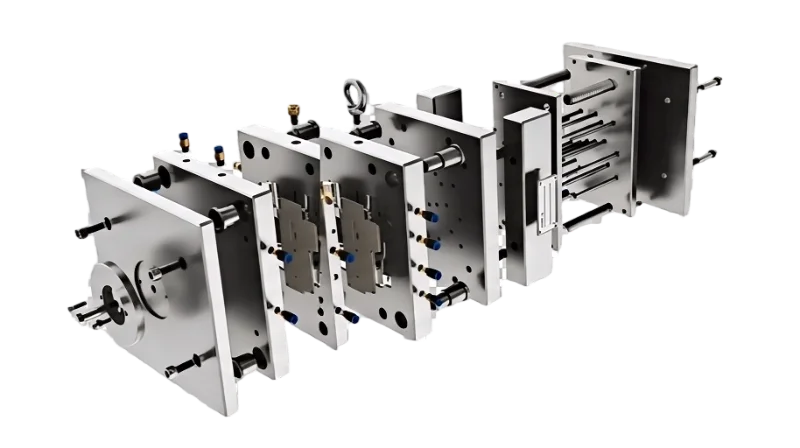
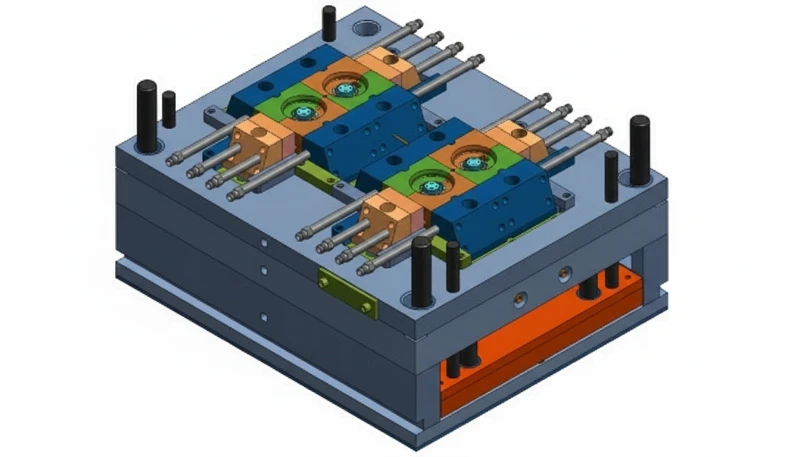
Mold inspection is a structured verification that an injection mold matches approved design intent, is safe and complete, operates correctly, and can produce parts under controlled conditions. It is not one final visual check. Buyers should inspect the tool at design release, during manufacture, before each major trial, before shipment or transfer, and after significant repair. The checklist must connect findings to the approved injection mold design and build guide and to measurable acceptance evidence.
A useful inspection covers identity, drawings, steel and heat treatment1, dimensions, cooling, gates and runners, vents, moving components, ejection, hot runner and electrical systems, safety, workmanship, spare parts, records, and trial results. It also distinguishes a tooling defect from a process or part-design limitation. That distinction matters because a visually clean mold can still have poor cooling balance, unstable movement, incorrect steel, or a dimensional condition that appears only during the injection molding process.
This guide gives buyers, project engineers, toolmakers, and quality teams a repeatable way to inspect a new, transferred, or repaired mold. It explains which checks can be performed on the bench, which require measurement, and which require a controlled molding trial. When choosing who will build, validate, or receive the tool, combine the checklist with our supplier sourcing guide so findings lead to owners, deadlines, evidence, and release decisions.
Reference vocabulary used in this guide includes heat treatment, thermocouples2, process window3. Each term is defined in the references below.
- Inspect against controlled drawings and specifications
- Verify hidden systems such as cooling, venting, and hot runners
- Test every motion safely before relying on production
- Connect tool findings to molded-part and process evidence
- Close punch-list items with objective proof before payment or shipment
What should be prepared before a mold inspection?
The practical answer is the following: Prepare a controlled inspection checklist before examining the mold.
Prepare the current mold assembly and component drawings, part files, DFM decisions, approved changes, bill of materials, steel and hardness requirements, hot-runner and component specifications, texture and polish standards, validation plan, dimensional report, open-action list, and prior trial history. Confirm mold number, part revision, cavities, ownership, and intended press. An inspector cannot verify conformance if the reference documents are incomplete, obsolete, or inconsistent.
Define inspection stages and acceptance rules before the visit. Identify critical dimensions, leak and flow tests, movement checks, electrical tests, safety requirements, spare parts, sample quantity, process study, and documents required for release. Assign buyer and supplier owners and agree which findings block trial, shipment, payment, or production. Bring calibrated measuring equipment and suitable lifting and safety resources. Photography should record identity and condition without exposing unrelated customer-confidential tooling.
For this decision, record the approved requirement, current evidence, remaining gap, owner, due date, and release authority. This small discipline separates a verified conclusion from an assumption and gives the team a usable trail when design, demand, material, supplier, or timing changes.
"A mold inspection must use controlled drawings and measurable acceptance criteria."True
Without a current reference, the inspector can describe condition but cannot prove conformance.
"Clean mold surfaces prove that cooling, venting, movement, and steel are correct."False
Many high-risk conditions are hidden and require records, measurements, tests, and a molding trial.
How do you inspect mold steel, dimensions, and workmanship?
The practical answer is the following: Verify steel, dimensions, workmanship, and records against the approved design.
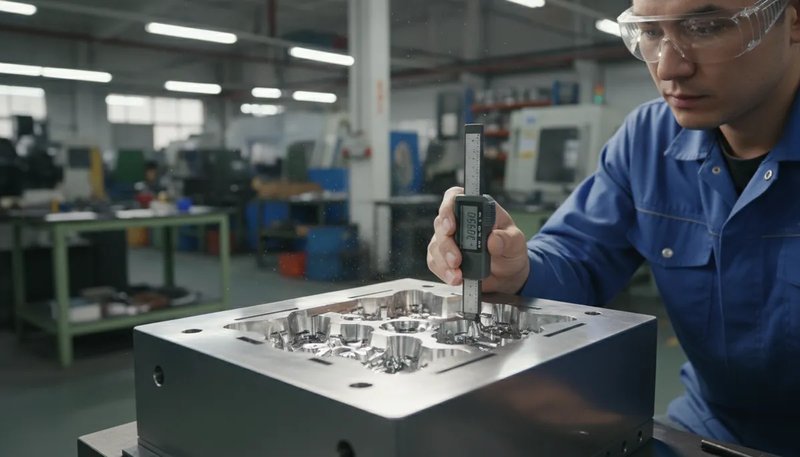
Verify mold-base and insert material certificates against the bill of materials, then check hardness where specified. Measure critical shutoffs, parting surfaces, insert locations, cavity and core features, datums, and interfaces using methods suited to tolerance and geometry. Inspect machining marks, burrs, sharp edges, fitting, unsupported steel, welds, polishing, texture boundaries, fasteners, lifting points, and identification. Cosmetic appearance is relevant, but material and dimension evidence carry more weight than surface cleanliness.
Check that replaceable and adjusted components are identifiable and match drawings. Review steel-safe allowances and approved deviations. Look for unintended handwork that changed geometry without a controlled record. Confirm cavity numbering, part marking, date inserts, and customer identifiers. For multi-cavity tools, compare critical features and component interchangeability. Every discrepancy should state location, requirement, observed condition, risk, responsible owner, correction, and reinspection method rather than an ambiguous note such as improve finish.
Validate the conclusion with a representative example and source records. Note the revision, sample basis, machine or tool involved, measurement method, result, exception, and approver so another qualified reviewer can reproduce the reasoning instead of depending on a sales statement or memory.
How should cooling, venting, runners, and gates be checked?
The practical answer is the following: Compare cooling, venting, runners, and gates with design intent and test evidence.
Cooling inspection should verify circuit identity, routing, connectors, plugs, baffles, bubblers, seals, pressure integrity, flow, blockage, and separation between circuits. Compare measured flow or pressure-drop evidence where thermal balance matters. Inspect vents for specified depth, width, land, location, and clean escape paths. Inadequate venting can burn material or limit fill, while excessive depth can create flash. Hidden systems deserve documented tests because they cannot be trusted from an exterior photograph.
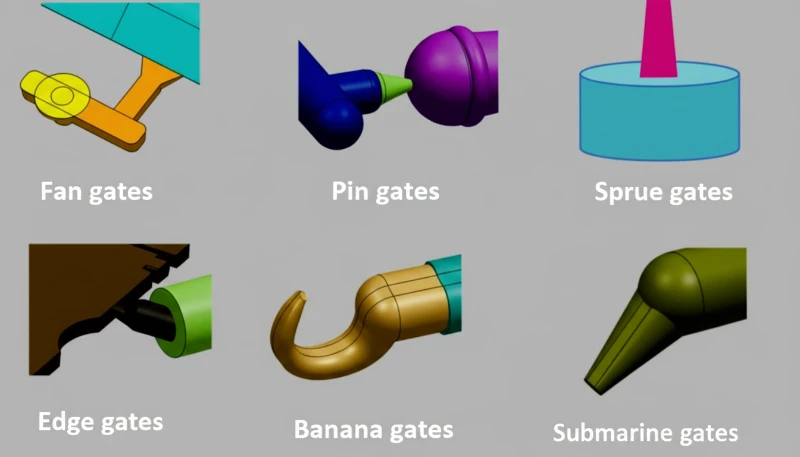
Inspect sprue, runners, gates, hot-runner drops, heaters, thermocouples, wiring, connectors, controllers, and grounding against approved specifications. Confirm gate location and finish, runner transitions, cold-slug control, and access for maintenance. For valve gates, test sequence and motion. Record resistance or insulation results where required. During trial, connect these checks to fill pattern, balance, pressure, temperature stability, vestige, stringing, drool, and material residence behavior.
Use a risk-based comparison across normal operation, peak demand, change, defect containment, and transfer. State which condition was tested and which remains an estimate. Assign a trigger and recovery action for any assumption that could affect safety, quality, delivery, cost, or customer approval.
| Inspection stage | Primary evidence | Release decision |
|---|---|---|
| Design | Drawings, DFM, components | Approve steel or revise |
| Bench | Dimensions, circuits, motion | Approve trial or correct |
| Trial | Process and part results | Approve validation or action |
| Handover | Inventory, data, condition | Approve shipment or transfer |
What movement and safety checks are required?
The practical answer is the following: Test every required movement, clearance, stop, sensor, and safety interlock.
Cycle slides, lifters, ejectors, unscrewing systems, collapsible cores, inserts, hydraulic or pneumatic devices, and sensors through their full safe range. Check alignment, lubrication, support, wear surfaces, return confirmation, interference, binding, impact, hose routing, and fail-safe behavior. Verify that springs, limit switches, locks, and sequence controls match the design. Manual movement on a bench may find fit problems, but dynamic timing and load must also be validated in the intended machine.
Inspect clamps, lifting eyes, transport bars, safety straps, guards, insulation, electrical enclosures, sharp edges, and handling instructions. Confirm mold dimensions, weight, tie-bar clearance, platen mounting, nozzle interface, ejector connection, utilities, and robot access for the receiving press. A mold that produces acceptable samples in one machine may still be unsafe or incompatible elsewhere. Document the approved machine range and any required adapters or special startup sequence.
Keep commercial and technical scope aligned. If an option changes material, cavities, cycle, inspection, packaging, inventory, responsibility, or validation depth, show that difference explicitly before comparing price or lead time. Silent scope changes create false savings and late disputes.
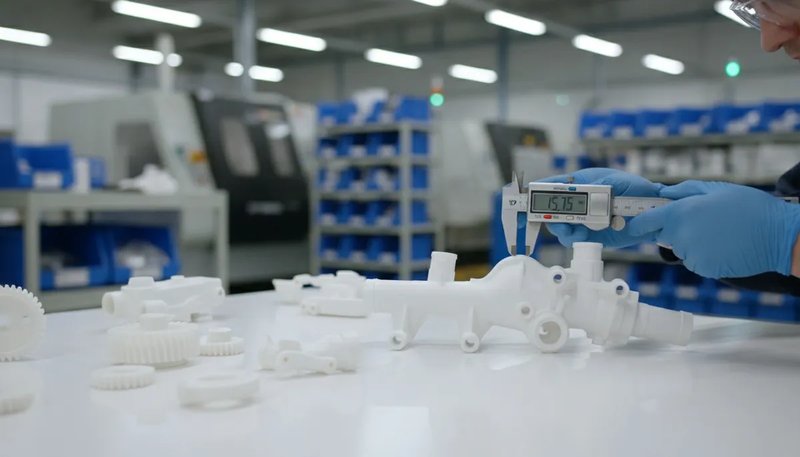
How does a molding trial complete the inspection?
The practical answer is the following: A controlled molding trial is required to complete production-readiness inspection.
A controlled trial proves how the mold behaves when heated, filled, packed, cooled, opened, and ejected repeatedly. Record machine, resin lot, drying, temperatures, speeds, pressures, transfer, cushion, cooling, cycle, cavity, automation, and environmental conditions. Establish a reasonable process window rather than one tuned setting. Review fill balance, pressure demand, flash, short shot, burns, weld lines, sink, warp, dimensions, appearance, ejection, cycle stability, and alarms.
Correlate defects with tool and process evidence before changing steel. Use short-shot, pressure, temperature, or cooling studies when needed. Measure parts by cavity and time to separate mold variation from transient startup. Inspect the tool again after trial for leaks, rubbing, loose components, residue, vent contamination, insert movement, or abnormal wear. A sample approval without recorded conditions and post-trial inspection does not establish repeatable mold readiness.
Approval should rely on objective closure evidence such as drawings, photographs, measurements, process records, capability results, maintenance history, test reports, or signed decisions. A verbal assurance can support follow-up, but it should not release a high-risk gate without the agreed record.
"Post-trial inspection can reveal problems that are invisible on the bench."True
Heat, pressure, repeated motion, and resin expose leaks, rubbing, movement, contamination, and early wear.
"An approved sample means every transfer document and spare part is complete."False
Part approval and the physical or digital handover package are separate acceptance controls.
What belongs in the final mold inspection report?
The practical answer is the following: The final report must connect every finding to evidence, risk, owner, and closure.
The report should identify the mold, part revision, site, press, date, participants, reference documents, instruments, photographs, checklist results, measurements, circuit and electrical tests, motion checks, trial conditions, part results, open findings, and disposition. Separate accepted, accepted with controlled action, and rejected conditions. Link each finding to evidence and an owner. Keep the original record and dated revisions so closure does not erase the inspection history.
Before release, reconcile the mold, loose inserts, hot-runner and controller items, cables, fittings, clamps, lifting hardware, gauges, fixtures, approved samples, spare parts, drawings, CAD, bill of materials, certificates, manuals, maintenance instructions, process sheets, reports, and open issues. Photograph packing and sign the handover. For a transfer, add cycle count and current condition. The receiving team should repeat incoming inspection before installation and compare results with the departure baseline.
Recheck the decision whenever the product revision, annual volume, peak mix, resin, manufacturing site, subcontractor, tool condition, process window, measurement method, or delivery route changes. Controlled change review keeps an initially sound decision from becoming stale during launch and production.
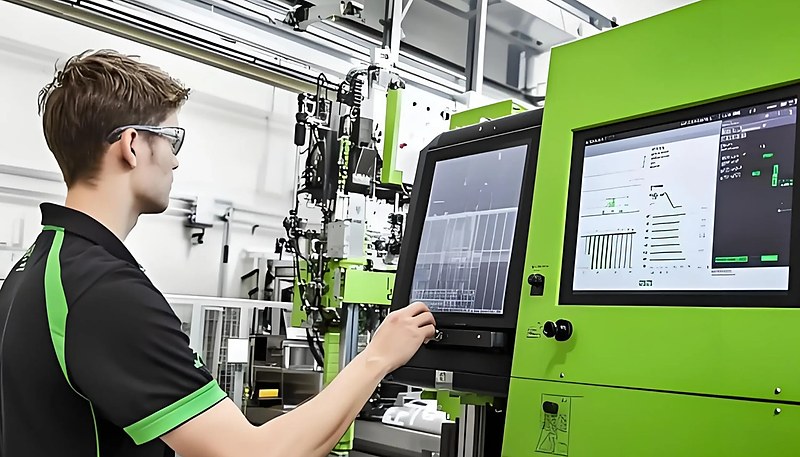
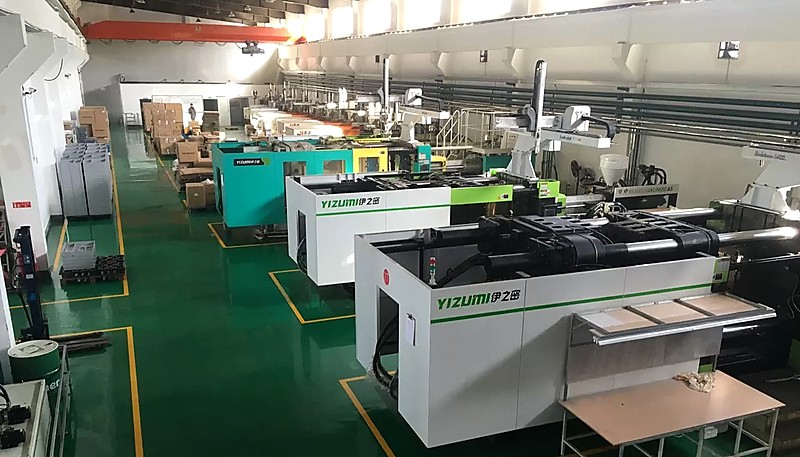
In our Shanghai factory, our tooling and molding teams inspect molds across 47 injection molding machines from 90T to 1850T. Our 8 senior engineers and more than 10 QC specialists connect bench findings with controlled trials and cavity-level part measurements, while over 30 English-speaking project managers maintain action and handover records. We recommend inspecting the same critical systems before trial and after correction, because a closed punch-list item is trustworthy only when the agreed evidence has been repeated and recorded.
What are common questions about mold inspection?
The following answers summarize the practical decision points. Apply them to the current product, revision, evidence, supplier, and risk level, then preserve the resulting approval and open actions in the controlled program record.
Frequently Asked Questions
When should a new injection mold be inspected?
Inspect at design review, key manufacturing stages where practical, pre-trial assembly, after major corrections, before final acceptance, and before shipment. Repeat incoming inspection at the receiving site. High-risk molds may need additional steel, hot-runner, texture, or automation checkpoints. The timing should find expensive errors before they become difficult to correct and should align each payment or release gate with objective evidence. Record the chosen requirement, source evidence, owner, due date, and approval in the controlled project file. Recheck the decision whenever the design, material, volume, process, supplier, or delivery assumption changes.
Who should attend a mold inspection?
The team should match the risk and may include tool design, toolmaking, molding process, quality, project management, maintenance, automation, and buyer representatives. One inspector rarely has equal depth in every area. Assign responsibilities before the visit and use one controlled finding log. Remote participation can support document review, but critical physical, safety, motion, measurement, and trial evidence may require qualified people on site. Use a representative example and keep the revision, measurement or review method, result, exception, and approver together. This makes later verification possible and prevents a verbal assumption from becoming an uncontrolled release condition.
Can mold inspection be completed without a molding trial?
A bench inspection can verify many physical and functional items, but it cannot prove fill, pack, cooling, ejection, part quality, cycle stability, or a usable process window. If the tool cannot be trialed before transfer, document that limitation and the added risk, preserve all available tests, and plan a controlled incoming trial. Do not describe an untested mold as production-ready merely because assembly and movement appear acceptable. Connect the answer to a practical release gate with objective evidence and a named decision maker. If material risk remains, document containment and the trigger for reopening the technical or commercial review.
What is the difference between mold inspection and part inspection?
Mold inspection evaluates the tool, systems, workmanship, motion, safety, records, and condition. Part inspection evaluates molded output against dimensional, appearance, functional, material, and other requirements. The two are connected but not interchangeable. A part can temporarily pass under a narrow setting while the mold has weak cooling or wear risk; a well-built mold can also produce poor parts under an uncontrolled process. Compare the normal case with peak demand, engineering change, quality containment, and transfer. The written plan should state what was tested, what remains estimated, and which recovery action applies when an assumption fails.
How should mold inspection findings be closed?
Each finding needs a requirement, observed evidence, risk level, owner, due date, correction, and verification method. Closure should include photographs, measurements, test results, updated drawings, or repeat trial evidence as appropriate. Major findings should block the related release gate. Do not close an item only because someone reports that it was handled. Preserve the before-and-after trail and confirm that corrections did not create a new problem. Confirm the conclusion across engineering, quality, operations, procurement, and logistics as relevant. Preserve current files and approval history so the team can explain the decision and safely update it later.
heat treatment: heat treatment is a term used here as follows: Heat treatment uses controlled heating and cooling to alter material properties. ↩
thermocouples: thermocouples is a term used here as follows: Thermocouples are temperature sensors based on the voltage produced by joined dissimilar conductors. ↩
process window: process window is a term used here as follows: A process window is the range of operating conditions that can produce acceptable output. ↩