 Skip to content
Plastic Injection Insert Molding Service
We offer metal insert molding services, depending on the number of products, dimensional
tolerances required, and the number of inserts to be inserted into each product to determine
fully automatic production, semi-automatic and manual insertion of metal inserts, ensuring
the highest quality, production efficiency and cost effectiveness.
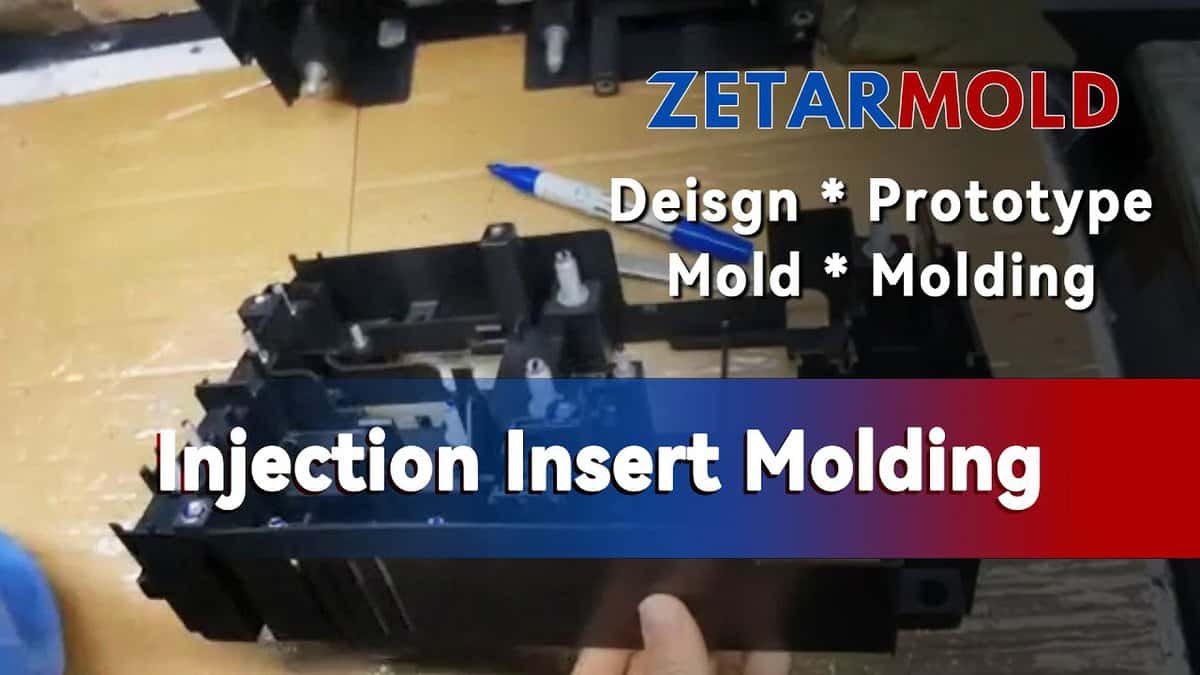
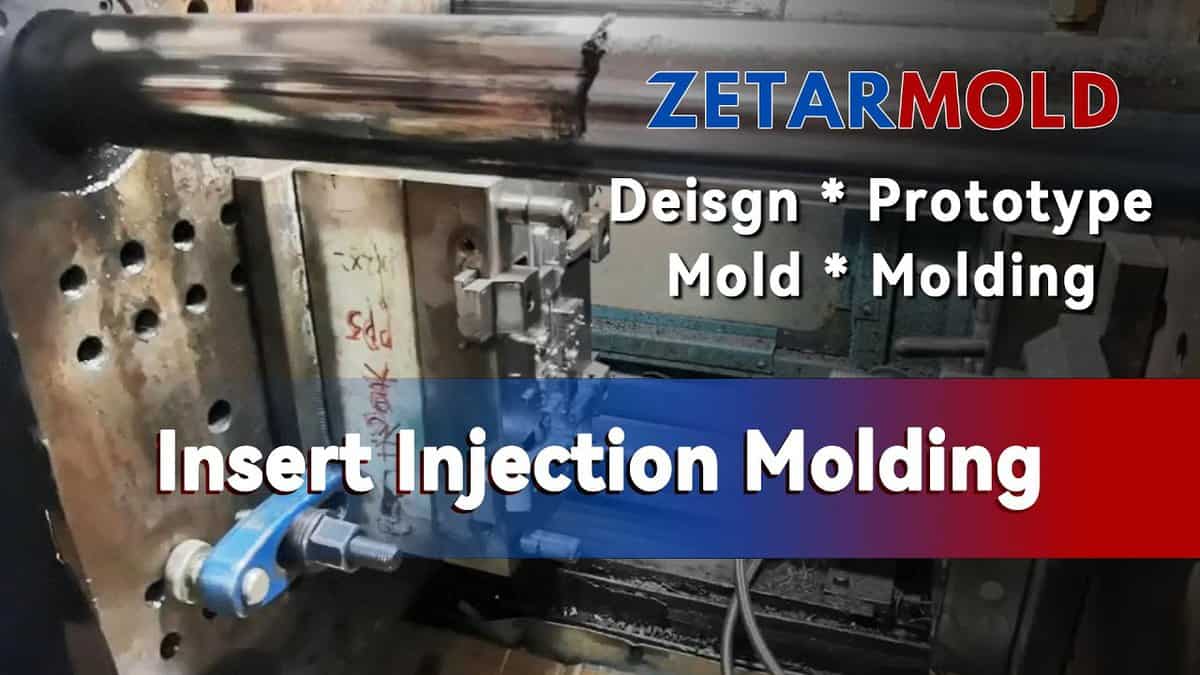
Fully Automatic Metal Insert Injection Molding How It Works
What is Insert Injection Molding and how does it work?

A step by step guide on how to insert molding
Plastic Insert Molding Manufacturing
Provide the Ideal Solutions for Your Insert Molding Products

Resources for The Complete Guide to Insert Molding
What is Insert Molding?
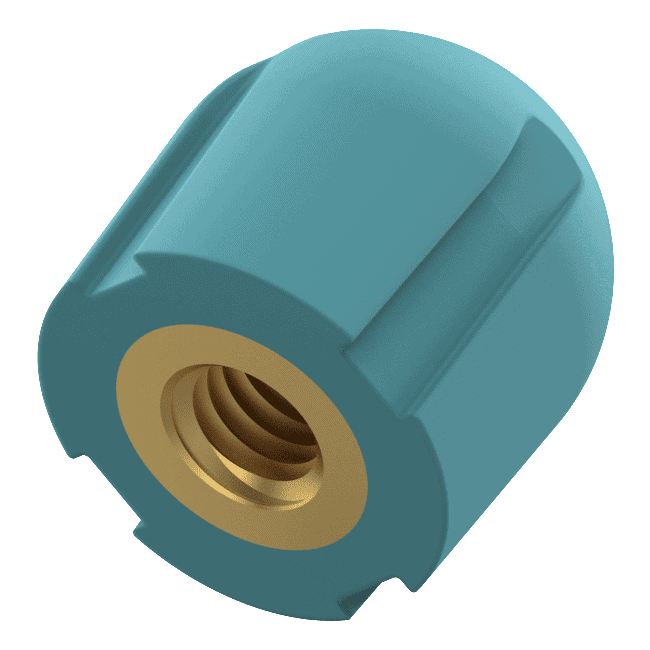
Insert molding is a special injection molding process that combine metal and plastic together. First, put metal insert into a mold cavity and then inject plastic material around it. After the plastic cools, the metal insert is held in place by the plastic material and you have a finished part that is now a combination of metal and plastic.
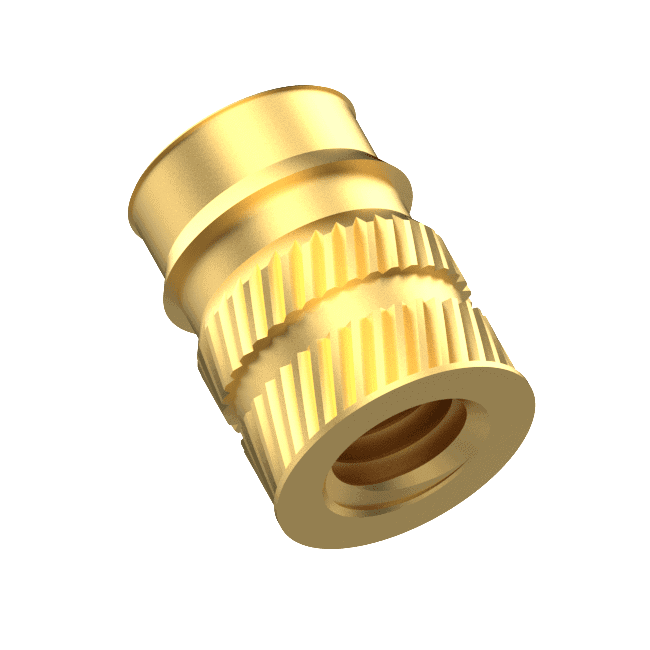
This process creates a strong bond between the two materials and can help reduce assembly time. The insert is usually something simple, like thread nuts,rods blades and knobs.
How Does Insert Molding Work?
Insert molding is a manufacturing process that combines the benefits of injection molding and insert molding to create complex parts with high precision and accuracy. Here’s a step-by-step overview of how it works:
1. Mold Tooling:
The first step is to create a mold tool that has a cavity for fixing the insert. The mold tool is designed to allow the plastic to flow around the insert.
2. Insert Placement:
The insert, which can be made of metal or copper, is stuck into the mold cavity. The insert is usually made to fit real well in the mold cavity.
3. Plastic Injection:
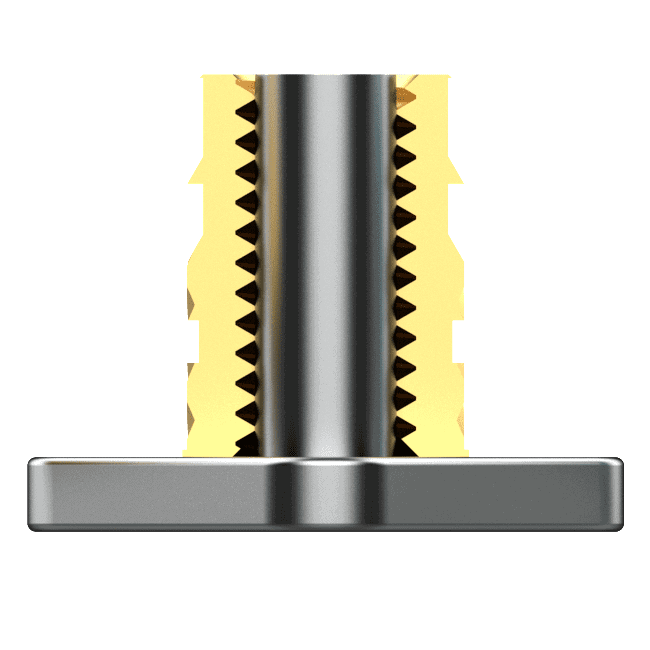
The mold cavity gets filled with molten plastic. The plastic flows around the insert and bonds to it through a process called "flash bonding."
4. Flash bonding:
When the plastic cools and hardens, it forms a strong bond with the insert. This bond is important for making a part that will last and work well.
5. Ejection:
Once the plastic has cooled down and solidified, the mold is opened, and the part is ejected.
6. Finishing:
We check the insertmolding part to make sure it’s good to go. We trim off any extra plastic, clean it up.

Insert Molding vs Overmolding
Insert molding and overmolding are two ways to make plastic parts with more than one component. They’re similar, but different interms of process, application, and benefits.
Insert Molding:
Insert molding, also called insert molding with a core, is when a plastic part is molded around a pre-existing component, like a metal or plastic insert. The insert is put in the mold cavity, and the plastic material is injected around it. The insert stays the same, while the plastic material makes the outer shell of the part.
Key characteristics of insert molding:
1. Pre-existing component: A metal or plastic part is put into the mold before the second material is shot in.
2.Bonding: The second material is shot around the pre-existing component, making a strong bond between the two.

3.Applications: Insert molding is used in industries such as:
Automotive (e.g., dashboard trim, door handles)
Aerospace (e.g., aircraft components, satellite parts)
Medical devices (e.g., implantable devices, surgical instruments)
4.Benefits:
Better durability and strength
Better looks and visual appeal
Lower production costs and complexity
Overmolding:
Overmolding is when you mold a second material on top of a first part or component. You inject the second material into a mold that matches the shape and curves of the first part. You use overmolding to make complex shapes, add functionality, or make a product look better.
Key characteristics of overmolding:
1.Substrate: The first part or component to be molded is the substrate. Then, a second material is injected over it.
2.Secondary Material: The secondary material is molded over the primary part, creating one single, integrated component.
3.Applications: Overmolding is used in many industries, including:
Medical devices (e.g., syringes, catheters, and implantable devices)
Consumer products (e.g., toys, household items, and electronics)
Automotive parts (e.g., dashboards, trim, and components)
4.Benefits:
Increased durability and resistance to wear and tear
Improved aesthetics and visual appeal
Enhanced functionality and performance
The Key Differences Insert Molding vs Overmolding
In general, Insert Molding and Overmolding are different in terms of product materials, mold quantity, production process, and application. The following table provides a detailed comparison.
| Differences | Insert Molding | Overmolding |
|---|---|---|
| Material | Metal or Copper Insert+Plastic Material | Substrate+Overmolding Plastic |
| Mold Quantity | One Set Mold | Two Set Molds |
| Cycle Time | Put Insert and One Shot | One Shot for Substrate Then One Shot for Overmolding Plastic |
| Applications |
① The part needs to have different electrical or thermal properties on its surface. ② The part absorb more shocks or dampen vibrations. ③ The plastic part with more than one color. ④ The part needs to be comfortable to hold and not stick to things. ⑤ The soft seals need to put into plastic part. |
① Got metal in your part. ② Got wires, electronic parts, or circuit boards in your substrate. ③ Don’t want to pay for a fancy two-shot mold. ④ Put threaded inserts in your part. ⑤ Encapsulating electrical components |
What are the Applications of Insert Molding?
Insert molding is a process where plastic is injected into a mold around an insert piece (either metal or plastic) to create a single, integrated component. There are many applications for insert molding, but some of the most common include:

① Electronic Devices: Put electrical stuff and gadgets, like circuit boards, plugs, and sensors, into plastic parts by insert molding. This helps make them work better and save assembly costs.
② Medical Devices: Insert molding enables the creation of lighter and more hygienic medical devices and instruments, like tube valves, needle hubs, and surgical tools.
③ Automotive Parts: Insert molding is also used to create various automotive parts, such as dashboard trim, door handles, and other interior components.
④ Aerospace Components: Insert molding is used to create components for the aerospace industry, such as aircraft seats, instrument panels, and other interior components.
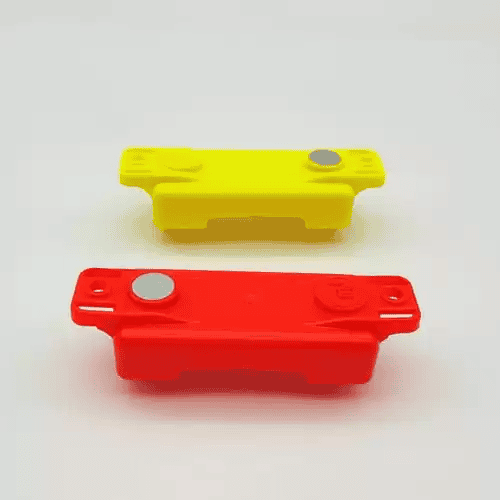
⑤ Consumer Products: Insert molding is used to create various consumer products, such as toys, appliances, and other household items.
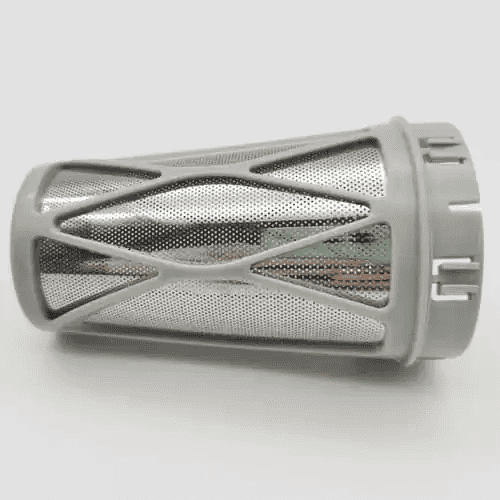
⑥ Industrial Equipment: Insert molding is used to create components for industrial equipment, such as pumps, valves, and other machinery.
⑦ Sports Equipment: Insert molding is used to create components for sports equipment, such as bicycle frames, golf clubs, and other athletic gear.
⑧ Furniture: Insert molding is used to create components for furniture, such as chair legs, table frames, and other decorative elements.
⑨ Musical Instruments: Insert molding is used to create components for musical instruments, such as guitar bodies, drum shells, and other instrument parts.
⑩ Medical Implants: Insert molding is used to create medical implants, such as joint replacements, surgical instruments, and other implantable devices.
⑪ Fasteners: Insert molding is used to create aerospace fasteners, such as nuts, bolts, and other fastening components.
Why is insert molding so great for these applications? Well, it’s all about the benefits. Insert molding gives you stronger parts, more reliable attachment points, cost savings, and the ability to combine different materials (like plastics and metals) into a single part.
What are the Considerations for Insert Molding Design?
If you’re considering insert molding your part, you need to plan your process before you start. Here are the major considerations from a design perspective:
① The Structure: The metal and plastic parts need to be designed to bond mechanically with each other.
②The Inserts:When we inject molten plastic into a mold, the plastic is touching the insert directly. So, the insert material has to be able to handle the high pressure and the high temperature of the molten plastic. We can use copper, aluminum, steel or other metals as insert materials. These materials can take the heat and won’t wear down easily.
③ Insert Location: The mold needs to make it easy to put the insert in. We’ll usually put the insert in the middle of the mold to help the plastic flow.
④ The Compatibility: Consider compatibility between metal inserts and plastic materials to prevent warping, cracking, sinking or adhesion issues.
⑤ The Production: You can load inserts two ways: manually or automatically. You need to know your production requirements and do a cost-benefit analysis to figure out which method is best for you.
⑥ Insert Shape and Size: If the shape of the insert is too complicated or the size is too big, it may not be injection molded well, or there may be defects after molding. So when designing the insert, we should try to choose simple and regular shapes. At the same time, the size of the insert should be moderate, and it should not exceed the maximum bearing range of the mold.

Injection Molding Supplier Quality Agreement: What Buyers Should Require
A supplier quality agreement (SQA) is the single document that separates a working manufacturing relationship from an expensive guessing game. If you are sourcing injection molded parts from an overseas
Injection Molding Supplier Payment Terms: How to Reduce Tooling and Production Risk
You just received a tooling quote for 45,000 USD from an injection molding supplier in China. The payment terms say 50% upfront, 50% before shipment. No milestone structure, no inspection

How Startups Should Choose an Injection Molding Supplier for First Production
You have one shot at first production. Pick the right injection molding supplier, and your parts arrive on-spec, on-time, and on-budget. Pick wrong, and you burn through your seed funding
Optimization Solutions Provided For Free
- Provide Design Feedback and Optimization Solutions
- Optimize Structure and Reduce Mold Costs
- Talk Directly With Engineers One-On-One

