 Skip to content
Silicone Rubber Compression Molding Insights
Master silicone rubber compression molding techniques to create durable, high-quality products. Explore process tips and benefits. Learn more today!
The Complete Guide to Silicone Rubber Compression Molding
What is Silicone Rubber Compression Molding?
Silicone Rubber Compression Molding is a thermoset manufacturing process used to create three-dimensional parts from silicone rubber. The core principle involves placing a precisely weighed and shaped pre-form of uncured High-Consistency Silicone Rubber (HCR) into a heated mold cavity. A hydraulic press then closes the mold, applying immense pressure (typically 1,000 to 2,000 PSI). This pressure forces the malleable silicone to flow and fill every detail of the mold cavity.
The combination of sustained heat and pressure initiates a chemical reaction called vulcanization or curing. This irreversible process cross-links the polymer chains within the silicone, transforming it from a pliable, dough-like material into a solid, stable, and elastic rubber part. After a set cure time, the press opens, and the finished part is ejected.
Classification and Types of Compression Molding
While the fundamental principle remains the same, compression molding can be classified based on several factors, revealing its adaptability to different production needs.
1. Classification by Process Variation:
Standard Compression Molding: The most common type, as described above, where the pre-form is placed directly into the main mold cavity.
Transfer Molding: A closely related process where the pre-form is placed in a separate chamber (the "pot") above the mold cavity. A plunger pushes the heated material through channels ("sprues" and "runners") into the closed cavity. This is often used for more complex parts or for overmolding inserts, as it offers better control over material flow and reduces flash.
Compression-Injection Molding: A hybrid method that combines features of both compression and injection molding, typically used for specific high-volume applications demanding precision.
2. Classification by Material Form:
The raw silicone material is prepared in different forms before molding:
Pre-forms: The most common method, where the uncured silicone compound is cut, extruded, or formed into a specific shape and weight (e.g., a puck, strip, or sheet) to approximate the final part's volume.
Bulk Compound: For some applications, a measured amount of the raw, unformed silicone compound is placed directly into the mold.
3. Classification by Automation Level:
Manual/Semi-Automatic: An operator is responsible for loading the pre-form, initiating the press cycle, and manually removing the finished part and any associated flash. This is common for low-volume runs and large parts.
Fully-Automatic: Robotic systems handle material loading, part ejection, and sometimes even de-flashing, making it suitable for higher-volume production of smaller components.
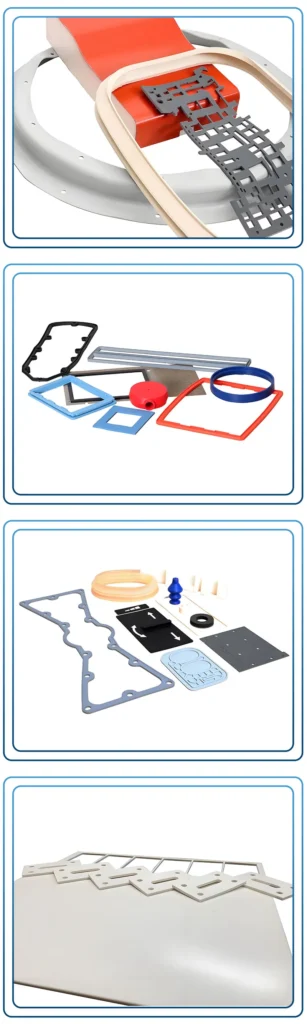
Typical Application Scenarios and Use Cases
The combination of silicone’s material properties and the cost-effectiveness of compression molding makes it a staple in numerous sectors.
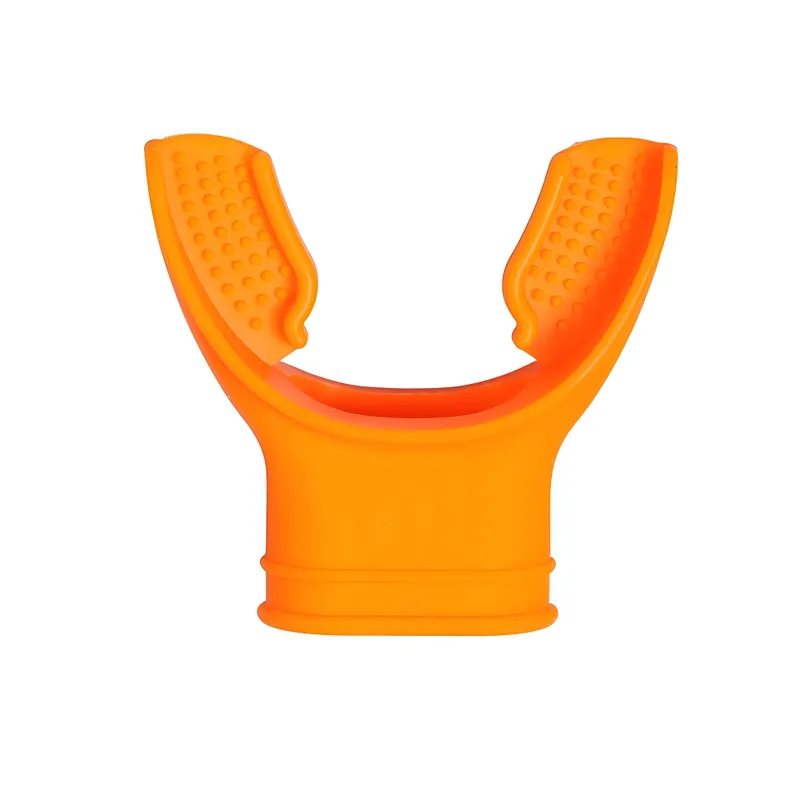
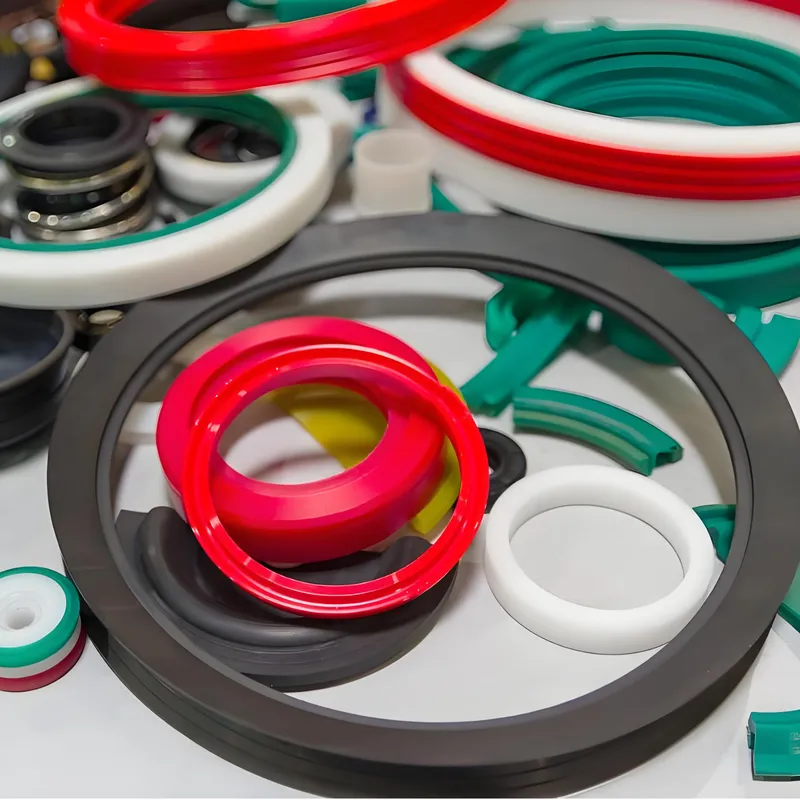
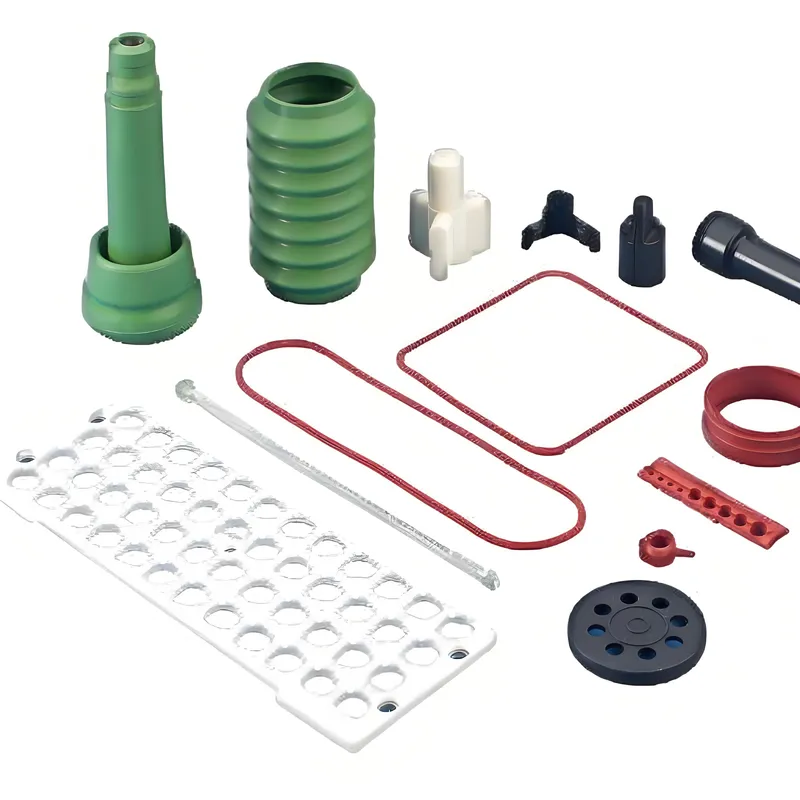
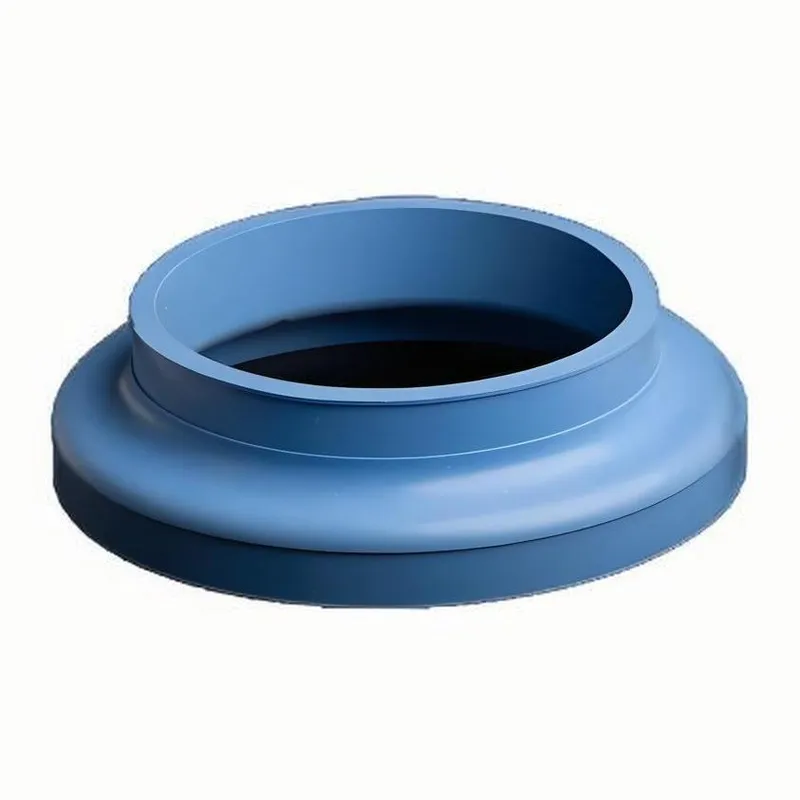
① Automotive Industry: Essential for creating robust seals, gaskets, and O-rings that must withstand extreme temperatures, engine fluids, and constant vibration. Examples include valve cover gaskets, spark plug boots, and vibration-dampening bushings.
② Medical and Healthcare: The biocompatibility of medical-grade silicone is key. Compression molding is used for surgical mats, reusable breathing masks, diaphragms for medical pumps, stoppers for vials, and seals for diagnostic equipment.
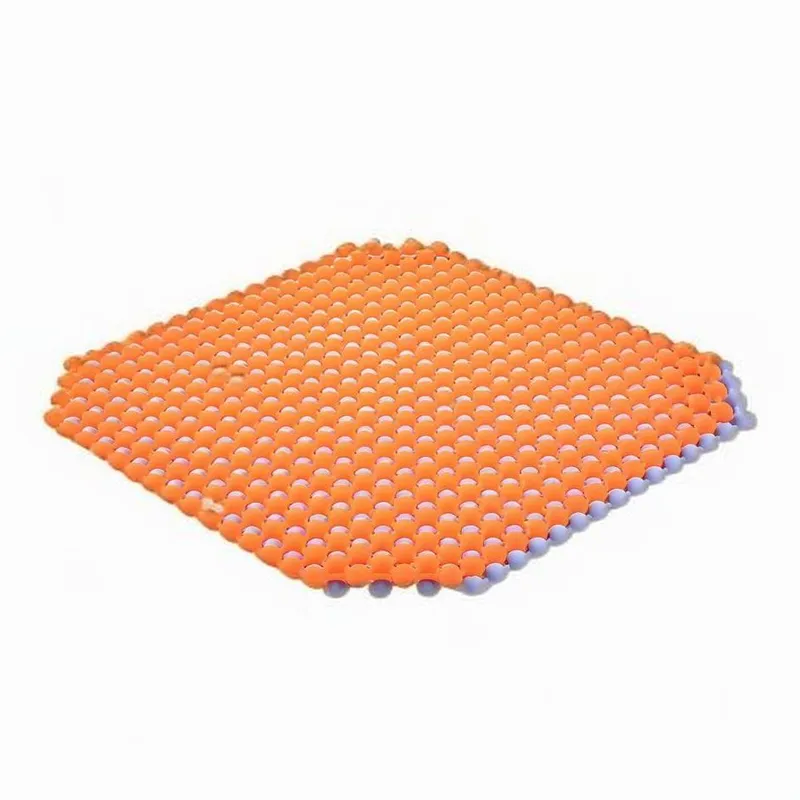
③ Consumer Goods: Widely used for flexible, durable, and food-safe products. Common examples include silicone bakeware, spatulas, ice cube trays, flexible watch bands, and protective cases for electronics.
④ Electronics and Electrical: Silicone’s excellent dielectric properties make it ideal for electrical insulators, connector seals, and gaskets for outdoor enclosures that protect sensitive electronics from moisture and dust. Conductive silicone keypads are also a major application.
⑤ Industrial and Aerospace: Used for heavy-duty applications requiring high-performance seals, pump diaphragms, industrial gaskets, and shock mounts that perform reliably under harsh operating conditions.
Advantages and Disadvantages Comparison
Every manufacturing process has trade-offs. Here is a balanced analysis of silicone compression molding.
1. Key Advantages:
① Low Tooling Costs: Molds for compression molding are simpler in design compared to those for injection molding. They do not require complex runner and gate systems, significantly reducing the initial investment in tooling. This makes it highly attractive for prototyping and low-to-medium volume production.
② Ideal for Large and Bulky Parts: The process excels at producing large-format parts, such as large gaskets or mats, which would be prohibitively difficult or expensive to create with injection molding.
③ Excellent Material Versatility: It is perfectly suited for High-Consistency Rubber (HCR), which has a very high viscosity (putty-like consistency). The direct placement of material in the mold minimizes stress and degradation, preserving the material’s properties.
④ Minimal Material Waste (from Runners): Since the material is placed directly in the cavity, there are no sprues or runners, which are a primary source of waste in injection molding. While flash is created, it is often less material waste overall.
⑤ Cost-Effective for Low-to-Medium Volumes: The combination of lower tooling costs and simpler setup makes it the most economical choice for production runs that do not justify the high cost of injection molding tools.
2. Key Disadvantages:
① Longer Cycle Times: The curing process is the most time-consuming step and can take several minutes per cycle, depending on part thickness. This makes it significantly slower than LSR injection molding, which has cycle times measured in seconds.
② Higher Labor Costs: The process is often labor-intensive, requiring manual loading of pre-forms, de-molding of parts, and a secondary de-flashing operation. This can drive up the per-part cost in high-volume scenarios.
③ Limited Geometric Complexity: Not well-suited for parts with very intricate details, thin walls, or complex undercuts. The high-viscosity material does not flow as easily into micro-features as liquid silicone rubber.
④ Flash Generation: It is nearly impossible to avoid creating flash—a thin film of excess material that is squeezed out at the mold’s parting line. This flash must be removed in a secondary operation (trimming or cryogenic de-flashing), adding time and cost.
⑤ Part-to-Part Consistency: Relies heavily on the precise placement of the pre-form by an operator. Variations in placement can lead to slight inconsistencies in wall thickness or part dimensions compared to the highly repeatable nature of injection molding.
3. Comparison with Liquid Silicone Rubber (LSR) Injection Molding:
| Feature | Silicone Compression Molding | Liquid Silicone Rubber (LSR) Injection Molding |
|---|---|---|
| Material Used | High-Consistency Rubber (HCR/HTV) | Liquid Silicone Rubber (LSR) |
| Tooling Cost | Low | High |
| Cycle Time | Long (minutes) | Fast (seconds) |
| Production Volume | Ideal for Low-to-Medium Volume | Ideal for High Volume |
| Part Complexity | Good for simple to moderately complex parts | Excellent for intricate, complex parts with fine details |
| Labor Cost | High (often manual) | Low (highly automated) |
| Flash | Significant, requires trimming | Minimal to no flash with precision tooling |
| Best For | Large parts, prototypes, low-cost tooling | Small-to-medium parts, tight tolerances, high-volume runs |
Key Characteristics and Properties of Compression Molded Silicone
Parts made via compression molding inherit the outstanding properties of the High-Temperature Vulcanizing (HTV) silicone rubber used.
① Exceptional Thermal Stability: Standard grades perform reliably across a vast temperature range, typically from -55°C to +230°C (-67°F to +446°F). Special grades can push these boundaries even further.
② Excellent Environmental and Chemical Resistance: Silicone is highly resistant to ozone, UV radiation, moisture, and weathering, making it ideal for outdoor applications. It also resists many oils, solvents, and chemicals, though specific compatibility should always be verified.

③ Superior Biocompatibility: Medical-grade silicones are non-toxic, hypoallergenic, and do not support microbial growth. They can be sterilized using various methods (autoclave, EtO, gamma radiation) and are certified for skin contact (USP Class VI) and even implantation.
④ High Electrical Insulation: Silicone rubber possesses high dielectric strength and volume resistivity, making it a premier choice for electrical insulators and connectors.
⑤ Customizable Properties: The base silicone can be compounded with additives to achieve specific properties, such as enhanced flame retardancy (UL 94 V-0), electrical conductivity (by adding carbon or metal particles), or a wide range of colors.
⑥ Mechanical Durability: Silicone offers a great balance of tensile strength, elongation, and tear resistance. It is highly flexible and has excellent compression set resistance, meaning it returns to its original shape after being compressed. Hardness can be specified across a wide range, typically from 20 to 80 Shore A durometer.
Core Process Workflow: A Step-by-Step Breakdown
The compression molding process is a systematic workflow that must be precisely controlled to ensure quality and repeatability.
① Material Compounding and Preparation: The process begins with raw HTV silicone gum. This is mixed with a curing agent (typically a peroxide-based catalyst), reinforcing fillers (like fumed silica), pigments for color, and any other required additives in a two-roll mill or internal mixer. The final compound is then processed into a pre-form of a specific shape and precise weight.
② Mold Preparation: The steel mold is cleaned thoroughly to remove any residue from previous cycles. A mold release agent is often applied to the cavity surfaces to prevent the cured part from sticking, facilitating easy de-molding.
③ Mold Heating: Both halves of the mold are heated to a precise and uniform temperature, typically between 150°C and 200°C (300°F to 392°F). This temperature is critical for initiating and completing the vulcanization process efficiently.
④ Loading the Silicone Pre-form: With the press open, an operator carefully places the pre-weighed silicone pre-form into the lower half of the heated mold cavity. The placement is strategic to ensure that when the mold closes, the material flows to fill all areas and pushes air out through vents.
⑤ Mold Closure and Compression: The hydraulic press closes, bringing the two mold halves together. High clamping pressure is applied, forcing the now-softened silicone to flow and conform to the shape of the cavity.
⑥ Curing (Vulcanization): The part is held under heat and pressure for a predetermined cure time. This time can range from 1 to 10+ minutes, depending on the part’s thickness, the silicone formulation, and the mold temperature. During this stage, the thermosetting reaction occurs, permanently setting the part’s shape.
⑦ De-molding: Once the cure cycle is complete, the press opens. The operator then carefully removes the finished part from the mold. This may be done manually or with the assistance of compressed air jets or mechanical ejector pins built into the mold.
⑧ Post-Processing: The part is rarely finished right out of the mold.
• De-flashing: The excess flash around the parting line is trimmed off manually with a blade, through cryogenic de-flashing (freezing the parts to make the flash brittle), or via precision die-cutting.
• Post-Curing: Many high-performance parts undergo a secondary post-curing process. They are placed in a circulating hot air oven for several hours (e.g., 4 hours at 200°C) to remove any residual byproducts from the peroxide cure and to stabilize and enhance the material’s final physical properties.
Silicone Rubber Compression Molding: A Comprehensive Guide
Explore the complete silicone rubber compression molding process in our in-depth guide.

The Complete Guide to Silicone Rubber Compression Molding
Key Considerations in Design and Manufacturing
Success in compression molding hinges on careful attention to several critical factors.
① Material Selection: This is the first and most crucial decision. The choice of silicone grade must be based on the application’s requirements for hardness (durometer), temperature range, chemical resistance, color, and any special certifications (e.g., FDA, USP Class VI).
② Pre-form Design and Control: The weight of the pre-form must be extremely accurate. Too little material results in a “short shot” (an incomplete part), while too much material creates excessive, hard-to-remove flash. The shape and placement of the pre-form are also critical to ensure proper material flow and prevent air entrapment.
③ Process Parameter Control: The “iron triangle” of temperature, pressure, and time must be tightly controlled and optimized for each specific part and material combination to achieve consistent results.
④ Mold Design and Construction: A well-designed mold is essential. Key design elements include the location of the parting line, the inclusion of sufficient draft angles for easy part removal, effective venting to allow trapped air to escape, and the quality of the tool steel and surface finish.
Design and Implementation Best Practices
Following established design for manufacturing (DFM) principles for compression molding can prevent costly errors and improve final part quality.
Best Practices for Part Design:
① Maintain Uniform Wall Thickness: Drastic variations in wall thickness can lead to uneven curing, internal stresses, and potential warping. Aim for as uniform a thickness as possible.
② Incorporate Generous Radii and Fillets: Sharp internal corners are points of stress concentration and can impede material flow. Use rounded corners and fillets to improve durability and mold filling.
③ Use Adequate Draft Angles: A draft angle is a slight taper applied to vertical walls. A draft of 1 to 3 degrees is typically recommended to allow the part to be removed from the mold without damage.
④ Plan the Parting Line: The location where the two mold halves meet (the parting line) will always leave a witness mark and is where flash will form. Position it on a non-critical or less visible surface of the part.
⑤ Specify Realistic Tolerances: Compression molding is less precise than injection molding. Understand its limitations and specify tolerances that are achievable for the process to avoid unnecessary costs.
Common Problems and Solutions in Production
Even with a well-designed part, issues can arise during production. Here are common problems and their troubleshooting steps.
| Problem | Potential Causes | Solutions and Mitigation Strategies |
|---|---|---|
| Short Shots / Non-Fills (Incomplete Part) | – Insufficient material (underweight pre-form) – Premature curing (scorching) – Trapped air preventing material flow – Insufficient molding pressure | – Verify pre-form weight; increase if necessary. – Optimize pre-form placement for better flow. – Lower mold temperature slightly or reduce time before pressure is applied. – Check and clean mold vents; add vents if needed. |
| Excessive Flash | – Too much material (overweight pre-form) – Insufficient clamping force of the press – Mold parting line faces are worn or damaged – Mold temperature is too high, reducing viscosity too much | – Reduce pre-form weight to the target specification. – Increase press clamping pressure. – Inspect the mold for wear and perform maintenance/repair. – Lower the mold temperature slightly. |
| Air Traps / Voids / Porosity | – Improper pre-form placement trapping air – Inadequate or clogged mold vents – Moisture in the silicone compound – Material curing before air can escape | – Change the pre-form shape or its position in the mold. – “Bump” the press (open and close quickly) early in the cycle to let air escape. – Ensure vents are clean and properly sized. – Pre-heat or dry the material if moisture is suspected. |
| Blisters or Bubbles on Part Surface | – Under-curing (gases are still evolving as the part is de-molded) – Trapped volatile byproducts | – Increase the cure time or cure temperature. – Ensure a proper post-cure cycle is performed. – Improve mold venting. |
| Part Sticking to the Mold | – Inadequate or worn-off mold release agent – Rough or damaged mold cavity surface – Under-curing, leaving the part “tacky” | – Establish a consistent schedule for cleaning and re-applying the mold release agent. – Polish the mold cavity to a smooth finish. – Verify cure parameters and increase cure time if necessary. |
Decision Aid: Compression vs. LSR Injection Molding
Use this quick guide to help decide which process is a better fit for your project:
1. Choose Silicone Compression Molding if:
① Your production volume is low-to-medium (e.g., hundreds to a few thousand parts).
② Your part is large, thick, or has a simple to moderate geometry.
③ Your tooling budget is a primary constraint.
④ You are in the prototyping or initial launch phase.
⑤ The material required is a high-durometer or specialized HTV/HCR compound.
2. Choose LSR Injection Molding if:
① Your production volume is high (e.g., tens of thousands to millions of parts).
② Your part is small, has thin walls, or a complex geometry with intricate details.
③ Cycle time and per-part cost at high volume are the primary drivers.
④ You require extremely tight tolerances and high part-to-part consistency.
⑤ The process needs to be fully automated with minimal labor.
Related Technologies and Concepts
① Liquid Silicone Rubber (LSR) Injection Molding: As discussed, this is the primary high-volume alternative. It uses a two-component liquid material that is automatically mixed and injected into a mold, offering very fast cycles and high precision.
② Silicone Transfer Molding: A bridge between compression and injection molding. It provides better control than standard compression molding and is excellent for overmolding electronic components or metal inserts, as the material flows into the mold more gently.
③ Silicone Extrusion: A continuous process used to create linear profiles, such as tubing, cords, strips, and complex cross-sectional shapes. The silicone is pushed through a die to form the profile and is then cured in-line.
④ Silicone Calendering: A process for producing continuous silicone rubber sheets of precise thickness. The silicone compound is passed through a series of heated rollers that press it into a thin, uniform sheet.
⑤ High-Consistency Rubber (HCR): Also known as HTV (High-Temperature Vulcanizing) silicone, this is the raw material for compression molding. It has a high viscosity and a consistency similar to putty or dough, requiring mills or mixers for processing. It is distinct from the low-viscosity, pumpable LSR.
⑥ Vulcanization: The fundamental chemical process that gives silicone its final rubbery properties. It can be initiated by different catalyst systems:
⑦ Peroxide-Cure: A common and cost-effective system used in compression molding. It can leave acidic byproducts that are removed during a post-cure.
⑧ Platinum-Cure (Addition-Cure): A cleaner system that produces no byproducts, often used for LSR and high-purity medical applications. It is more sensitive to contamination.

How Can Manufacturers Effectively Reduce Costs in Injection Molded Part Production?
Key Takeaways – Material selection and wall thickness optimization are the primary drivers for reducing piece-part costs. – Investing in higher-quality tooling (Class 101/102) can lower long-term unit costs through

Family Molds vs. MUD Systems: Which Strategy Best Manages Multi-Part Injection Molding Projects?
Key Takeaways – Family molds produce multiple different parts in one shot, but a single compromised process window affects all cavities simultaneously. – MUD (Master Unit Die) systems use interchangeable

What is a High-Speed Injection Molding Machine?
Key Takeaways – A high-speed injection molding machine is defined by injection speed4s of 300–600 mm/s and clamp speeds exceeding 500 mm/s, compared to 100–200 mm/s for standard machines—enabling cycle
Optimization Solutions Provided For Free
- Provide Design Feedback and Optimization Solutions
- Optimize Structure and Reduce Mold Costs
- Talk Directly With Engineers One-On-One

