 Skip to content

Designing an injection molded product involves several steps, including:
1. Defining the product requirements
After conceptualizing your injection molded product, the real work begins! To ensure that you receive a final, functional product with all of its desired features and functions fully intact, it is essential to specify all requirements beforehand.
This includes size, shape specifications for optimum performance as well as any special features or needs specific to the particular application.
2. Selecting the material
Careful consideration must be given to the material selection for thin wall injection molding projects. Whether it’s plastic or elastomer, there is an extensive variety of materials that may have varying degrees of strength, stiffness, and temperature tolerance – all depending on what your product requires for optimal performance. Identifying the appropriate option can help you craft a successful end result!
3. Determining the process parameters
The precision of the injection molding process is determined by careful selection and optimization of critical parameters. From controlling temperature to managing pressure, each step must be carefully considered in order for plastic parts to reach their desired standards.
4. Sketching the product design
The creative process starts with the sketch, where all of your product’s important features are brought to life. You can choose between hand rendering it or utilizing CAD software – both resulting in a design that takes into account even the tiniest details such as slots and holes for injection molding intricate parts.
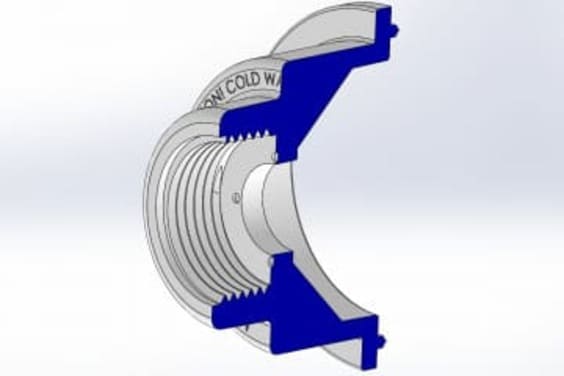
5. Creating a 3D model
With the sketch complete, designers can take their product to another level with a 3D model created using CAD software. From here they’re able to explore and refine their design further, ensuring it meets all desired specifications before bringing it into production.
6. Analyzing the product design
With the 3D model finalized, it’s time to examine how the design will withstand production. We’ll analyze things like material flow through injection molding, cooling of molten plastic parts and strength/stiffness after manufacture – ensuring that your product meets operational expectations on every level!
7. Optimizing the product design
Modifying the design may be necessary to ensure optimal injection molding results. This can include adding reinforcement elements, or conversely changing shapes and sizes to reduce material use – both of which result in increased product strength and stiffness while minimizing costs.
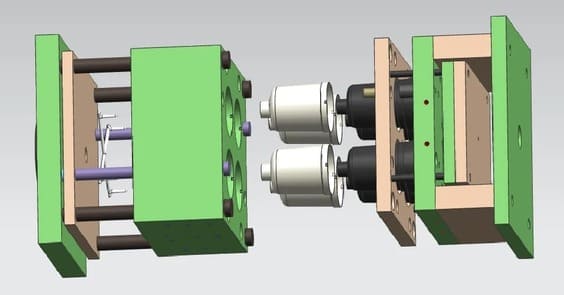
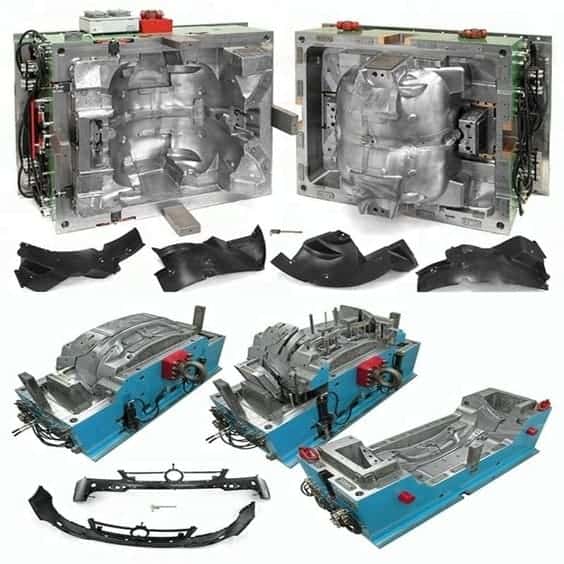
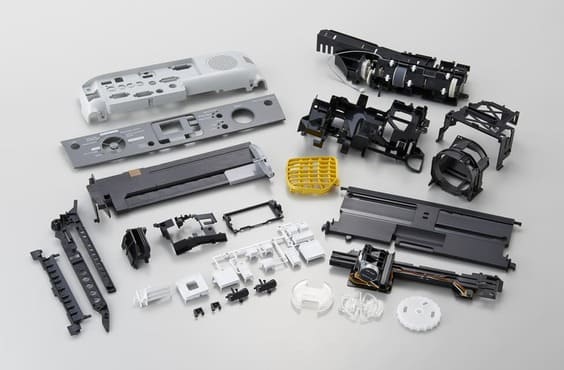
8. Designing the mold
With the design process complete, it’s time to craft a mold that will help transform your idea into reality.
This consists of two halves precisely engineered to withstand extreme temperatures and forces associated with injection-molded production. Meticulously crafted for optimal performance, this mold provides an exact replica – within tolerances and finished surfaces – of what was originally envisioned!
Conclusion
With the right blend of technical proficiency and innovative flair, injection molded products can be developed with exceptional quality and perfect fit for specific applications.
Careful consideration must be taken in order to achieve success when designing such a product as it requires balancing various constraints while unlocking creative potential.


