 Skip to content

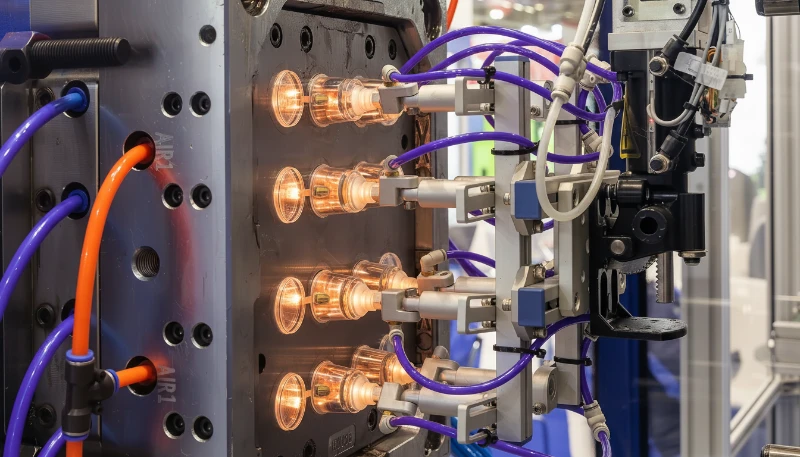
– Ejector pins are the mechanical components that push finished parts out of the mold cavity after cooling, and their design directly impacts part quality and cycle time.
– The five main ejector types — straight pins, stepped pins, sleeve ejectors, blade ejectors, and lifters — each serve specific part geometries.
– Common ejector-related defects include pin marks, sticking, flash at pin locations, and part distortion from uneven ejection force.
– Proper ejector design considers pin diameter, placement, stroke length, and cooling to balance ejection force against cosmetic requirements.
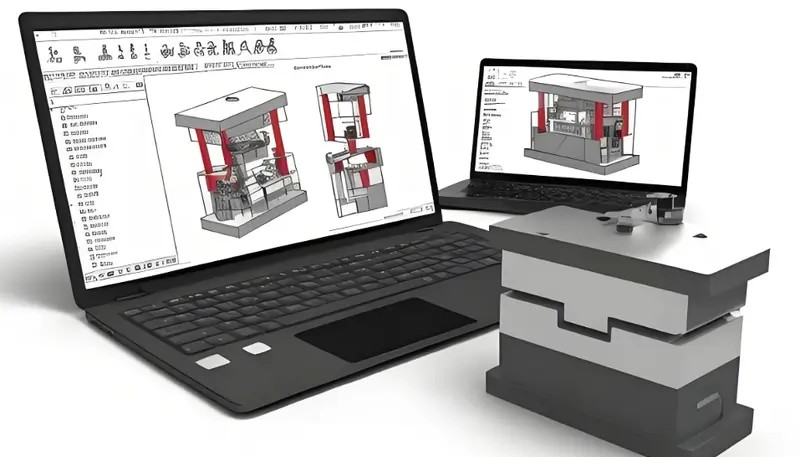
What Are Ejector Pins and Why Are They Critical in Injection Molding?
Ejector pins are hardened steel rods that push the molded part out of the core side of the mold after the plastic has cooled and solidified. They are among the most common — and most overlooked — components in injection molding1 tooling. In our experience at ZetarMold, ejector-related issues account for roughly 15–20% of all mold maintenance problems.
The ejection phase seems simple — just push the part out. But the engineering challenges are significant: the part is still warm and somewhat pliable, it may be gripping the core tightly due to shrinkage, and cosmetic surfaces cannot show pin marks. Getting ejection wrong leads to stuck parts, surface defects, broken pins, and production downtime.
What Are the Main Types of Ejector Pins and When Should You Use Each?
Different part geometries and cosmetic requirements call for different ejector types. Here is a comprehensive comparison.
| Ejector Type | Description | Best For | Typical Diameter | Cost |
|---|---|---|---|---|
| Straight pin (round) | Standard cylindrical hardened steel pin | General purpose, flat surfaces | 1.0–12.0 mm | Low ($2–10) |
| Stepped pin | Pin with two diameters — larger head, smaller tip | Deep cavities, thin walls where smaller tip is needed | Head 4–12 mm, tip 1–4 mm | Medium ($5–20) |
| Sleeve ejector | Hollow cylindrical tube that ejects around a core pin | Bosses, cylindrical features, through-holes | 3–20 mm OD | Medium-High ($15–50) |
| Blade ejector | Flat, rectangular cross-section pin | Thin ribs, narrow walls, slots | 1–3 mm thick | High ($20–60) |
| Lifter/angled pin | Pin that moves at an angle during ejection | Undercuts, internal features | Custom | High ($50–200+) |
In our tooling shop, approximately 70% of molds use standard straight pins, 15% use sleeve ejectors, 10% use blade ejectors, and 5% require lifters for undercuts. The choice is driven by part geometry, not cost — using the wrong type to save money creates far more expensive quality problems.
“More ejector pins always means better ejection — you should maximize the number of pins.”False
Excessive ejector pins can weaken the mold structure, create more potential flash points, and leave unnecessary marks on the part surface. The goal is to use the minimum number of pins that distribute ejection force evenly without exceeding the material’s compressive yield strength at each pin location. Typically 4–12 pins are sufficient for most parts.
“Ejector pin placement should prioritize areas of maximum part retention (deepest draw, tightest core grip) rather than distributing pins uniformly.”True
Parts grip the core most tightly where shrinkage wraps the plastic around deep cores, ribs, and bosses. Placing ejector pins at these high-retention points ensures the part releases cleanly. Uniform distribution may miss the critical high-grip zones, causing the part to stick or tilt during ejection.
How Do You Calculate the Right Ejection Force?
Ejection force calculation prevents two problems: too little force (part sticks) and too much force (part deforms or pin marks appear). The formula accounts for part surface area, shrinkage grip, and friction.
Simplified ejection force formula:
F = μ × P × A
Where:
- F = ejection force (N)
- μ = coefficient of friction between plastic and steel (0.2–0.5 depending on material and surface finish)
- P = shrinkage-induced contact pressure (5–30 MPa depending on material, wall thickness, and cooling time)
- A = total contact area between part and core (mm²)
Example: A box-shaped ABS part with 100 cm² core contact area:
- μ = 0.3 (ABS on polished steel)
- P = 10 MPa (typical for 2 mm wall, adequate cooling)
- A = 10,000 mm²
- F = 0.3 × 10 × 10,000 = 30,000 N = 30 kN
- With 8 pins of 4 mm diameter: 30,000 ÷ 8 = 3,750 N per pin
- Pin stress: 3,750 ÷ (π × 2²) = 298 MPa — within the 1,500 MPa yield strength of H13 tool steel
What Are the Key Design Principles for Ejector Pin Placement?
Pin placement is as important as pin type. Poor placement causes uneven ejection, part tilting, and cosmetic defects.

Our design rules at ZetarMold:
- Support high-retention zones — Place pins near deep cores, tall ribs, and tight-fitting features where the part grips hardest.
- Balance the force distribution — The resultant of all pin forces should pass through the part’s center of gravity to prevent tilting.
- Avoid cosmetic surfaces — Pin marks are inevitable; place pins on hidden surfaces (inside faces, mating surfaces, areas covered by labels).
- Minimum pin diameter — Use the largest pin that fits the geometry. Minimum 2 mm for durability; 4–6 mm is preferred. Smaller pins are more prone to bending and breaking.
- Pin-to-edge distance — Keep pin edges at least 1.5× wall thickness from the part edge to prevent blow-through.
- Stroke length — Ejection stroke should be at least 5 mm beyond the deepest draw to ensure complete release.
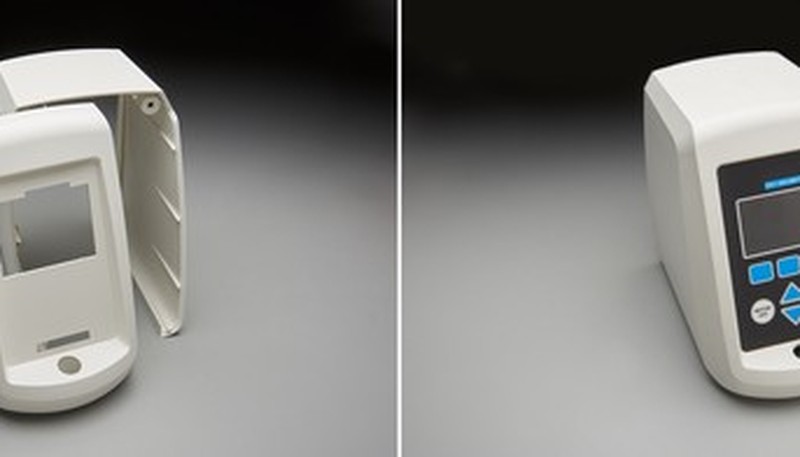
What Are Common Ejector Pin Defects and How Do You Fix Them?
Despite best-practice design, ejector-related defects do occur. Knowing the symptoms and fixes saves production time.
| Defect | Root Cause | Solution |
|---|---|---|
| Visible pin marks (glossy circles) | Pin face not flush with cavity surface; over-polished pin face | Adjust pin length; match pin face finish to surrounding texture |
| Pin push-through (dimples/holes) | Excessive ejection force; insufficient cooling time | Add more pins to distribute force; extend cooling; add draft angle2 |
| Part sticking on core | Insufficient draft; too few pins; high vacuum | Add draft; add pins; add air poppet valves for vacuum break |
| Flash at pin locations | Pin worn or undersized; pin bore worn oversize | Replace pin; ream bore to next size up and use matching pin |
| Pin breakage | Pin too thin for load; lateral force from part sticking | Increase pin diameter; add guided ejection (return pins) |
| Part distortion during ejection | Unbalanced ejection force; part not rigid enough | Rebalance pin locations; extend cooling time; use stripper plate |
“Ejector pin marks cannot be eliminated — they are an unavoidable limitation of injection molding.”False
While pins always leave some witness mark, several alternatives can eliminate visible marks: stripper plates distribute force across the entire part perimeter instead of discrete points; air ejection uses compressed air with zero contact; and sleeve ejectors can place marks on non-visible internal bosses. Pin marks can also be masked by texturing the surrounding surface.
“Adding a light sandblast texture (MT-11010/MT-11020) to the ejector pin face makes pin marks less visible than a polished pin face.”True
A polished pin face creates a glossy circle that contrasts with a textured part surface. Matching the pin face texture to the surrounding cavity surface (typically MT-11010 to MT-11020 equivalent) camouflages the pin mark. This is standard practice at ZetarMold for all textured parts.
How Do You Maintain Ejector Pins for Long Mold Life?
Ejector pins are wear items that need regular inspection and replacement. Proper maintenance prevents unplanned downtime and quality drift.
Maintenance schedule we follow:
- Every 5,000 shots: Visual inspection of pin faces for wear, buildup, or damage
- Every 25,000 shots: Pull pins, clean bore holes, check for galling, re-lubricate with high-temperature mold grease
- Every 100,000 shots: Measure pin diameters and bore holes; replace any pin showing >0.02 mm wear or any bore >0.03 mm oversize
- Material deposits: Clean with brass brush and mold cleaner3 solvent. Never use steel tools on pin surfaces.
Ready to optimize your mold’s ejection system? Contact ZetarMold for expert mold design and engineering support.
FAQ
What material are ejector pins made from?
Standard ejector pins are made from through-hardened H13 tool steel (HRC 48–52) or SKD61 equivalent. For abrasive materials like glass-filled nylon, nitrided or TiN-coated pins extend life 3–5×. For corrosive materials like PVC, stainless steel (420 or 440C) pins prevent rust and pitting.
How many ejector pins does a typical mold need?
A small part (credit-card size) typically needs 4–8 pins. A medium part (phone-case size) needs 8–16 pins. Large parts (laptop cover size) may require 20–40+ pins or a combination of pins and stripper plates. The number depends on ejection force needed, part stiffness, and cosmetic requirements.
Can ejector pins be placed on textured surfaces?
Yes, but the pin face must be textured to match the surrounding cavity texture. A polished pin on a textured surface creates an obvious glossy circle. At ZetarMold, we texture pin faces to match the cavity using EDM or bead blasting after the mold texture is applied.
What is the difference between ejector pins and ejector sleeves?
Ejector pins are solid round rods that push on a flat area of the part. Ejector sleeves are hollow tubes that eject around a core pin, distributing force around the circumference of a boss or cylindrical feature. Sleeves are more expensive but essential for boss features where a solid pin cannot reach the ejection surface.
How do you prevent ejector pin marks on Class A cosmetic surfaces?
Options include: (1) relocate pins to the non-cosmetic side (B-side); (2) use a stripper plate that pushes the entire part perimeter; (3) use air ejection (compressed air through a poppet valve); or (4) eject from internal structural features like ribs and bosses that are not visible in the final product.
What causes ejector pins to break?
The top causes are: (1) pin diameter too small for the required force; (2) part sticking on one side, creating a lateral bending load; (3) misalignment between the pin and bore after mold maintenance; and (4) material buildup on the pin creating excessive friction. Using pins at least 2 mm in diameter and ensuring proper mold alignment prevents most breakage.
Summary
Ejector pins may be the most underappreciated component in injection mold design, yet they directly influence part quality, cycle time, and mold longevity. Selecting the right pin type for each feature, calculating adequate ejection force, placing pins strategically to avoid cosmetic defects, and maintaining pins on a regular schedule are all essential practices. At ZetarMold, we design every ejection system with the same rigor we apply to the cavity and cooling — because a great part that cannot be cleanly ejected is still a reject.
-
Injection molding is a manufacturing process where molten thermoplastic material is injected under high pressure into a closed mold cavity, cooled to solidify into the desired shape, and then ejected as a finished part using the ejector system. ↩
-
Draft angle is a slight taper (typically 0.5–3°) applied to vertical walls of a molded part that allows it to release cleanly from the mold core during ejection without scraping or requiring excessive ejection force. ↩
-
Injection molding defects are undesirable characteristics in molded parts — such as flash, sink marks, short shots, and burn marks — caused by issues in mold design, material selection, or process parameters. ↩


