 Skip to content

Introduction: Injection molding is everywhere. In fact, most plastic products in the world today are made using injection molding. While it’s great for large-scale production, traditional CNC machined metal molds are expensive and take a long time to make for small-volume production.

If you’re prototyping or doing small-volume production (like 10-1000 parts), 3D printed injection molds are a great way to save time and money. They also let you be more flexible with your manufacturing process. You can test mold designs, make changes easily, and iterate designs much faster and way cheaper than traditional CNC machining.
Making custom molds with a stereolithography 3D printer is easy and convenient, letting you combine the best of 3D printing and traditional molding techniques.In this guide, we’ll show you how to do DIY injection molding and give you all the tools and tips you need to use 3D printed molds for plastic injection molding in-house.
What Do You Need for DIY Injection Molding?
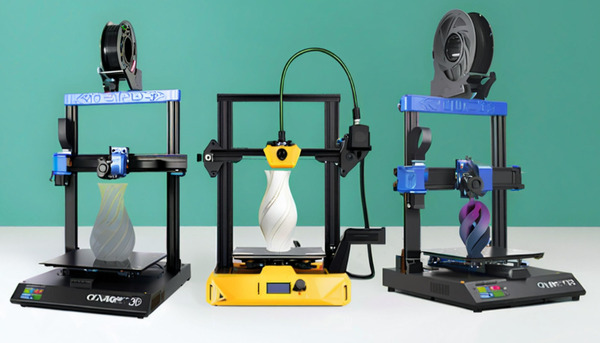
High-Performance Desktop SLA 3D Printers
Desktop SLA 3D printers are high-performance machines that can make molds with sharp features and a smooth surface finish, which means you can make high-quality parts. You can use SLA 3D printers for more than just making plastic molds. They’re also great for prototyping and other things you need to do when you’re developing a product.
Price: SLA printers are more expensive than Fused Deposition Modeling (FDM) and HP Nylon Multi-Jet Fusion (MJF) printers for prototyping with thermoplastic materials, but they provide good detail.
Print Size: Consumer 3D printers are made for making small parts and small batches. They’re like mini versions of the big ones. The average print size is medium, usually 145 x 145 x 175 mm.

Materials: Even though the printer is small, it has a lot of materials. It has resins for clear, solid, dental, and flexible parts. The most common materials for desktop 3D printing are polycarbonate (PC), acrylonitrile butadiene styrene (ABS), and elastomeric polyurethane (EPU) resins. There are also a lot of cheaper materials on the market. They cost about 15 euros for 500 ml.
Resolution: The resolution of desktop 3D printers is usually pretty good for the price range, with layer thicknesses of about 25-200 microns. However, it can sometimes get worse after you’ve used it a bunch.

Weight: Desktop resin SLA printers weigh less than 10 kg and are super portable.
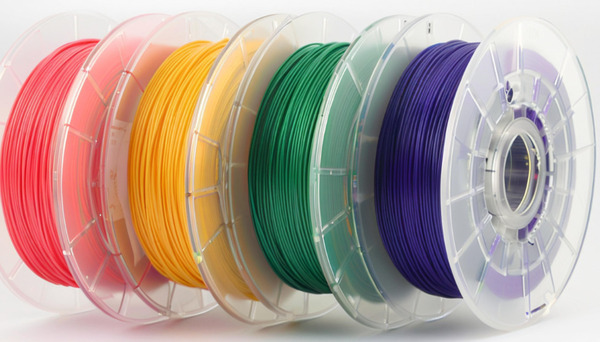
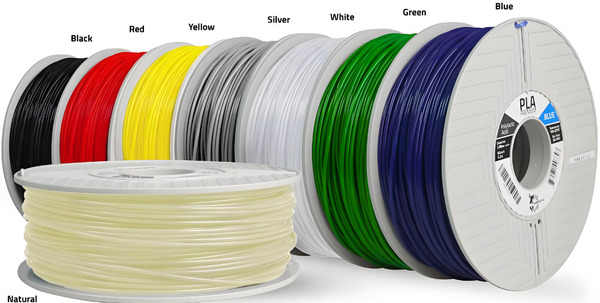
3D Printing Materials
A 3D printing material that can withstand the temperature and pressure on the mold during the injection molding process. The main ones include the following:
Rigid 10K Resin is a super-strong, highly glass-filled material that can handle a wider range of geometries and injection molding processes. It has an HDT of 218°C @ 0.45 MPa and a tensile modulus of 10,000 MPa, which means it’s strong, super hard, and can take the heat.
High Temp Resin has a heat deflection temperature of 238 °C @ 0.45 MPa and is good for injection molding. It’s brittle but recommended for materials with high molding temperatures and reduced cooling times.
Grey Pro Resin has a lower thermal conductivity than High Temp Resin or Rigid Resin, which means it takes longer to cool down, but it’s softer and can withstand hundreds of cycles of wear.
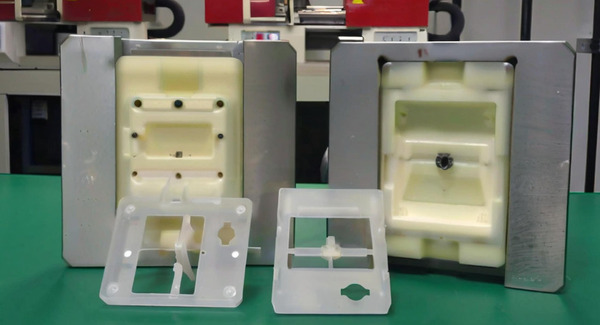
Desktop Injection Molding Machines.
Desktop injection molding is a mechanical process that is commonly used in various production cycles to permanently shape a variety of materials, including plastics. On this page, you will learn about what injection molding is, where injection molding is commonly used, the production of plastic parts and objects, mold production, and precision molding of plastic materials.
There are many different types of injection molding machines used by manufacturers. The main machine types used are hydraulic, electric, and hybrid (a combination of electric and hydraulic) power, but desktop injection molding machines are generally electric powered.

Desktop injection molding machines are designed to force molten material (usually plastic or metal) into a mold that includes a cavity to push the material into and a fixture to mold and secure the part into its final shape. In one machine, molds can be single-cavity or multi-cavity, meaning that only one or more products can be made in one process.
In addition, multi-cavity molds can include identical or unique cavities, so the products created can be identical or individual. Each mold is designed to make more than a million parts over its lifetime, which means they must be rugged and have low tolerances.

Whether or not a desktop injection molding machine is useful to you depends on your use case and the needs of the user. For home DIY enthusiasts and small studios, they can provide a cheap, fast and easy-to-use way to make complex parts and models.
DIY Injection Molding in Steps
Designing the Mold in CAD
First, pick your favorite CAD software tool to design the mold insert. You can design your own mold insert using the cavity drawing of the main mold framework.
Bring the two halves of the core and the 3D design you want to make into your CAD tool.
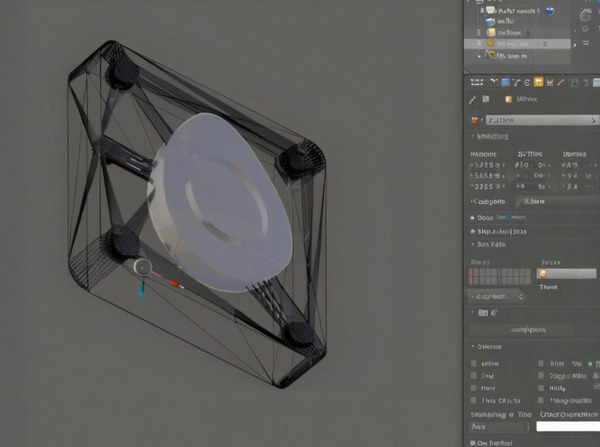
In Blender, block off one half of the mold using the eye icon in the scene explorer. Once you have the workspace set up the way you like it, set both halves of the mold to the “wire” draw type under the Object menu.
Now you can position the mold. During the injection process, make sure the object fully intersects the inlet of the molten plastic. Use orthographic mode to make this easier by toggling between perspective and orthographic views.
Hide the current mold core, then unhide the other side. Repeat this process, making sure the object fully intersects the inlet of the other half of the core. Once the objects are lined up, you can use the Boolean Difference function in Blender to subtract the area of the two intersecting objects.

Select the front half of the object, then select the boolean option under the modifier menu. Select the object you are cutting, and make sure the “difference” operation is selected. Apply the operator and do the same for the other side.
Your mold is now ready to print. Export each half, making sure to check the “Selection Only” box in the Blender exporter.
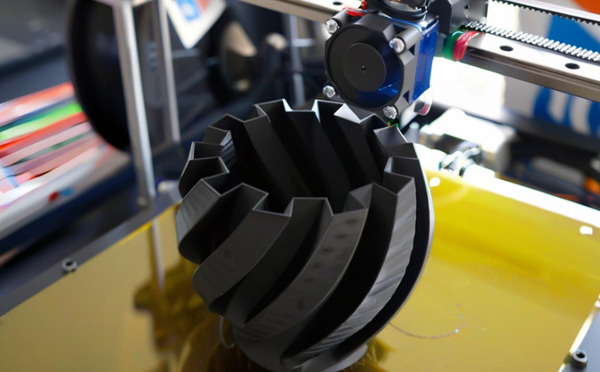
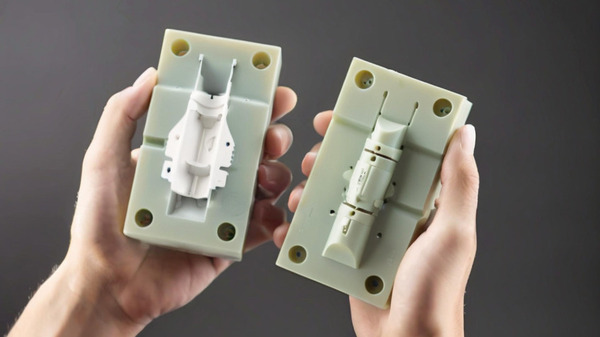
3D Printing Molds
To 3D print molds, you need to pick a material that can handle the temperature and pressure of the mold during the injection molding process.
During the mold making process, the aluminum mold frame is combined with the steel molds and the mold halves are processed using a drill press to ensure effective removal of air bubbles in the liquid resin.
Based on our own testing and customer case studies, we’ve compiled a list of the most popular 3D printing resins.
Light-curing resins: Light-curing resins are one of the most popular types of resins in 3D printing. It works by quickly hardening with ultraviolet light. This resin can harden fast and has great detail performance. Light-curing resins are good for making detailed models, artworks, and high-quality machine parts.

Composite resins: Composite resins are made by mixing two or more resin materials. You can adjust the strength and hardness of this resin in different proportions, so you can make everything from soft things to hard things. Composite resins also have good chemical and heat resistance.
Silicone resins: Silicone resins are a high-performance resin material with high strength, high hardness, high temperature stability, and excellent mechanical properties. This resin also has good weather resistance and air tightness, so it is often used to make high-end automotive parts and parts in the aerospace field.

Thermoplastic resin: Thermoplastic resin is a resin material that can be plastically deformed at high temperatures. This resin has good heat resistance and corrosion resistance, and can be processed.
Photosensitive resin is the stuff you use to make things with a 3D printer that uses light to harden the resin. It’s a liquid that turns into a solid when you shine light on it. It’s made out of a bunch of different chemicals, but the main ones are polymers, photoinitiators, and diluents.

There are 9 different kinds of photosensitive resin you can use with a 3D printer: general resin, hard resin, investment casting resin, flexible resin, elastic resin, high temperature resin, biocompatible resin, ceramic resin, and daylight resin.
Setting up a print in PreForm, the print preparation software for Formlabs 3D printers, takes just a few seconds. If your mold design needs a support structure for printing, make sure to position the mold half in PreForm so that the cavity is facing up. This will make post-processing easier and give you a high-quality surface on your molded part.
Depending on the geometry and size, you can print multiple molds on the build platform at once to make printing more efficient.
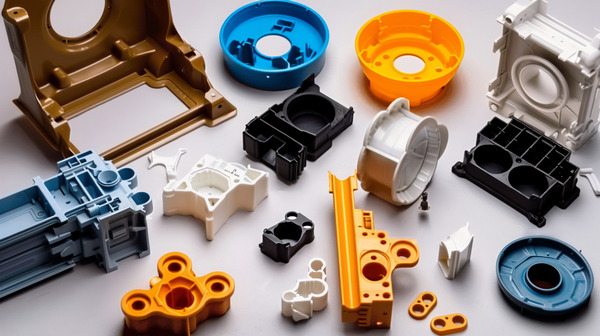
Injection Molded Plastic Parts
Now that you’ve designed and 3D printed your mold, you can injection mold your parts on a desktop plastic injection molding machine.
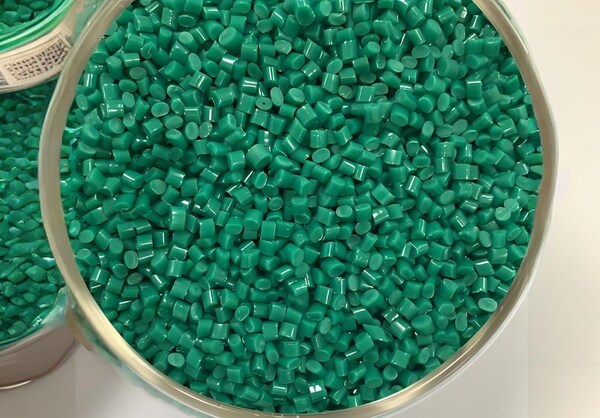
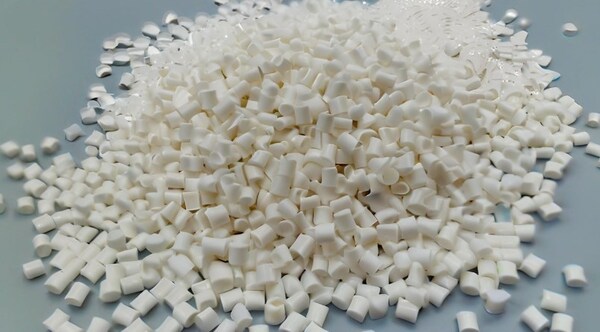
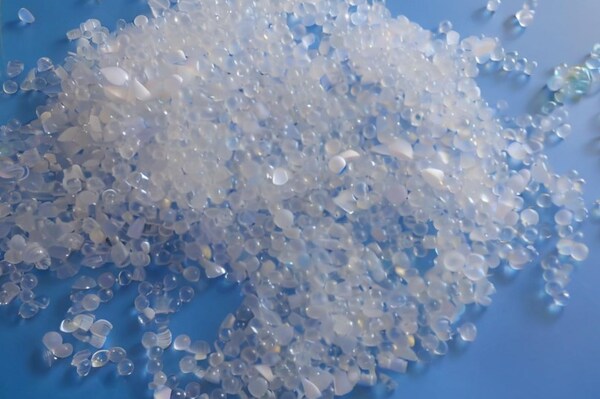
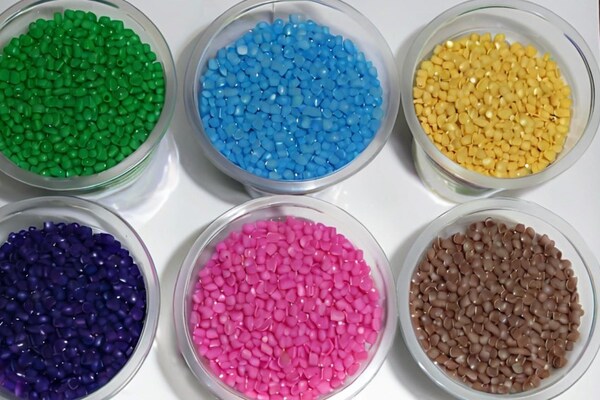
You have a bunch of stuff to pick from for injection molding. Here are some of the most common injection molding materials.
Acrylic; Acrylic, also known as poly(methyl methacrylate), is a thermoplastic material that is lightweight, has good mechanical strength, and is clear and transparent. It is not ductile, but it resists chipping well.
ABS; ABS is one of the most recognized injection molding materials. It has good strength and toughness, impact resistance, and chemical resistance to acids, bases, and oils. It is completely opaque and can be injection molded in a variety of colors. Best of all, it is very cheap compared to the other plastic injection molding materials on this list.
Nylon; Nylon is a great material. It’s tough, it can handle heat, and it has good friction and wear properties. It’s a natural material, but it can also be made in a lab. The lab-made kind is great for injection molding. Plus, it’s good at absorbing vibrations, so it’s good for making things that stop noise.
PC; PC is super tough, chip resistant, and impact resistant. It’s see-through. Plus, it’s got the great quality of keeping its mechanical properties and appearance over a wide temperature range. So, it works great in high temperature environments.

POM; POM is great for things that need to be really precise. It’s stiff and rigid, so it doesn’t change shape much. It’s also slippery and smooth, so it’s good for things that rub together a lot. It can also handle really cold temperatures.
PP; PP is all around us, especially in our kitchen cabinets in the form of food containers. It is one of the most common plastics approved by the FDA for use in plastic injection molding. It is hard, heat-resistant, chemical-resistant, and can be recycled many times. These qualities make it easy to work with.

PS; PS is one of the few brittle injection molding materials. It is particularly lightweight, resistant to moisture and chemical reactions, and is very suitable for home plastic injection molding because it shrinks uniformly when it cools in the mold.
PE; PE is divided into three major categories with different densities: high-density polyethylene (HDPE), low-density polyethylene (LDPE), and polyethylene terephthalate (PET). Generally, PE grades are ductile, have good impact strength and creep resistance (can withstand mechanical loads for long periods of time without deforming). In addition, they are resistant to chemical reactions.
TPE ; TPE is different from other injection molding materials because it is a plastic-rubber blend. It combines the best of both worlds. It is flexible, can be stretched a lot, is strong, and can be recycled. Plus, the best part is that it is cheap compared to most rubber alternatives.
TPU ; TPU is another rubber-plastic blend that has very desirable qualities in its polyurethane component. It is very hard and has very good compressive strength, abrasion resistance, and chemical resistance. In addition, these properties don’t change much at extreme temperatures.
Before you choose, think about what you want the thing to do and what the machine can do. Then, just follow the machine’s instructions to make your part.
Depending on what you’re injecting, part adhesion to the mold can cause the mold to deteriorate when you’re trying to get the part out, especially with flexible materials like TPU or TPE. Using a mold release is a great way to help separate the part from the mold. Silicone mold releases work with Formlabs Grey Pro Resin, High Temp Resin, and Rigid 10K Resin.
Tips for Designers Trying DIY Injection Molding
When you design your mold, think about whether it can be printed and whether it can be molded.
The exact method for DIY injection molding will vary depending on the design and volume you need, but these tips and tricks will help increase your success rate. To reduce the visibility of print lines on your finished part, print your plastic mold using a smaller layer height (50 or 25 microns per layer instead of the default 100). Be aware that this will increase print time.

Adding 2-5 degrees of draft to surfaces perpendicular to the direction of pull will make it easier to get the part out and will help keep the mold from getting damaged. You can sand the split planes with fine sandpaper to get rid of the flash. You can use a water bath to cool your part faster and keep it from warping. Embossed and engraved details should be at least 1 mm away from the surface.

If you’re designing an aluminum frame, add .125mm of extra thickness to the back of the form to create compression and ensure a complete seal.
Conclusion
People often talk about 3D printing and injection moulding like they’re mortal enemies, but it’s not always a binary choice. Prototyping and low-volume production, whether done by 3D printing directly on a part or by injection molder using a 3D printed mold, can be a great way to help companies get to market faster, more cost-effectively, and with less risk.


