 Skip to content

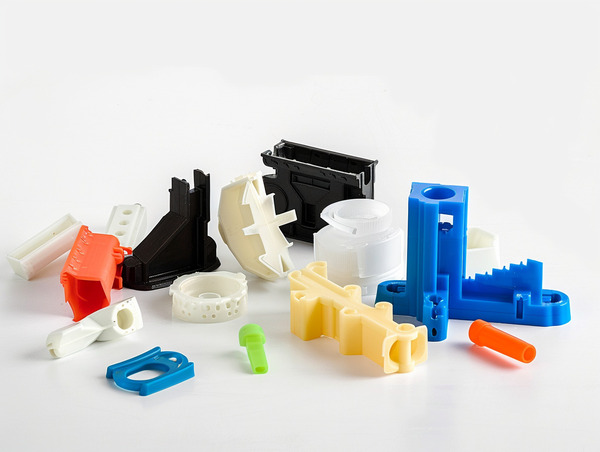
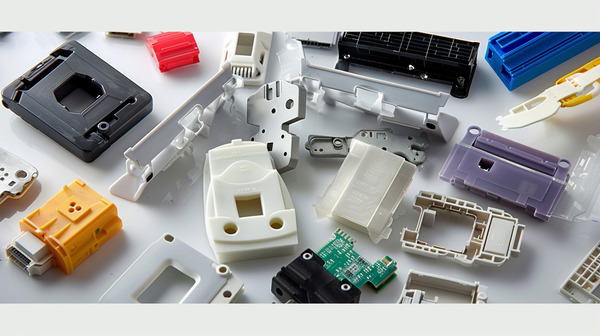
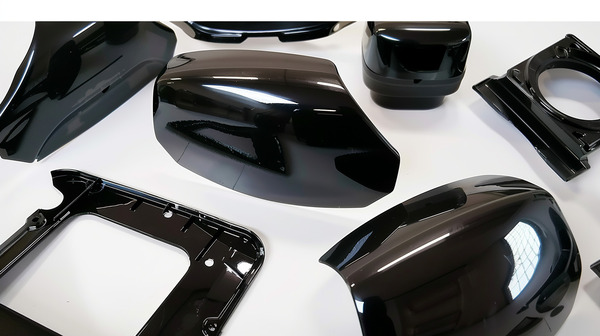
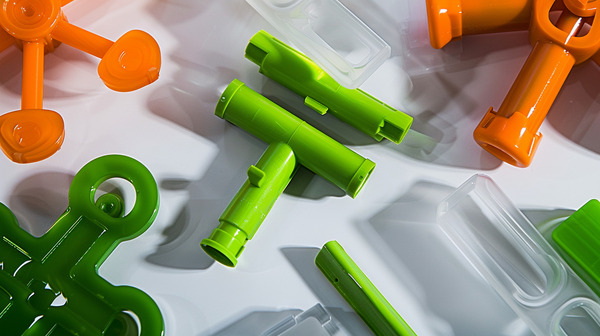
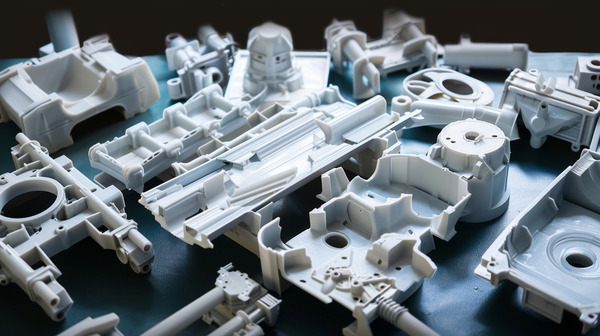
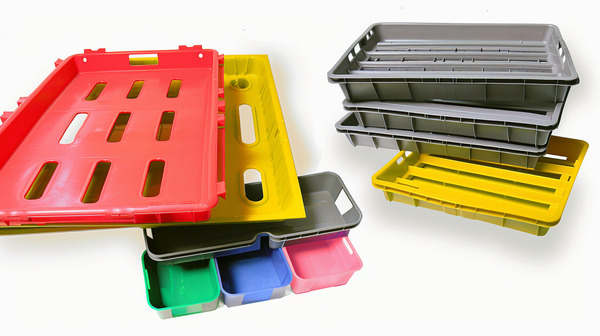
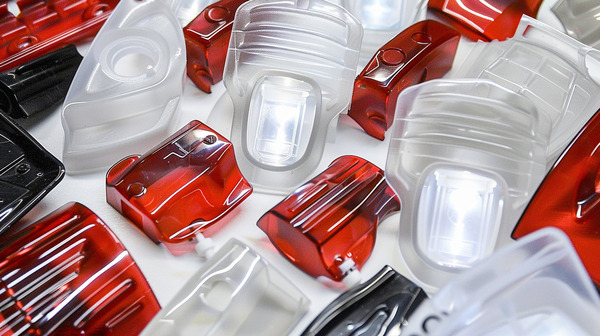
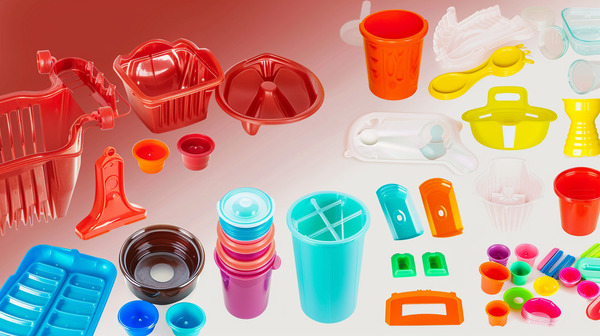
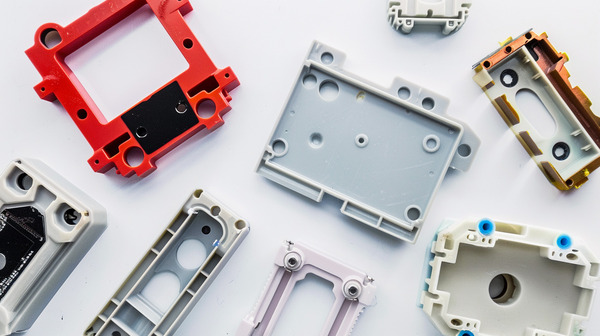
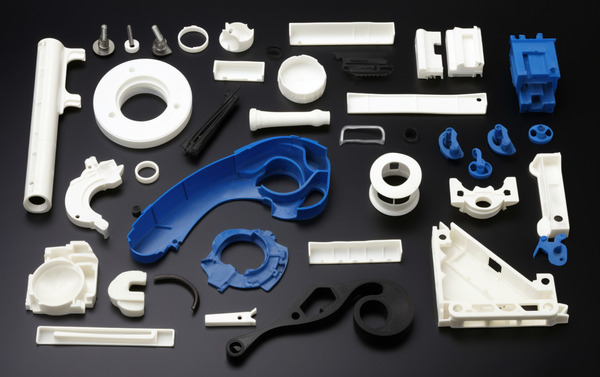
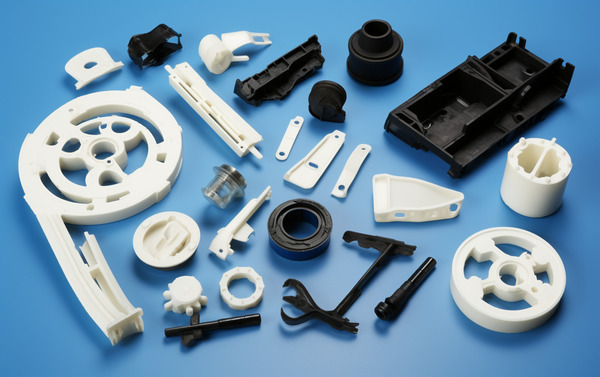
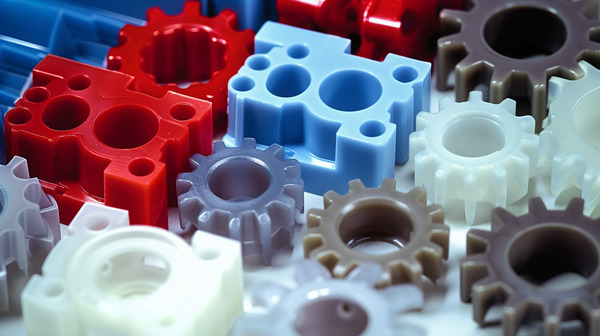
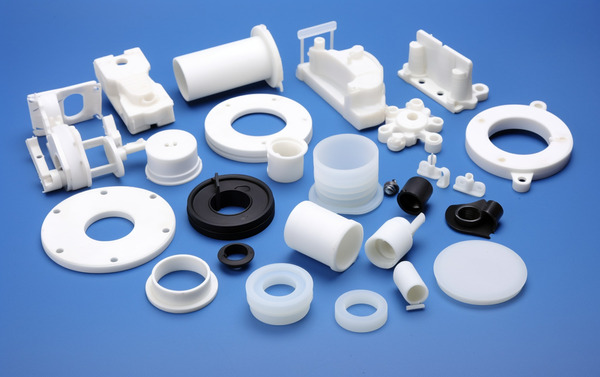
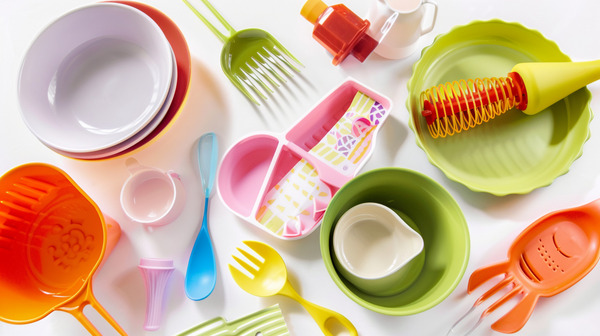
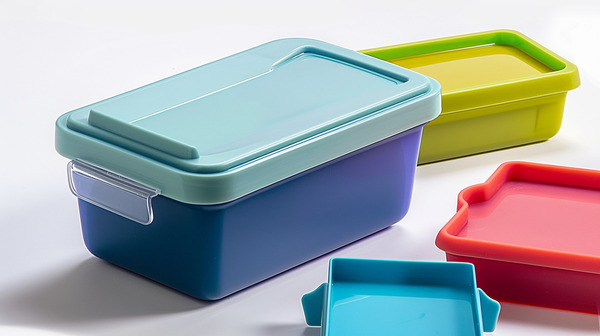
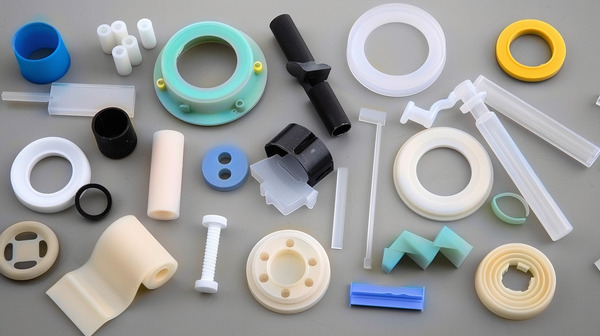
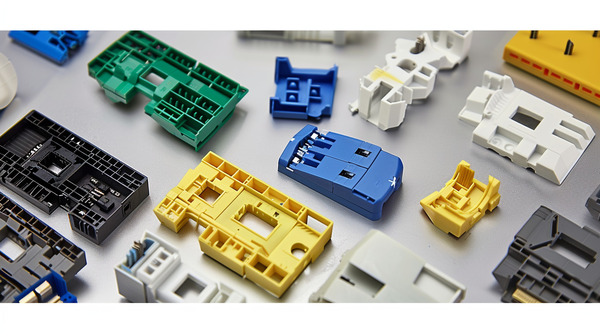
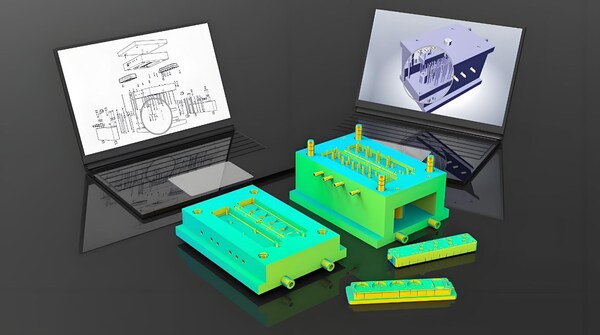
Introduction: plastic injection molding is a process where plastic particles are heated until they melt and then injected into a mold cavity at high pressure and speed to make a product with the right structure, look, and size.

When you’re actually molding, you have to think about a lot of things to make sure your product is good (like how it looks, how big it is, how strong it is, and stuff like that) and that you can make it fast (like how long it takes to make one). This article is going to talk about the words and stuff you need to know to do injection molding.
Injection Molding Parameters
Definition: The molding quality of the product is affected by five factors: temperature, speed, pressure, position, and time. The settings of these five factors are molding parameters.

Temperature
Drying Temperature
Definition: The temperature you need to dry the plastic before you can make it into something good.
Function: Make sure the plastic is as dry as possible without getting too dry.

Principle: Don’t burn it or make it stick together (melt), do it as fast as you can, do it as cool as you can without it not working, different stuff takes different times and temperatures, use what the people who made it say.
Material Temperature
Definition: The temperature you set on the material tube to make sure the molding goes smooth.

Function: Heat the material chamber of the molding machine with the electric heating ring to make the raw material go from granular to molten, make sure the polymer is melted well (melt glue), make sure the mold gets filled and the molding goes smooth.
Principle: Don’t make the plastic decompose and carbonize, go up from the feeding section to the nozzle, the nozzle temperature should be a little lower than the barrel front section temperature to stop drooling, and the temperature you need depends on the material you’re using.
Mold Temperature
Definition: The temperature of the mold surface that the product touches
Function: Control how fast the product cools in the mold and how good the product looks.
Principle: Think about what kind of plastic you are using, how big and what shape the product is, and how the mold is made. Also think about how the plastic gets into the mold.
Speed
Injection Speed
Definition: The speed at which the molten plastic is injected from the nozzle into the mold cavity at a certain pressure.

Function: Increasing the injection speed will increase the filling pressure. Increasing the injection speed can increase the flow length. This makes the product quality uniform. High viscosity and fast flow rate at high-speed injection are suitable for long-process products. Smooth flow at low speed and stable product size.
Principle: To avoid mold support and overflow, to avoid burning due to excessive speed, and to ensure product quality, try to choose high-speed filling to shorten the molding cycle.

Melting Speed
Definition: How fast the screw is going when it’s melting the plastic.
Function: A very important parameter that affects the plasticizing ability, plasticizing quality, and molding cycle. The faster the speed, the higher the melt temperature, and the stronger the plasticizing ability.

Principle:When you crank up the screw speed, the quality of the plasticization goes down.
Retract Speed
Definition: After the screw (metering) is in place, it will retreat a certain distance at a certain speed. The retreat speed is the retract speed.
Function: Reduce the specific volume of the melt, reduce the pressure in the melt cavity, and prevent it from flowing out.
Principle:The setting should be adapted to the screw speed and back pressure.
Opening and Closing Mold Speed
Definition: The speed at which the mold is opened and closed.
Function: Reasonable mold opening and closing speed is a must to make sure the machine and production run smoothly.
Principle:To make the machine run smoothly with less vibration, the speed of mold opening and closing should be set to make the time of mold opening and closing as short as possible, and the speed switching of mold opening and closing should be reasonable, following the principle of slow-fast-slow.
Ejector Forward and Backward Speed
Definition: The speed at which the ejector pin moves forward and retracts after the mold opens.
Function: To make sure the part comes out of the mold without getting bent, warped, or cracked.

Principle:The front end should move slowly to avoid bending or cracking the part, and the back end should move fast, but it has to be smooth.
Pressure
One shot Pressure
Definition: The screw pushes the raw material from the hopper into the mold.
Function: To make sure the mold is filled and the part comes out right.

Principle:It has to be within the machine’s pressure limit, the injection curve has to be in range, and the pressure line has to be smooth and steady so you don’t get flash or short shots.
Secondary Injection Pressure (Holding Pressure)
Definition: From the time the mold cavity is filled with plastic until the gate is completely cooled and closed, a relatively high pressure is needed to maintain the time. This pressure is called holding pressure.
Function: Add more material near the gate location and prevent the unhardened plastic in the mold cavity from flowing back under the remaining pressure before the gate cools and closes.
This will prevent part shrinkage, eliminate sink marks, reduce air traps, and prevent parts from sticking to the mold or bending or breaking due to excessive injection pressure.
Principle: The holding pressure and speed are usually set to 50~60% of the maximum pressure and speed when the plastic fills the mold cavity. The length of the holding time is related to the material temperature.
The high temperature gate has a longer closing time and a longer holding time. The holding pressure is related to the projected area and wall thickness of the product. Thick and large ones require a longer time. The holding pressure is related to the size, shape and size of the gate.
Resin Pressure (Back Pressure)
Definition: The pressure that is created in the melt cavity during the plasticization process of plastic.
Function: To increase the specific gravity of the melt, ensure even plasticization of the melt, reduce gas content in the melt, and improve the quality of plasticization.
Principle: When adjusting the resin pressure, you should take into account the properties of the plastic material. You should also consider the appearance and dimensions of the product.
Clamping Pressure
Definition: The clamping system is what closes the mold to keep it from opening up when the plastic is being injected and packed.

Function: To keep the mold from opening up when the plastic is being injected and packed, to make the part look good, and to make the part the right size.
Principle: The size of the clamp tonnage depends on the size of the part and the size of the machine.
In general, the smaller the clamp tonnage, the better. The clamp tonnage should not be set higher than the machine’s rated pressure, but it should be set high enough so the part doesn’t have flash.
Mold Protection Pressure
Definition: When making molds, we usually use high pressure and high speed to low pressure and low speed before we use high pressure to clamp the mold. The low pressure before high pressure clamping is called mold protection pressure.

Function: To prevent the mold from being crushed by foreign objects in the mold when using high pressure and high speed.
Principle: Before setting and debugging, we must first adjust the mold thickness, and the initial setting value should be as low as possible, and should not exceed 20% of the clamping force. When the mold cannot be corrected, the setting value should be slowly increased.

Position
Mold Opening Position
Definition: The position of the male mold relative to the female mold surface after the male and female molds are separated.
Function: Make sure you can easily remove the object from the mold.

Principle: Go as fast as you can for as long as you can. The maximum mold opening position should be based on the principle of easy removal (including robot) and not damaging the female mold surface when taking out. The maximum mold opening position should be based on the shortest molding cycle.
Ejection and Retraction Stroke
Definition: The extreme position of the ejector being ejected and retracted.
Function: The ejector stroke is used to limit the forward and backward movement of the ejector to ensure smooth demolding of the product and accurate reset of the ejector. For some spring reset molds, the ejector stroke also serves as an ejection limit protection.
Principle: The ejection distance should follow the principle of small to large, and the demolding should be smooth. For spring reset molds without ejection limit pins, it should be ensured that the spring is not crushed during ejection.
The ejector pin should not be higher than the male mold surface when it is retracted. The ejector pin of the mold with a slider must be retracted to avoid mutual interference.
Metering Stroke
Definition: After the plasticization starts, the screw starts to move back from the injection end position under the force of the plastic melt until it reaches the limit switch for moving back during the rotation process. This process is called the metering stroke.

Function:Make sure you got enough plastic to fill the mold cavity so you get the look and size you want for your product.
Principle : The metering stroke should be set according to the size of the product and the size of the machine. The metering stroke should not be too large to prevent the injection of excess plastic from staying in the material tube for too long and causing carbonization.

The metering stroke cannot be too small to ensure that the filling is sufficient and to avoid mechanical damage to the screw and nozzle. There should be a buffer of 3~5mm.
Injection Stroke
Definition: The screw moves back and forth during the injection process.
Function: The screw moves fast or slow to control how the plastic flows.

Principle : The metering position is determined by the filling amount of the finished product. Usually, 3~5mm of impulse is added to this value to determine the final setting. The switching point to the second speed is usually switched to the hot runner and the head position.
The switching point to the third speed is set with 90% of the filling degree of the molded product. The pressure holding switching point is generally set at the position of 90% of the filling degree of the finished product.

Retraction Amount
Definition: After the screw is pre-plasticized (metered) in place, it retreats a distance in a straight line. This retreat action is called back-loosening, and the distance of loosening is called loosening amount or anti-delay amount.
principle: It can be set according to the viscosity, relative density and actual situation of the plastic raw material. A larger release amount will cause the melt to mix with bubbles, affecting the quality of the product.
Function: The back pressure valve increases the volume of the melt in the metering chamber, lowers the pressure inside, and keeps the melt from flowing out of the metering chamber.
The setting of the release amount should be adapted to the screw speed and back pressure. For raw materials with higher viscosity (such as PC), the release amount can be set.
Residual Position
Definition: When the screw injection is done, you don’t want to push out all the molten material in the screw head. You want to leave some behind. You end up with a little bit left over, which is the buffer.
Function: Prevent accidents caused by the screw head hitting the nozzle. Control how much plastic is injected each time.
principle: Don’t make the buffer too big or too small. If it’s too big, you’ll have too much leftover material, which will cause pressure loss and degrade the raw material. If it’s too small, you won’t get the buffering effect you’re looking for. The general rule is to make the buffer 3 to 5 mm.

Time
Cycle
Definition: The time from the end of mold opening to the end of mold opening after the next injection is cooled.
Function: Make sure the product is formed and completely cooled and fixed.

principle: Make the cycle as short as possible. Shortening the cycle must be done on the premise of ensuring product quality.
Cooling Time
Definition: The time it takes for the product to cool and harden without getting messed up after you take it out of the mold.
Function: Let the product harden. Keep the product from getting messed up.

principle: Cooling time is an important part of the cycle time and should be as short as possible while still making sure the product is good. (2) The cooling time depends on the melt temperature, mold temperature, shape, and thickness of the product.
Press Holding Time
Definition: The pressure that continues to be applied after injection to prevent plastic backflow after injection and cooling shrinkage compensation.

Function: Prevent melt backflow after injection. Cooling shrinkage compensation.
principle: The holding time of the press depends on the thickness of the product. The holding time varies depending on the temperature of the melt.
The higher the temperature, the longer the time required, while the lower the temperature, the shorter the holding time. In order to improve production efficiency, the holding time should be as short as possible while ensuring the quality of the product.
Injection Time
Definition: The time it takes for the melt to fill the whole cavity.
Function: The injection time is determined by factors like injection pressure, injection speed, and product size.

principle: Make the injection time as short as possible while ensuring the molding of the product. The injection time is affected by factors such as material temperature and mold temperature.
Melting Time
Definition: The time it takes for the screw to reach the end of the barrel after the injection is stopped.
Function: Make sure there is enough melted plastic.
principle: The screw speed and back pressure are interrelated. Don’t let the molten plastic stay in the screw for too long, or it will decompose and carbonize under high temperature for a long time.
Drying Time
Definition: The time it takes to dry the raw materials beforehand using drying equipment.
Function: Make the surface shiny, make it bendy and strong, don’t let it crack or bubble inside. Make it easy to shape and make it fast to shape. Make the raw materials not wet and not damp.
principle: Drying time varies with raw materials. Set drying time properly. Too long will reduce drying efficiency and even cause raw materials to agglomerate. Too short will result in poor drying effect.
How to Adjust Injection Molding Process Parameters
Temperature
Temperature measurement and control are super important in injection molding. It’s pretty easy to make these measurements, but most injection molding machines don’t have enough temperature sampling points or lines.

Most injection molding machines use thermocouples to sense temperature. A thermocouple is two different wires connected at one end. If one end is hotter than the other, a small signal is generated. The hotter it gets, the stronger the signal.
Melt Temperature
Thermocouples are also widely used as sensors in temperature control systems. On the control instrument, you set the temperature you want, and the sensor display compares the temperature it’s sensing to the temperature you set.
In the simplest system, when the temperature reaches the set point, the power turns off and the power turns back on when the temperature drops. This system is called on-off control because it’s either on or off.
Temperature Control
The melt temperature is important and the shot cylinder temperature used is only a guide. The melt temperature can be measured at the nozzle or using the air jet method.

The shot cylinder temperature setting depends on the melt temperature, screw speed, back pressure, shot size and injection cycle.
If you don’t know what grade of plastic you’re working with, start with the lowest setting. The shot cylinder is divided into zones, but they’re not all set to the same temperature.
If you’re running a long job or running at high temperatures, set the temperature of the first zone lower.
This will keep the plastic from melting and shorting out too soon. Before you start molding, make sure the hydraulic oil, hopper closer, mold and shot cylinder are at the right temperature.

Injection Pressure
This is the pressure that makes the plastic go. You can measure it with a sensor on the nozzle or hydraulic line.

It doesn’t have a set number. The harder it is to fill the mold, the higher the injection pressure. Injection line pressure and injection pressure are directly related.
First Stage Pressure and Second Stage Pressure
During the filling stage of the injection cycle, you may need high injection pressure to keep the injection speed where you want it. Once the mold is full, you don’t need high pressure anymore.
However, if you’re injecting some semi-crystalline thermoplastics (like PA and POM), the structure will degrade if you suddenly change the pressure, so sometimes you don’t need to use second-stage pressure.
Clamping Pressure
To counteract the injection pressure, you need to use the clamping pressure. Don’t just automatically select the maximum value available, but consider the projected area and calculate a suitable value.
The projected area of the injection molded part is the maximum area seen from the direction of application of the clamping force.
For most injection molding situations, it’s about 2 tons per square inch, or 31 meganewtons per square meter. But that’s just a low value and should be used as a rough rule of thumb, because,If the part has any depth, you must consider the sidewall.
Back Pressure
This is the pressure that needs to be generated and exceeded before the screw retreats. Although high back pressure is good for the uniform distribution of colorants and the melting of plastics, it also makes the middle screw return slower, reduces the length of the fibers contained in the filling plastic, and increases the stress of the injection molding machine.
So, the lower the back pressure, the better.

In any case, neither can exceed the injection molding pressure of the injection molding machine.
Nozzle Pressure
Nozzle pressure is the pressure inside the nozzle. It’s roughly the pressure that makes the plastic flow. It doesn’t have a fixed value, but it goes up as the mold gets harder to fill. Nozzle pressure, line pressure, and injection pressure are all related.
Nozzle pressure is about 10% less than injection pressure. In a screw injection molding machine, pressure loss can be about 10%. In a piston injection molding machine, pressure loss can be 50%.
Injection Speed
This is about how fast the mold fills up when the screw is used like a plunger. When you’re shooting thin-walled parts, you have to shoot fast to fill the mold up before the plastic freezes and makes a smoother surface.
We use a series of programmed shooting speeds during filling to avoid defects like spraying or trapped air. Injection can be done under an open-loop or closed-loop control system.

No matter how fast you inject, you must record the speed on the record sheet with the time. The time is the time it takes for the mold to reach the first-stage injection pressure you set, which is part of the screw advance time.
Summary
The quality and efficiency of injection molding depend on the optimal setting of parameters like temperature, speed, pressure, position, and time. Correctly adjusting these parameters can ensure the quality and production efficiency of the product and reduce the scrap rate. These basic knowledge are essential for the successful implementation of injection molding.
In injection molding, ensuring product quality and efficiency requires precise setting of temperature, speed, pressure, position and time.
custom plastic injection molds must ensure uniform wall thickness and correct mold parting line, and use mold release. Optimizing these parameters (such as material temperature, injection speed, and holding time) helps improve product quality and shorten molding cycles.
In addition, in plastic injection molding, automatic custom injection mold can be used to accurately produce plastic part of the desired shape. Custom injection mold halves are used to optimize the use of molding material , thereby improving the quality and efficiency of the product .


