 Skip to content

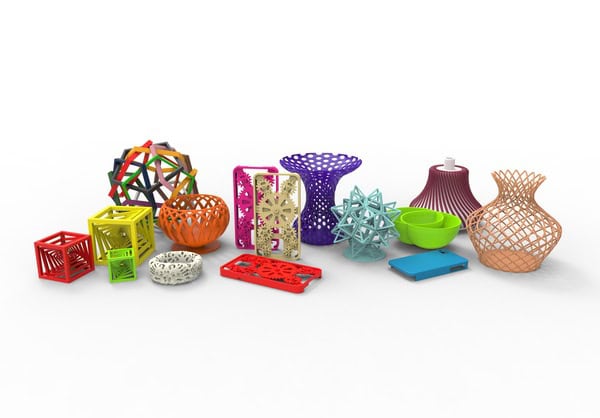
Introduction:For prototyping and low-volume production (approximately 10-1000 parts) of small objects, 3D printed injection molds provide a time-saving and cost-effective solution. They also offer more flexible manufacturing methods, empowering engineers and designers to test mold designs, make modifications easily. This article will delve into the process of utilizing a 3D printer to injection mold small objects.
Understand 3D Printing
What is 3D Printing?
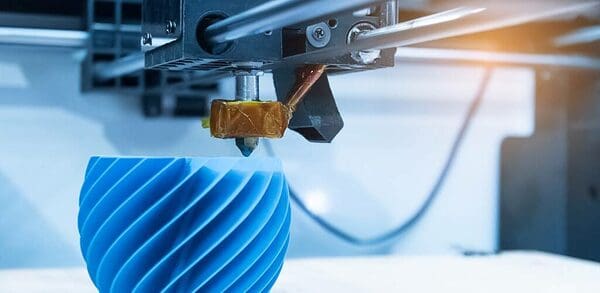
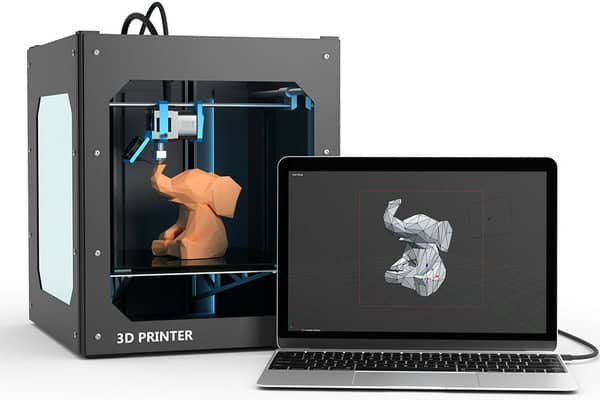
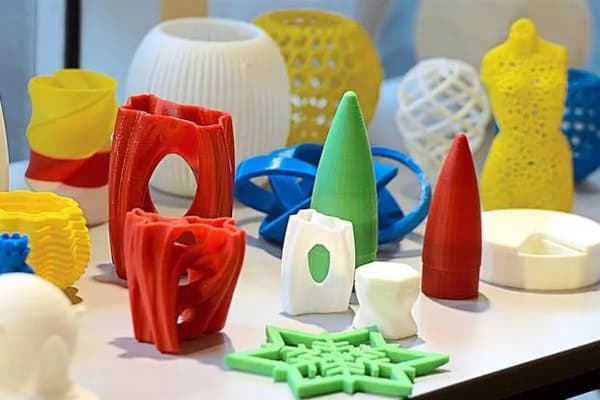
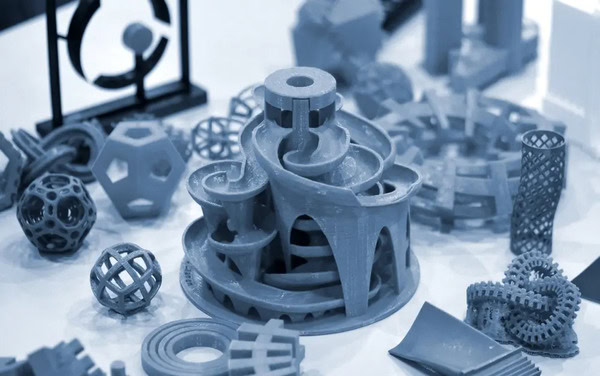
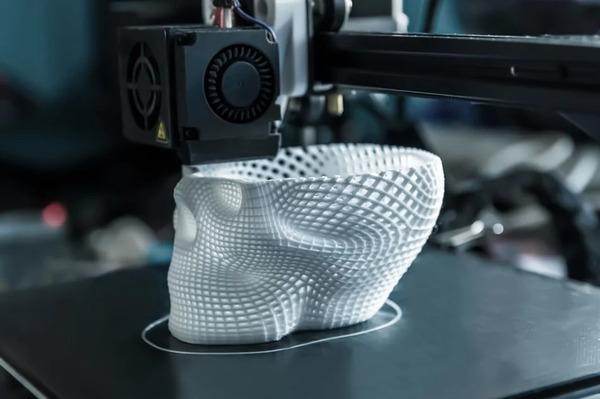
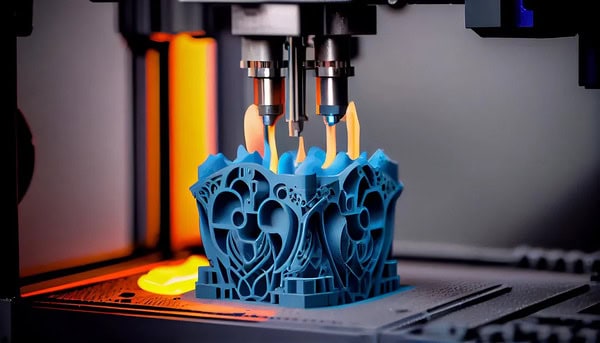
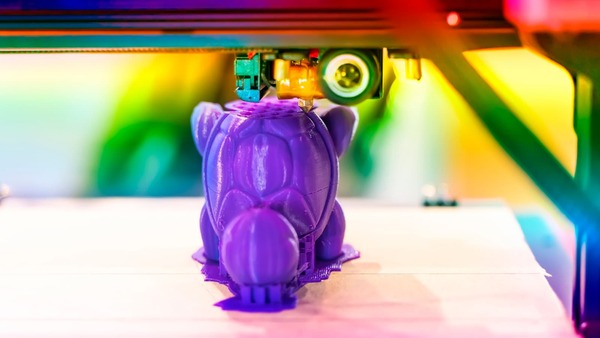
3D printing technology is a form of rapid prototyping. It involves breaking down a three-dimensional digital model created by a computer into layers of plane slices. These layers are then printed using powder, liquid, or filamentary materials such as plastics, metals, ceramics, or sand. The technology works by stacking these composite materials layer by layer based on slice patterns, resulting in the creation of a complete object.
The molten plastic is then compressed and moved forward under the pressure of the plunger or screw, before being injected into a closed mold at high speed through the nozzle at the front end of the barrel. Once the plastic has cooled and taken shape over a specific period of time, the mold is opened to reveal the final product.

Set Up the 3D Printer
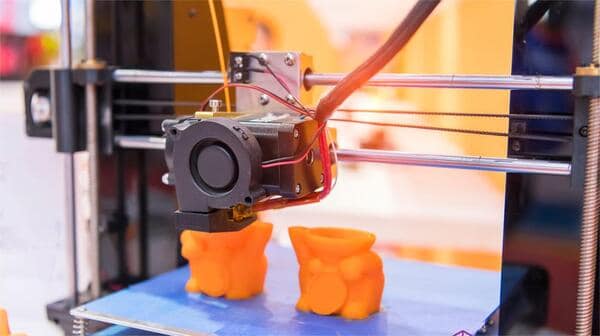
FDM3D Printer
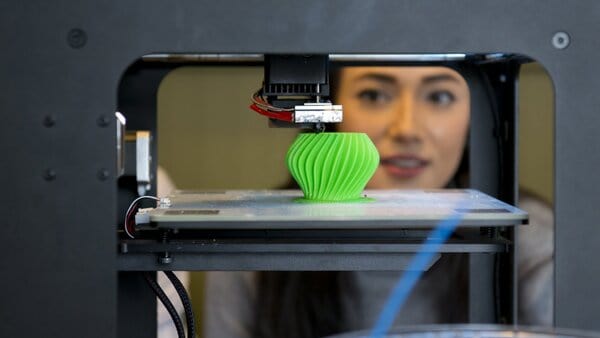
Fused Deposition Modeling (FDM) printers represent the most prevalent type of 3D printers in today’s market. Nearly 60% of 3D printer manufacturers focus primarily on offering FDM models. FDM printers enable rapid prototyping through the deposition of fused materials, with the primary materials being ABS and PLA. One of its key advantages is cost-effectiveness.
However, FDM printers come with drawbacks such as lower precision, slower printing speeds, and rough surface finishes on printed products. Despite experiencing fluctuations in recent years, 3D printing technology rooted in FDM has surpassed the initial growth phase.
Desktop 3D printers have shifted away from open-source hardware and personal roughness, embracing significant advancements in commercial and intelligent capabilities. Moreover, professional-grade equipment is now emphasizing human-centric design and user-friendliness, aligning more closely with practical application scenarios.
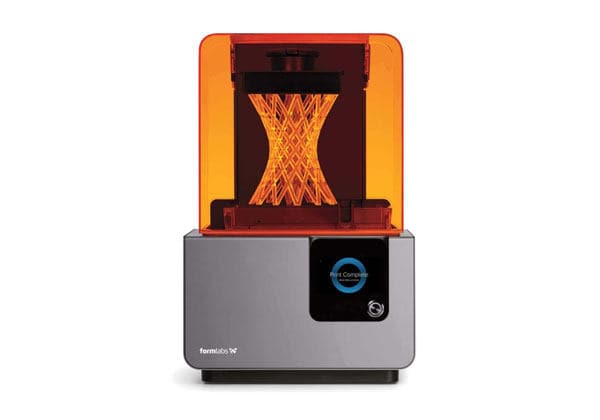
SLA3D Printer
Compared to FDM printers, SLA 3D printers offer superior printing accuracy, yielding models with finer outlines. Still, the high hardware costs result in an expensive overall price for the machine. Furthermore, the complexity of slicing software and operating procedures proves challenging for many users. These factors constrain both supply and demand.
The current development trend favors desktop light-curing 3D printers, driven by FDM desktop 3D printing equipment. However, issues such as slow printing speeds, limited printing volumes, and the intricate handling of liquid photosensitive resin materials have led to widespread rejection of this technology.
SLS3D Printer
SLS 3D printers are primarily utilized in industrial and military production. The advancement of SLS 3D printing technology is consistently propelled by the demand for diverse materials in creating functional parts. The primary material used in these 3D printers is powder material, which is consolidated through selective laser sintering.
DLP3D Printer
DLP 3D printing technology is faster than comparable SLA because each layer is cured in sheet form. DLP technology mainly uses DLP projection to focus the entire laser surface on the surface of the 3D printing material.
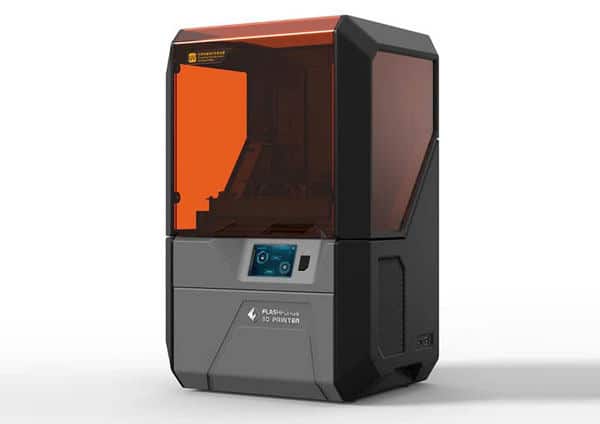
DLP 3D printers have good performance in high-definition printing, usually with a small color touch screen, equipped with multiple languages, clear display interface, and support USB cable, Wi-Fi, wired network connection, etc. And easy to manage.
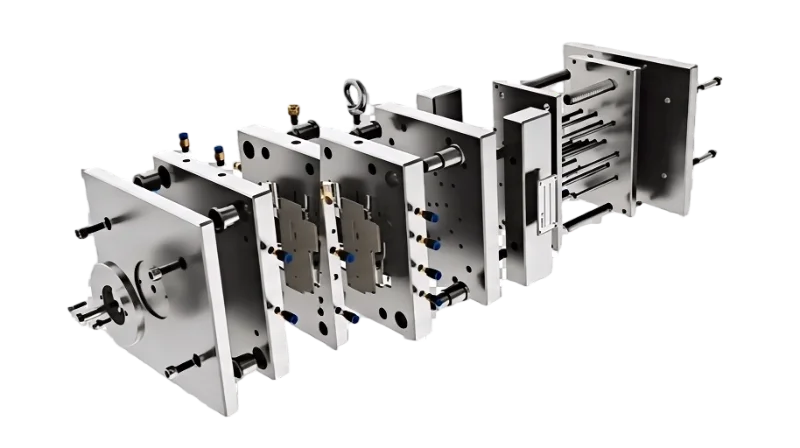
Design Molds for Tiny Objects
What Does the Mold Design Process Mainly Include?
a. Accept the assignment letter.
b. Analyze drawings: Analyze product technical requirements, key control dimensions, and tolerance requirements.
c. Preliminarily confirm the mold plan: Confirm mold structure, mold specifications, and the number of cavities.
d. Conduct mold cost analysis and provide a quotation.
e. Determine the main structure of the mold.
f. Create the mold diagram.
g. Review, issue, and archive mold drawings.
h. Develop mold processing procedures.
i. Prepare process documents (process drawings, process cards) for each step.
j. Review, issue, and archive process documents.
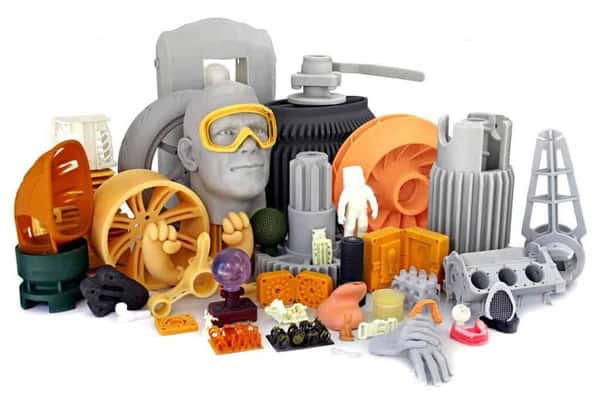
Material Selection for 3D Printer Injection Molding
SLA light-curing rapid prototyping photosensitive resin 3D printing material in milky white demonstrates a pleasing texture and adequate strength, albeit with relatively low toughness. Small and thin parts may be susceptible to brittle fractures, yet they offer easy polishability, electroplating suitability, and versatile painting and coloring options.
The photosensitive resin comprises two key components: a photoinitiator and resin (consisting of prepolymer, diluent, and a small amount of additives). The dosage of the photoinitiator and diluent significantly influences the curing speed and quality of the resin. Optimal proportions of the photoinitiator and diluent not only enhance the curing speed but also improve the curing quality. Hence, selecting a reputable manufacturer specializing in mature and stable photosensitive resin 3D printing materials is paramount.
When it comes to the performance of photosensitive resin 3D printing materials, there are imported options available that boast high strength, transparency, high temperature resistance, as well as moisture and waterproofing properties.
Moreover, composite ceramic 3D printing materials like alumina (AI2O3), zirconia (ZRO2), hydroxyapatite (HAP), and tricalcium phosphate offer a porcelain-like luster. These materials, comprising high-resolution ceramic powder and photosensitive resin, provide alternative choices for 3D printing enthusiasts.
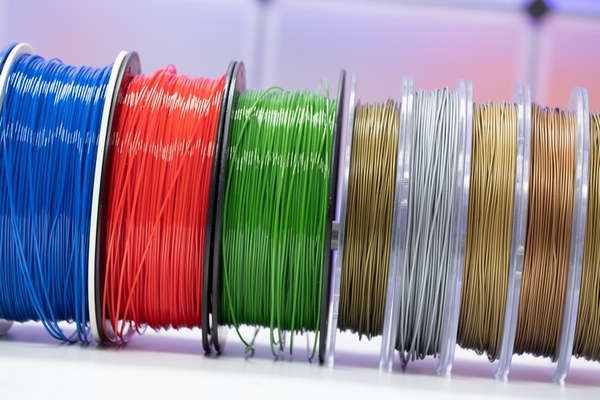
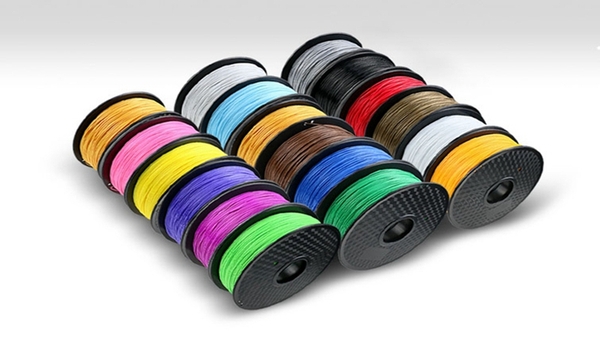
FDM Fused Deposition Modeling Thermoplastic 3D Printing Materials
In comparison, the surface printing layer marks are relatively more noticeable and rough. Nevertheless, its material properties, such as good strength, flexibility, high impact resistance, strong solvent resistance, and stable durability, make it perfect for precise functional testing, molds, and final products. The 3D printing materials utilized in this technology comprise industrial-grade materials and consumables for desktop 3D printers.
SLS Selective Laser Sintering Powder 3D Printing Materials
PA Series Nylon 3D Printing Materials: wear-resistant, high strength and stiffness, good chemical resistance, excellent long-term stable behavior, high selectivity and detail resolution, biocompatible, compliant with EN ISO 10993-1 and USP, compliant with EU Plastics Directive approved for use in food contact. Typical applications of this material are fully functional plastic parts of the highest quality. However, the surface is relatively rough.
Yansir offers PA3200GF nylon fiberglass material for deep drawing molds or any application that demands specific stiffness, high heat deflection temperature, and low wear. Additionally, we provide aluminum-filled nylon materials commonly utilized in metal-look, heat-loaded parts. For desktop-level LS laser sintering, we also offer PA12 nylon powder material as an alternative.
DLP Digital Image Projection 3D Printing Materials
Making use of independent pixel control, mask projection layering results in a three-dimensional processing method that is both high-quality and highly precise. The printing accuracy is exceptional, yielding a delicate surface that does not necessitate polishing.
However, it is important to remove, repair, and polish local support points as needed. Various physical materials are available for selection across different industries, with a common application being the red wax 3D printing of animation dolls.

Numerous desktop-level DLP printers are currently available, offering the flexibility to blend color 3D printing materials as desired. Nevertheless, the printing accuracy of these devices still falls short when compared to that of industrial-grade printers.
Step-By-Step Guide to 3D Printing
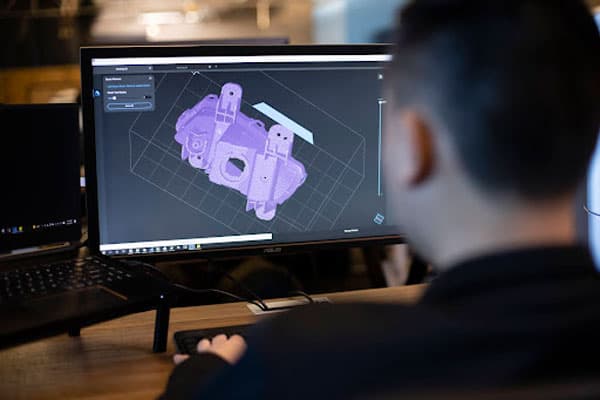
Designers use computer modeling software to create three-dimensional digital models of products, which are then automatically analyzed for the printing process based on the model. Once the analysis is completed, the user can simply press the “print” button, and the 3D printer will produce the object. While the principle of 3D printing is similar to traditional printing, the raw materials used differ.
Traditional printing uses ink, whereas 3D printing requires materials like plastics, metals, etc., which can be liquefied, powdered, or in a filament form. Materials such as ceramics or sand can also be used in 3D printing processes, allowing for the recombination of these materials after printing to possess optimal physical and chemical properties.
3D Design
The 3D printing design process begins with utilizing computer modeling software to create a model, followed by dividing the model into segmented layer-by-layer sections, or slices, which serve as a guide for the printer during the printing process. 3D design software acts as the primary data source for 3D printing, generating the necessary models for the printing process.
Common domestic 3D design software options include CAD, ZW3D, and CAx, among others. While there are numerous specialized software programs available for 3D printing, the development of more user-friendly, straightforward, and practical solutions tailored specifically for 3D printing remains ongoing.
Slicin
3D printing, like laser molding technology, employs layered processing and superimposed molding to complete 3D solid printing. The printing process of each layer is divided into two steps. Firstly, the printer reads the cross-sectional information in the file and applies a layer of special glue to the designated area. The glue droplets are minuscule and challenging to spread.
Following this, a uniform layer of powder is sprayed. Upon contact with the glue, the powder rapidly solidifies and adheres, leaving non-glued areas loose. By alternating between a layer of glue and a layer of powder, the physical model is “printed” into shape. Post-printing, the loose powder can be effortlessly removed by sweeping, and the remaining powder is recyclable.
Complete Printing
The resolution of 3D printers is generally adequate for most applications, although it can be less precise on curved surfaces, resulting in jagged edges on the final image. To achieve higher resolution results, one strategy is to first print the objects slightly larger using existing 3D printers. By gently polishing the surface, it is possible to obtain a “high-resolution” object with a smooth finish.
Troubleshooting Common Problems
There is a Gap in the Top Layer
To conserve materials, most prints feature solid edges encased in a hollow grid structure. For instance, with a 30% infill ratio, only 30% of the print comprises a solid material, with the rest being air. Despite the interior being hollow, the goal is to maintain the illusion of a solid exterior. Hence, slicing software offers a setting for determining the thickness of the top and bottom layers. Various potential causes underlie this issue, along with corresponding solutions:
a. Issue: Inadequate thickness of the top layer (insufficient number of layers).
Solution: Enhance the top layer’s thickness (or increase the number of layers) within the slicing software.
b. Issue: Low fill ratio.
Solution: Amplify the fill ratio via the slicing software.
c. Issue: Insufficient extrusion volume.
Solution: Augment the Extrusion Volume Using the Slicing Software
Layer separation and incision problems
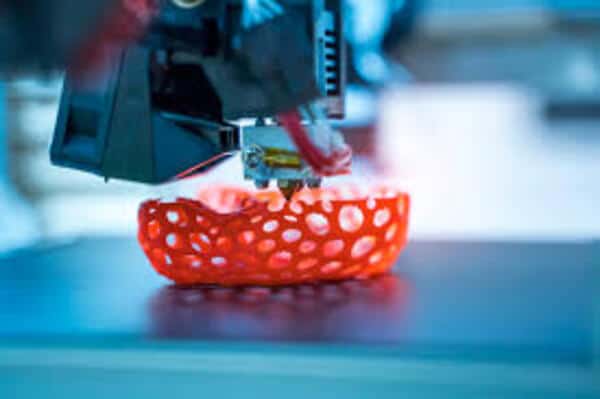
The fundamental principle of FDM 3D printers is to fabricate objects by printing one layer at a time and sequentially stacking them to create the final object. The strength of the produced object heavily relies on ensuring secure adhesion between each layer. Insufficient bonding may result in layer separation and imperfections.
Here are some potential causes of this issue along with suggested solutions:
Cause: Excessive layer height (layer thickness)
Solution: The nozzles typically found on most 3D printers have diameters ranging from 0.3mm to 0.5mm. It is recommended to set the layer height to less than 20% of the nozzle diameter. By adhering to this guideline, each new layer is applied onto the previous layer with a slight pressure, facilitating robust fusion between the layers.
Cause of the problem: The printing temperature is too low.
Solution suggestion: Compared to a lower printing temperature, a higher printing temperature can ensure better bonding of the consumables. If you are confident that there are no issues with your layer height, consider adjusting the printing temperature. I recommend increasing it by 10 degrees and observing the printing effect until you reach the optimal temperature setting.
Thread Biting Problem
Filament biting occurs when the filament squeezing wheel in the extruder clamps down on the filament but fails to advance it. This issue is indicated by the stationary filament with the squeezing wheel continuing to rotate, leading to the accumulation of plastic debris near the extruder. Here are potential causes of this problem along with recommended solutions:
Cause of the problem: The printing temperature is too low.
Solution suggestions: Try increasing the printing temperature by 5-10 degrees.
Cause of the problem: The printing speed is too fast.
Solution: If the situation doesn’t improve after increasing the printing temperature, reduce the printing speed by 50%.
c.Cause of the problem: The nozzle is clogged. Solution suggestions: If the previous two solutions do not resolve the issue, it is highly probable that the nozzle is clogged.
Tips for Making Small Objects Molded by 3D Printers Strong
Reduce Cooling
Cooling plays a crucial role in the 3D printing process as it directly impacts the adhesion of the layers once they have set. Swift cooling can hinder adhesion as the successive layers may struggle to properly bond. It is important to note that the effectiveness of cooling is influenced by the type of material being used. For instance, PLA demonstrates optimal results when paired with a robust cooling fan. Hence, it is advisable to adjust the cooling rate according to the specific material employed.
Use Powerful Fill Modes
To further improve your 3D printing results, consider selecting the appropriate fill pattern. Infill patterns complement infill density by serving as the internal support structure for your 3D prints. These patterns not only enhance the part’s rigidity but also help prevent wall deformations. For achieving a sturdy 3D print, opt for a dense infill pattern ranging between 30-50%.
Case Studies And Examples
Recent advancements in 3D printing technology have revolutionized the audio industry, enabling manufacturers to utilize digital printing for producing custom ear devices for audiology, noise protection, and consumer hearing products at a remarkably low cost. Over the years, 3D printing manufacturers have unveiled biocompatible materials that are safe for skin contact, facilitating users in achieving in-house production of ear models and earplugs.
Custom-made headphones provide a distinctive, individualized listening experience, featuring designs that conform seamlessly to the user’s ears. This custom fit ensures that the earphones stay securely in place, preventing any risk of slipping out. Additionally, it enhances comfort and sound isolation for an unparalleled audio experience.
Through the integration of printing technology, mobile scanning, and machine learning, the hurdles associated with personalized manufacturing can be effectively addressed. This breakthrough allows customers to effortlessly produce a customized iteration of the headset, significantly cutting down production time from four days to two. Furthermore, it opens up the possibility of expedited same-day delivery services, revolutionizing the customer experience.
As the 3D printing technology has rapidly advanced in recent years, a slew of high-impact use cases have begun to surface, with 3D printed organs being a notable example.
The ability to easily manufacture new organs has long been a coveted goal of scientists specializing in regenerative medicine. While still in its nascent stages, the utilization of 3D workflows to generate organoids suitable for transplantation is already yielding promising outcomes.
Leading the charge in this pioneering research is Dr. Sam Pashneh-Tala of the University of Sheffield. Dr. Pashneh-Tala employs desktop-scale stereolithography (SLA) 3D printing technology in his research to fabricate tissue-engineered blood vessels with diverse geometries.
This breakthrough could pave the way for the development of patient-specific vascular grafts, enhancement of surgical procedures, and provision of a unique testing platform for novel vascular medical devices to effectively combat cardiovascular disease – the condition currently boasting the highest mortality rate globally.
The manufacturing landscape has been significantly influenced by the advancements in 3D printing, moving beyond theoretical possibilities. As 3D printing methodologies have progressed swiftly in recent years, penetrating diverse sectors, the transformative capabilities of this technology have become apparent.
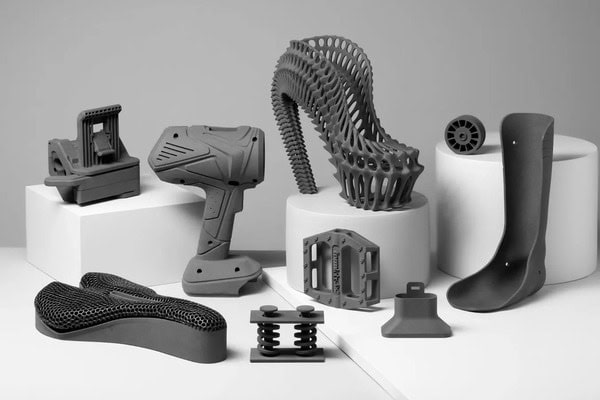
From scientific and healthcare domains to the realms of consumer products, construction, and manufacturing, individuals are increasingly encountering end products crafted through 3D printing. The trajectory of 3D printing indicates a further widening of its impact, enabling more economical customization of parts, streamlining turnaround times and operational costs, and enhancing functionalities by fostering a closer connection between consumers and the manufacturing process of products.
Conclusion
In essence, 3D printers can bring to life intricate geometries and internal cavities that would be impossible to create using other methods, resulting in elaborate shapes, fine details, and polished surfaces.
Moreover, there is a high level of automation in the molding process with 3D printing. This technology offers a versatile and cost-efficient approach for small-scale production. By harnessing the precision and adaptability of 3D printing, manufacturers can swiftly test and enhance their mold designs, ultimately enhancing product quality and reducing time to market.
Looking ahead, the application fields of 3D printing technology are poised to expand further, with a more diverse array of printing materials and enhanced functionalities in printing equipment. This advancement is expected to have a profound impact on traditional production methods and human life, heralding a new era of manufacturing revolution.
Need a Quote for Your Injection Molding Project?
Get competitive pricing, DFM feedback, and production timeline from ZetarMold’s engineering team.
Request a Free Quote → See our Injection Molding Complete Guide for a comprehensive overview.


