 Skip to content

3D printing and injection molding are two popular manufacturing methods, each offering unique benefits and applications across industries. Understanding their differences is key to choosing the right process for your product.
3D printing allows for the creation of complex, custom shapes layer by layer, making it ideal for prototypes and low-volume production. Injection molding, on the other hand, is faster and more cost-effective for large-scale manufacturing, especially when high precision and durability are needed. Key differences include production speed, material variety, and cost per unit. 3D printing is more flexible for complex designs, while injection molding excels in mass production.
While 3D printing offers flexibility and quick prototyping, injection molding is the go-to method for high-volume production and cost-efficiency. Explore further to understand how choosing the right technique can optimize your production timeline and cost.
3D printing is better for low-volume production and prototypes.True
3D printing is ideal for producing custom or one-of-a-kind parts, offering faster turnaround times for prototypes and small batches.
Injection molding is always more cost-effective than 3D printing.False
While injection molding is more cost-efficient for large production runs, the initial setup cost is high, making 3D printing a more cost-effective choice for low-volume projects.
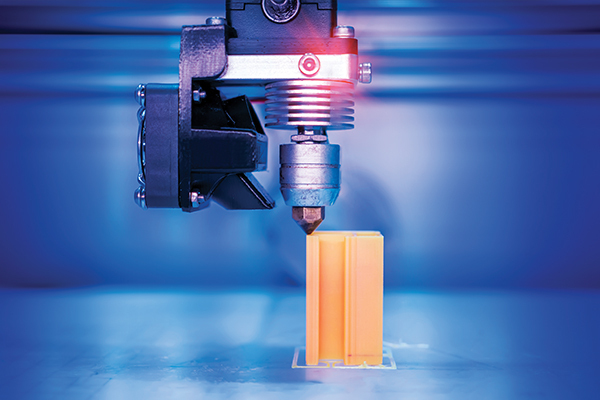
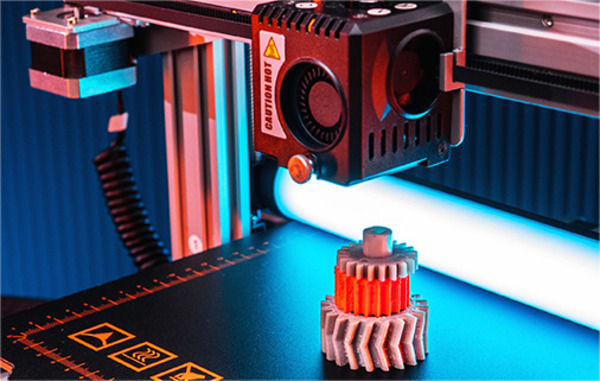
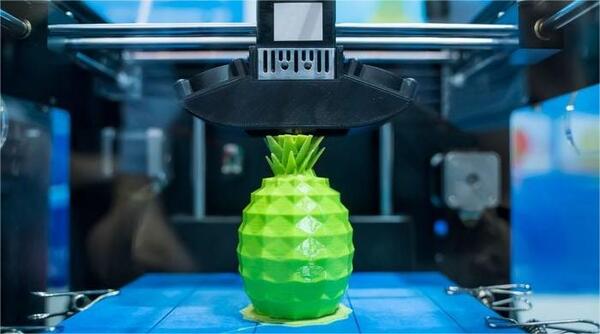
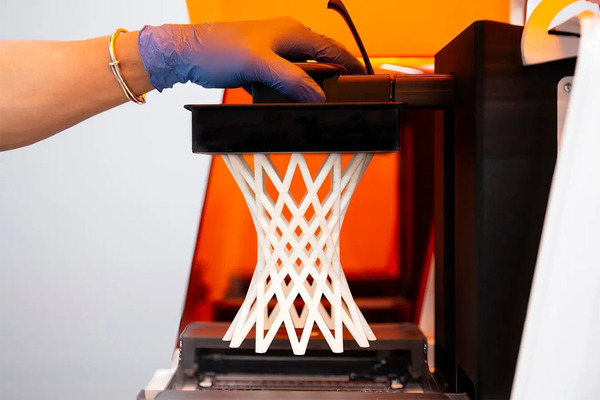
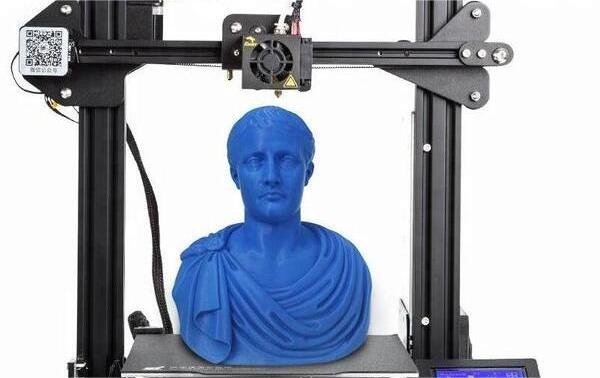
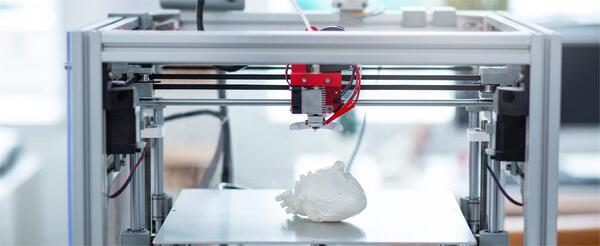
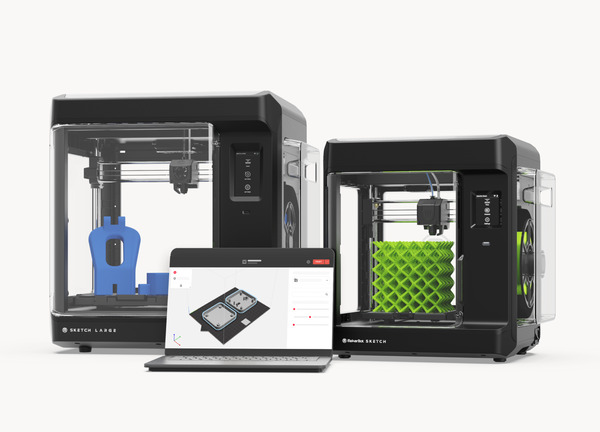
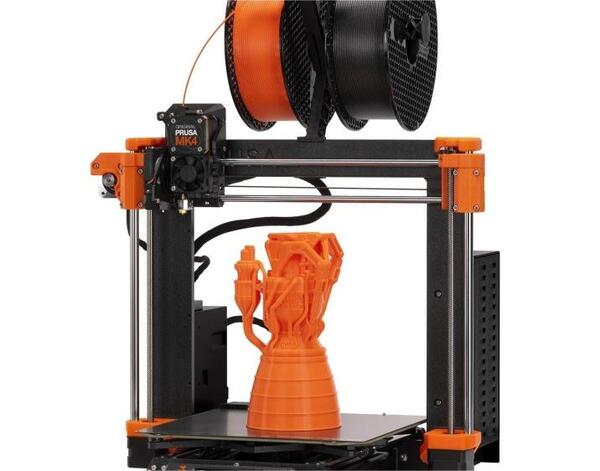
What is 3D Printing?
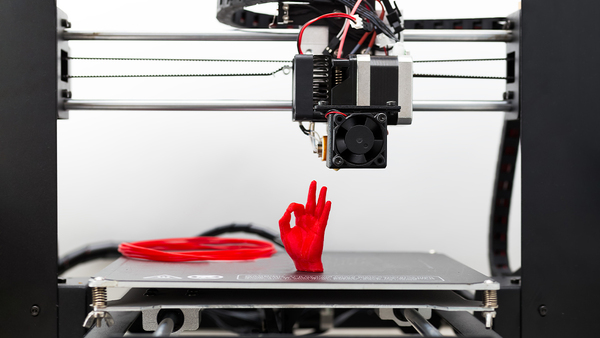
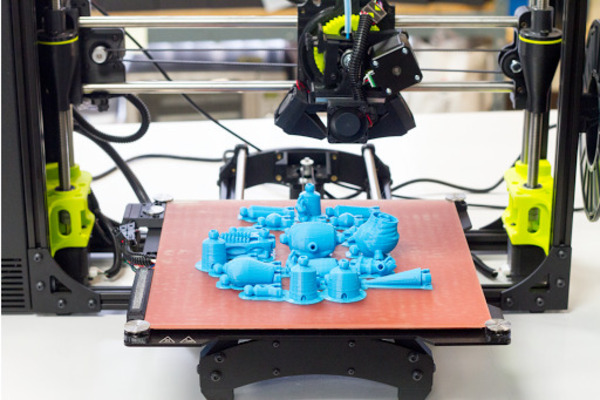
3D printing enables the creation of complex shapes and parts by adding material layer by layer. It offers benefits such as reduced waste, faster prototyping, and the ability to create intricate designs that traditional manufacturing methods cannot. Applications span industries, including automotive, healthcare, and fashion.
What Does 3D Printing Mean?
3D printing is a form of rapid prototyping technology, also referred to as additive manufacturing1. It relies on digital model files and utilizes adhesive materials like powdered metal or plastic to build structures through layer-by-layer printing.
What are the Advantages of 3D Printing?
Manufacturing Cost Advantage
Manufacturing complex items does not necessarily increase costs. In traditional manufacturing, the cost tends to rise along with the complexity of the shape being produced. However, with 3D printing, this is not the case. The manufacturing cost remains relatively constant regardless of the complexity of the shape being created. This means that producing an object with a complex design takes about the same amount of time and resources as creating a simple square.

Print on Demand Advantages
The layer-by-layer additive manufacturing features of 3D printing make it possible to print on demand. Companies can utilize 3D printing technology to produce customized products based on customer orders. The ease of customized production with 3D printers may introduce a new business model for the manufacturing industry.
If the required objects are manufactured on demand nearby using 3D printing technology, achieving zero-time delivery may be possible, or long-distance transportation costs may be minimized. Additionally, 3D printing technology only requires raw materials of a specific shape for on-demand printing. It eliminates the need to store various types of semi-finished products, as seen in traditional manufacturing, thereby reducing corporate inventory.
What are the Limitations of 3D Printing?
Size Restrictions
Typically, 3D printed models are usually limited to the size of a mobile phone, making it challenging to produce components as large as a human body or a building.
Burden of Expenses
The expense of 3D printing technology remains exorbitant, particularly for the general public. To broaden its accessibility, reduction in pricing is imperative, though it may lead to conflicts with production costs.

Intellectual Property Concerns
In recent years, there has been a growing emphasis on intellectual property rights within the music, film, and television sectors. The emergence of 3D printing technology is poised to exacerbate this issue, as the replication of physical objects becomes more pervasive. The unrestricted ability to reproduce items at scale raises concerns regarding copyright infringement.
Therefore, the development of legislation and guidelines surrounding 3D printing is crucial to safeguard intellectual property rights. Failure to address this issue may lead to a deluge of unauthorized reproductions, presenting a significant challenge to the industry.

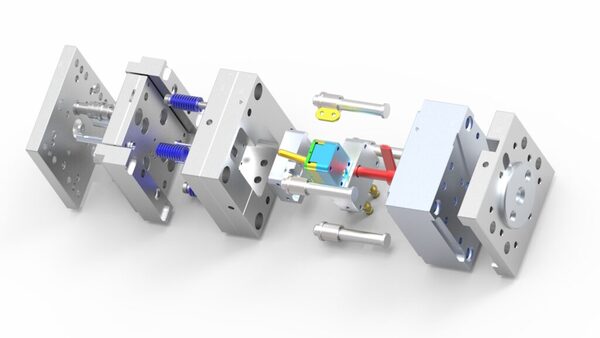
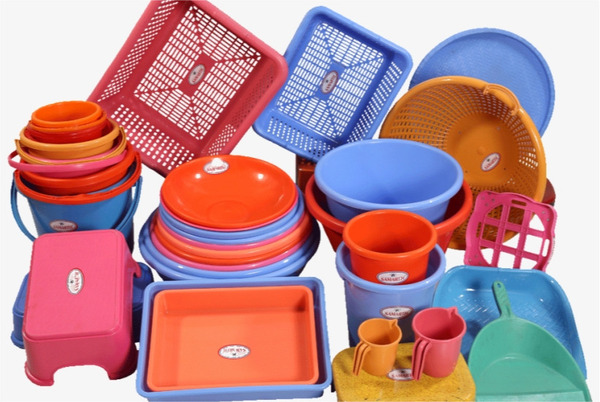
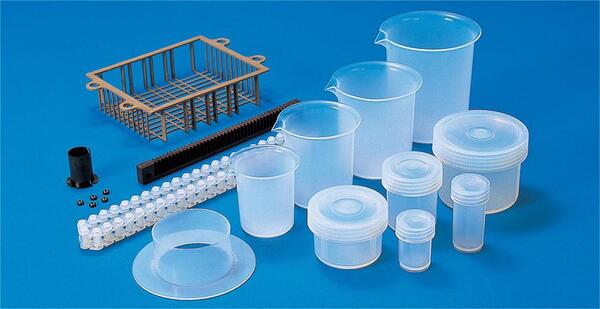
What is Injection Molding?
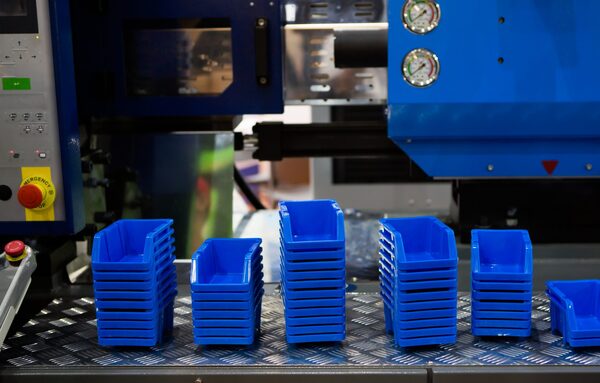
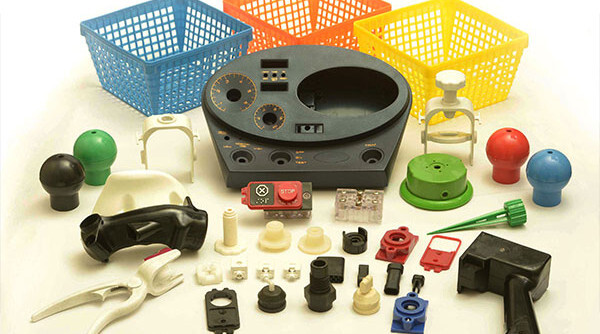
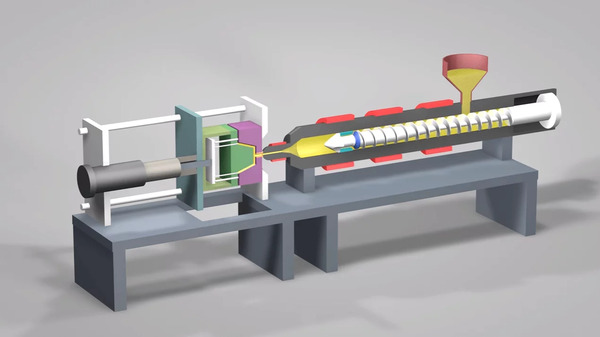
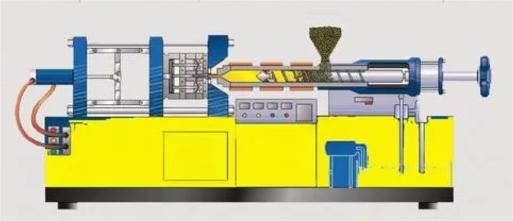
Injection molding involves injecting molten plastic into a mold under high pressure, where it cools and solidifies into the desired shape. This process is fast, cost-effective, and ideal for high-volume production of complex shapes. Major benefits include precision, material efficiency, and the ability to create intricate designs.
What Does Injection Molding Mean?
Injection molding is a method used to produce shapes for industrial products, with rubber injection molding2 and plastic injection molding being common variations. Injection molding can further be categorized into injection molding and die-casting. The process involves injecting heated and melted plastic materials into a mold cavity under high pressure, followed by cooling and solidifying to create injection molded products. This method is predominantly utilized for mass production purposes.
What are the Advantages of Injection Molding?
Product Quality is Stable
The injection molding machine automatically controls factors such as temperature, pressure, time, etc., ensuring that the products produced have stable quality and meet the required standards.
Low Production Cost
The raw materials used in the injection molding process are thermoplastic particles, which are low-priced and can be recycled and reused, reducing raw material costs.
High Production Precision
By fine-tuning the parameters of the injection molding machine, the dimensional and weight accuracy of the product can be controlled, resulting in the production of high-precision products that meet the required specifications.
What are the Limitations of Injection Molding?
Product molding requires the use of two sets of injection molding and blow molding3 molds, along with a hollow core mold equipped with a valve. The injection parison mold must withstand high pressure, making the equipment cost substantial.
The injection parison operates at high temperatures, necessitating an extended cooling and shaping period post-blowing in the injection mold. This elongates the overall molding cycle of the product, impacting production efficiency.
Injection molding parisons exhibit significant internal stresses and are susceptible to uneven cooling during mold conversion. Stress cracking may arise when manufacturing products with intricate shapes and large sizes. Consequently, product shapes and sizes are constrained, limiting suitability to small-scale products within sectors such as cosmetics, daily necessities, pharmaceutical packaging, and food packaging.The operating skills of the operators are relatively high.
What are the Similarities and Differences Between 3D Printing and Injection Molding?
3D printing is an additive process where material is deposited layer by layer, making it ideal for prototypes and small-batch production. Injection molding, on the other hand, is a subtractive process that involves injecting molten plastic into a mold to produce large quantities of parts quickly and with high precision. Key differences include speed, cost-efficiency for high volumes, and material diversity. 3D printing excels in customization, while injection molding offers better consistency and lower unit costs for mass production.
What are the Similarities Between 3D Printing and Injection Molding?
These are two distinct molding methods. While the processing materials may be the same, there is no other similarity between them.
3D printing and injection molding play crucial roles in the production of plastic products. Despite their significance, these processing methods differ significantly and are best suited for specific product applications.
The Differences Between the Two Processing Methods are Explained in Detail Below
Production Methods
The injection molding process can produce standardized products at low cost and on a large scale as long as there are injection molds. Therefore, for traditional high-volume, large-scale manufacturing, injection molding is still the best choice at present.

On the other hand, 3D printers can directly convert any computer-designed shape into a physical model automatically, quickly, directly, and relatively accurately. Due to the unique characteristics of 3D printers compared to traditional injection molding processes, they excel in processing complex and non-solid shapes at faster speeds and with lower raw material costs, making them ideal for manufacturing personalized and diversified products.
Manufacturing Cost
The wide availability of raw materials for injection molding, combined with its large-scale, rapid, and standardized production capabilities, helps in reducing the cost of each individual product. Therefore, in terms of manufacturing costs (excluding the cost of injection molds), injection molding products are significantly more cost-effective than those produced using 3D printing technology.
However, the key cost-saving advantage of 3D printing in industrial manufacturing lies in prototype modifications. Modifying a prototype only involves making changes to the CAD model without incurring additional manufacturing expenses. Furthermore, since 3D printing products do not require mold costs, their overall production costs are lower than those associated with injection molding.

Production Quality
When comparing the production quality of 3D printing technology and injection molding, it is evident that the performance of 3D printer materials falls short in comparison to injection molding materials. 3D printed parts lack the physical properties seen in injection molded parts. Injection molding technology yields superior parts that boast smoother surfaces and increased durability, qualities that are lacking in 3D printed products.
As a result, 3D printing is primarily suited for creating prototypes. While the physical properties of nylon printing have significantly improved, making it suitable for use in various fields, it still does not match the quality achieved through injection molding.
Application Areas
The injection molding process allows for the batch production of uniformly shaped items, making it well-suited for high-volume, standardized product manufacturing.Promotion and application of plastic products in industrial sectors such as aviation, aerospace, electronics, machinery, shipbuilding and automobiles.

On the other hand, 3D printing only requires a three-dimensional image input through the control terminal to transform raw materials into physical models or even manufacture parts or molds directly. This significantly reduces the product development cycle. Three-dimensional printers have found extensive applications in maker projects, architectural design, mold model design, and various other fields.

What are the Steps for 3D Printing Models?
The steps for 3D printing models include designing the 3D model, preparing it for printing, selecting materials, and printing the object. After printing, post-processing is often necessary, such as cleaning, curing, and assembling the final piece. Key benefits include design flexibility and faster production times
What are the Preparation Steps for 3D Printing Models?
Before officially beginning the printing process, you must carry out some basic preparations: create a 3D model in the STL format, set up a 3D printer, and arrange the material for the printed object.
First, make sure to convert the model into the STL format. The STL (Stereo Lithography) format serves as the standard file format for seamless communication between design software and printers.

Initially developed by the American 3D Systems company in 1988, it has evolved into the go-to interface format for contemporary 3D printing manufacturing equipment. Essentially, the STL format stands as a 3D graphics file pivotal to 3D printing manufacturing technology. Emphatically, it has ascended to the status of the industry standard for 3D printing production.
Check and Repair STL Files
There may be errors in the STL file obtained after conversion. From the perspective of a general 3D model, these errors are not actually errors. They can be displayed in Zhengying\’s modeling software. However, for 3D printing, these errors can be very problematic. If the printer encounters a problematic file while printing the model, it will crash and cease printing due to corrupted file sections, leading to a failed print. Therefore, after the model is completed, meticulous inspection needs to be carried out on the polygonal faces first.
3D Printing Slicing Software
If a single 3D printer is unable to complete the printing task, you must install the appropriate 3D printing slicing software on your computer. Use this software to adjust the parameters of the 3D model and convert the model into a format that the printer can recognize. Once the slicing process is complete, send the model to the printer for printing. Slicing involves dividing the model data into layers, allowing the 3D printer to build the model layer by layer according to the data of each slice.
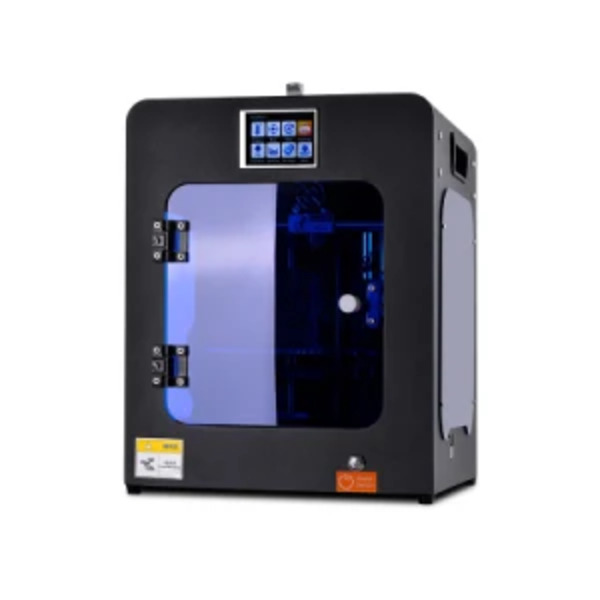
Prepare 3D Printer and Printing Materials
The variety of types and models of 3D printers is increasing steadily. You can acquire printers and their consumables based on your specific requirements. Presently, in the domestic 3D printer market, aside from a few manufacturers creating their own printers, most companies establish their brands around open-source printers.
Print Material.
The most commonly used materials for desktop 3D printers are PLA and ABS. Both are engineering plastics with excellent thermoplasticity and are frequently utilized for printing object models. In addition to these two common 3D printing materials, there are also photosensitive resin liquids, metals, ceramic powders, and other materials available.
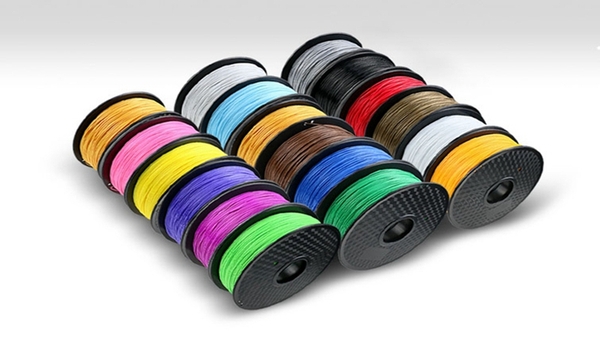
It is important to note that different models require specific materials for optimal results. Therefore, printing materials should be selected based on the needs of the items being printed and installed on the printer to ensure the machine can smoothly feed the filament.
How to Print Online And to SD Card?
Each printer may have slightly different operations within the specific printing process, but the overall steps remain similar.
The Slicing Software Directly Controls the Machine During Printing.
To initiate the process, open the slicing software and select Add Model. Proceed to generate X3G files. After importing the STL model, navigate to Print Settings to configure specific parameters.
Typically, the printer will store original data files, primarily for adjusting the platform temperature based on the material, choosing the layer thickness according to the object\’s desired thickness, determining if support structures are necessary based on the object\’s shape, and other fundamental settings. Upon completion, export the file in X3G format to your preferred storage location.
Use SD Card to Print
Insert the X3G file into the SD card, and then you can use the printer buttons directly to initiate the printing process.
Locate the SD card slot on the printer. Positioned to the right of the button, insert the SD card with the face forward and push it gently into the card slot. Ensure that the memory card is properly aligned with the slot before pressing it in.
Turn on the Printer Power Switch.
Press the down key to select SD Card Files and press the middle key to confirm. A list of X3G files saved on the SD card will be displayed on the screen.
Select the file you wish to print by using the up and down arrow keys, then press the middle key to confirm your selection.
The machine is now prepared to print, and both the bottom plate and ink head will start to preheat. The screen will show the current temperatures of the bottom plate and ink head along with the heating progress.
Once the preheating process is finished, the printing task will commence. During this time, the screen will indicate the progress of the task completion as well as the temperatures of the bottom plate and ink head.
Upon reaching 100% progress, the screen will notify you that the printing is done, and the system will play a music prompt. Simultaneously, the bottom plate will lower to its lowest position, the ink head will return to its initial position, and the printing process will be concluded.
How to End Printing?
After printing, the nozzle automatically returns. To make it easier to remove the printed model, first lower the printing platform and then gently use a scraper to scrape the model off the platform. If time permits, you can wait for the model to cool down before removing it from the platform (note that some 3D printers have a fixed vertical platform that cannot be lowered).

When the material remaining on the material rack is insufficient for the next print or if the color needs to be changed, the material should be replenished first before replacing it with new material in the printer.
What are the Steps of Injection Molding?
The main steps of injection molding include clamping, injection, cooling, and ejection. First, the mold is closed under pressure. Next, molten plastic is injected into the mold cavity. After cooling and solidifying, the mold opens, and the part is ejected. This process is widely used in industries like automotive, electronics, and consumer goods.
When the material remaining on the material rack is insufficient for the next print or if the color needs to be changed, the material should be replenished first before replacing it with new material in the printer.The injection molding process mainly includes six stages: mold closing – filling – pressure maintaining – cooling – mold opening – demoulding. These six stages directly determine the molding quality of the product, and these six stages are a complete continuous process.
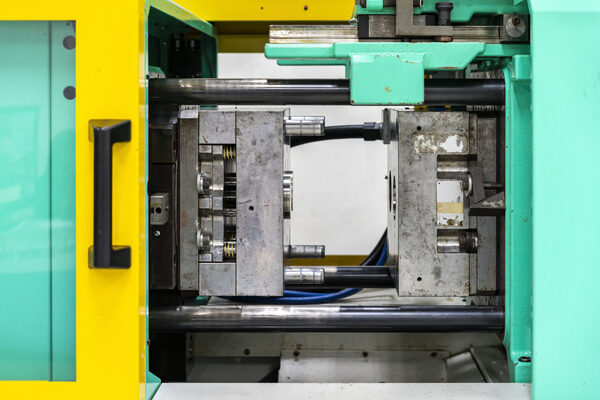
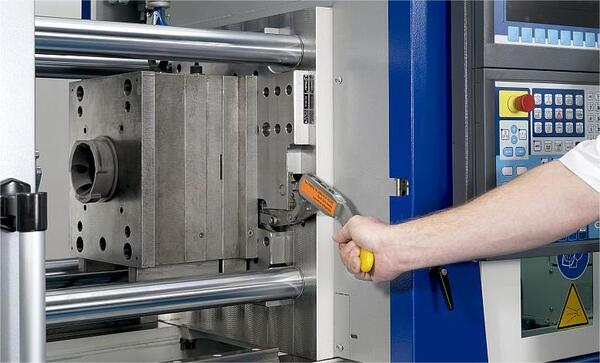
Mold Clamping
The injection molding machine contains 3 parts, the injection mold, the clamp and the injection unit4. The clamping unit keeps the mold under a certain pressure to ensure the consistency of the output.
Filling Stage
Filling is the first step in the entire injection molding cycle, starting from the time when the mold is closed and injection molding started, until the mold cavity is filled to about 95%. Theoretically, the shorter the filling time5, the higher the molding efficiency; however, in actual production, the molding time (or injection speed) is restricted by many conditions.
Holding Stage
The function of the pressure holding stage is to continuously apply pressure, compact the melt, and increase the density of the plastic (densification) to compensate for the shrinkage behavior of the plastic. During the pressure holding process, the back pressure is high because the mold cavity has been filled with plastic.
During the pressure-maintaining and compaction process, the screw of the injection molding machine can only slowly move forward slightly, and the flow speed of the plastic is also relatively slow. The flow at this time is called pressure-maintaining flow. Because during the pressure-holding stage, the plastic mold wall cools and solidifies faster, and the melt viscosity increases rapidly, so the resistance in the mold cavity is very large.
In the later stage of pressure holding, the material density continues to increase and the plastic parts are gradually formed. The pressure holding stage continues until the gate is solidified and sealed. At this time, the cavity pressure in the pressure holding stage reaches the highest value.

Cooling Phase
In injection molding molds, the design of the cooling system is very important. This is because only when molded plastic products are cooled and solidified to a certain rigidity, can plastic products be prevented from being deformed due to external forces after being demoulded.
Since cooling time accounts for about 70% to 80% of the entire molding cycle, a well-designed cooling system can significantly shorten molding time, improve injection molding productivity, and reduce costs. An improperly designed cooling system will lengthen the molding time and increase costs; uneven cooling will further cause warping and deformation of plastic products.

Mold Opening
The clamping device opens to separate the mold. Often molds are used repeatedly throughout the process, and they are very expensive to machine.
Demoulding Stage
Demolding is the final step in an injection molding cycle. Although the product has been cold-set and formed, demoulding still has a very important impact on the quality of the product. Improper demoulding methods may cause uneven force on the product during demoulding, product deformation6 during ejection and other defects.

There are two main ways of demoulding: ejector pin demoulding and stripper plate demoulding. When designing the mold, the appropriate demoulding method must be selected based on the structural characteristics of the product to ensure product quality.
Conclusion
In the plastic manufacturing industry, 3D printing and injection molding are often pitted against each other, and there are many opinions that 3D printing is the end of injection molding. The main differences between 3D printing and injection molding include production methods, manufacturing costs, production quality, and application fields.
- Learn about WHAT IS ADDITIVE MANUFACTURING? DEFINITION, TYPES AND PROCESSES : Additive manufacturing (AM) is a computer-controlled process that creates three-dimensional objects by depositing material. ↩
- Learn about Rubber Injection Molding : Rubber injection molding involves converting uncured rubber into a final product by injecting it into a metal mold cavity. ↩
- Learn about Blow molding : Blow molding is a manufacturing process for forming hollow plastic parts. ↩
- Learn about How Does An Injection Unit In Injection Molding Machine Function : The injection unit of a plastic injection molding machine is the unit where the screw advances to inject the molten plastic into the mold. ↩
- Learn about How to Calculate the Filling Time of an Injection Molding Machine : Injection molding machine fill time is one of the most crucial factors in injection molding. ↩
- Learn about Reasons For Plastic Injection Molding Parts Deformation : The reasons for the deformation of injection molded parts include the properties of the material itself and problems during operation . ↩


